
Broken Rivetgun, Broken Dreams
Last week, the euphoria of riveting our first pieces together was shortly followed by the pain and disappointment of our first rivetgun jam. Plus, our little sister Zina visited and we’ve also expanded to YouTube!
Tools used:
- Cleo pliers (these pliers are much better than these)
- Lots of clecos
- Milwaukee M12 rivet gun
- Hammer (don’t use this)
- Large adjustable spanner wrench (ultimately futile)
- Prekote/acetone/all the priming stuff we list in #priming
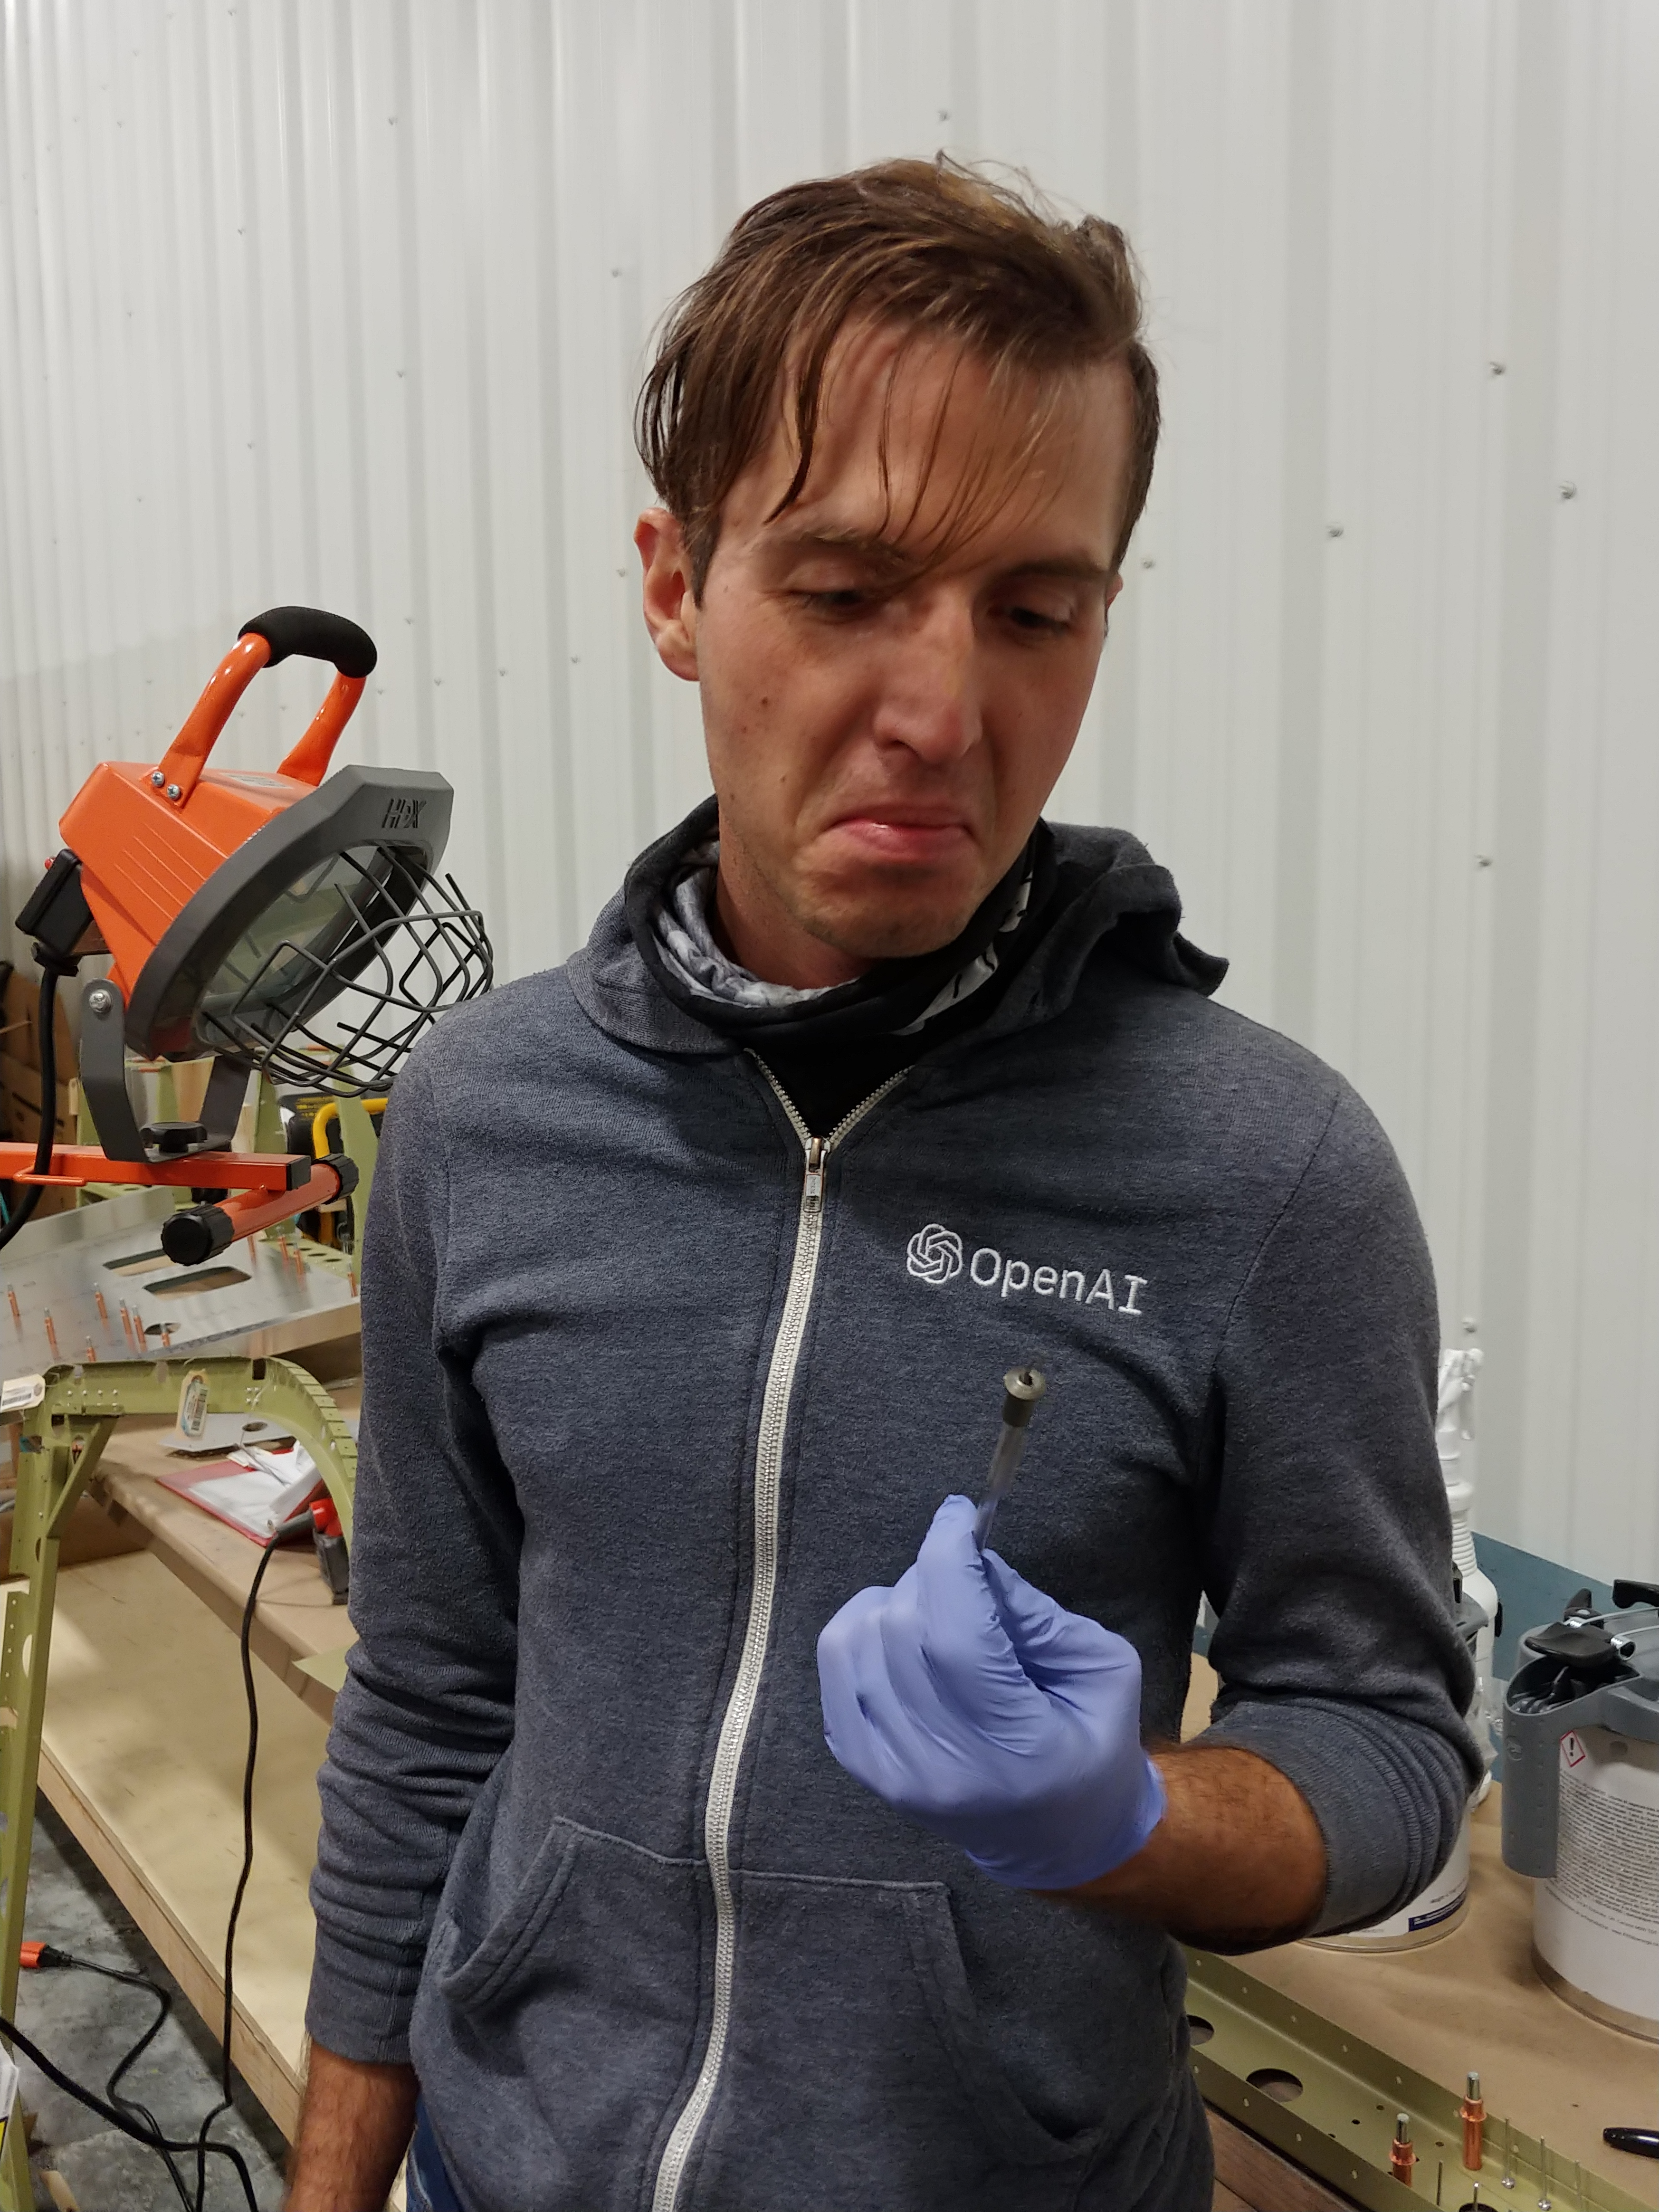
—Thumbnail of Peter staring unhappily at rivetgun— Last week was a big week for us, readers. After priming our first real-life airplane parts (see #priming), we started putting together the horizontal stabilizer. We pulled our first rivets and felt the dream become reality. The rivet gun has this feature where it uses a clever series of tubes and gears to move the spent mandrels up through the barrel of the gun into a reservoir, which you can then empty at your leisure. This is meant to be convenient.
We were able to complete most of the second page of the manual (I.e. half of the horizontal stabilizer) before disaster struck. A series of mandrels fit perfectly one on top of another and blocked the tube of the rivet gun.
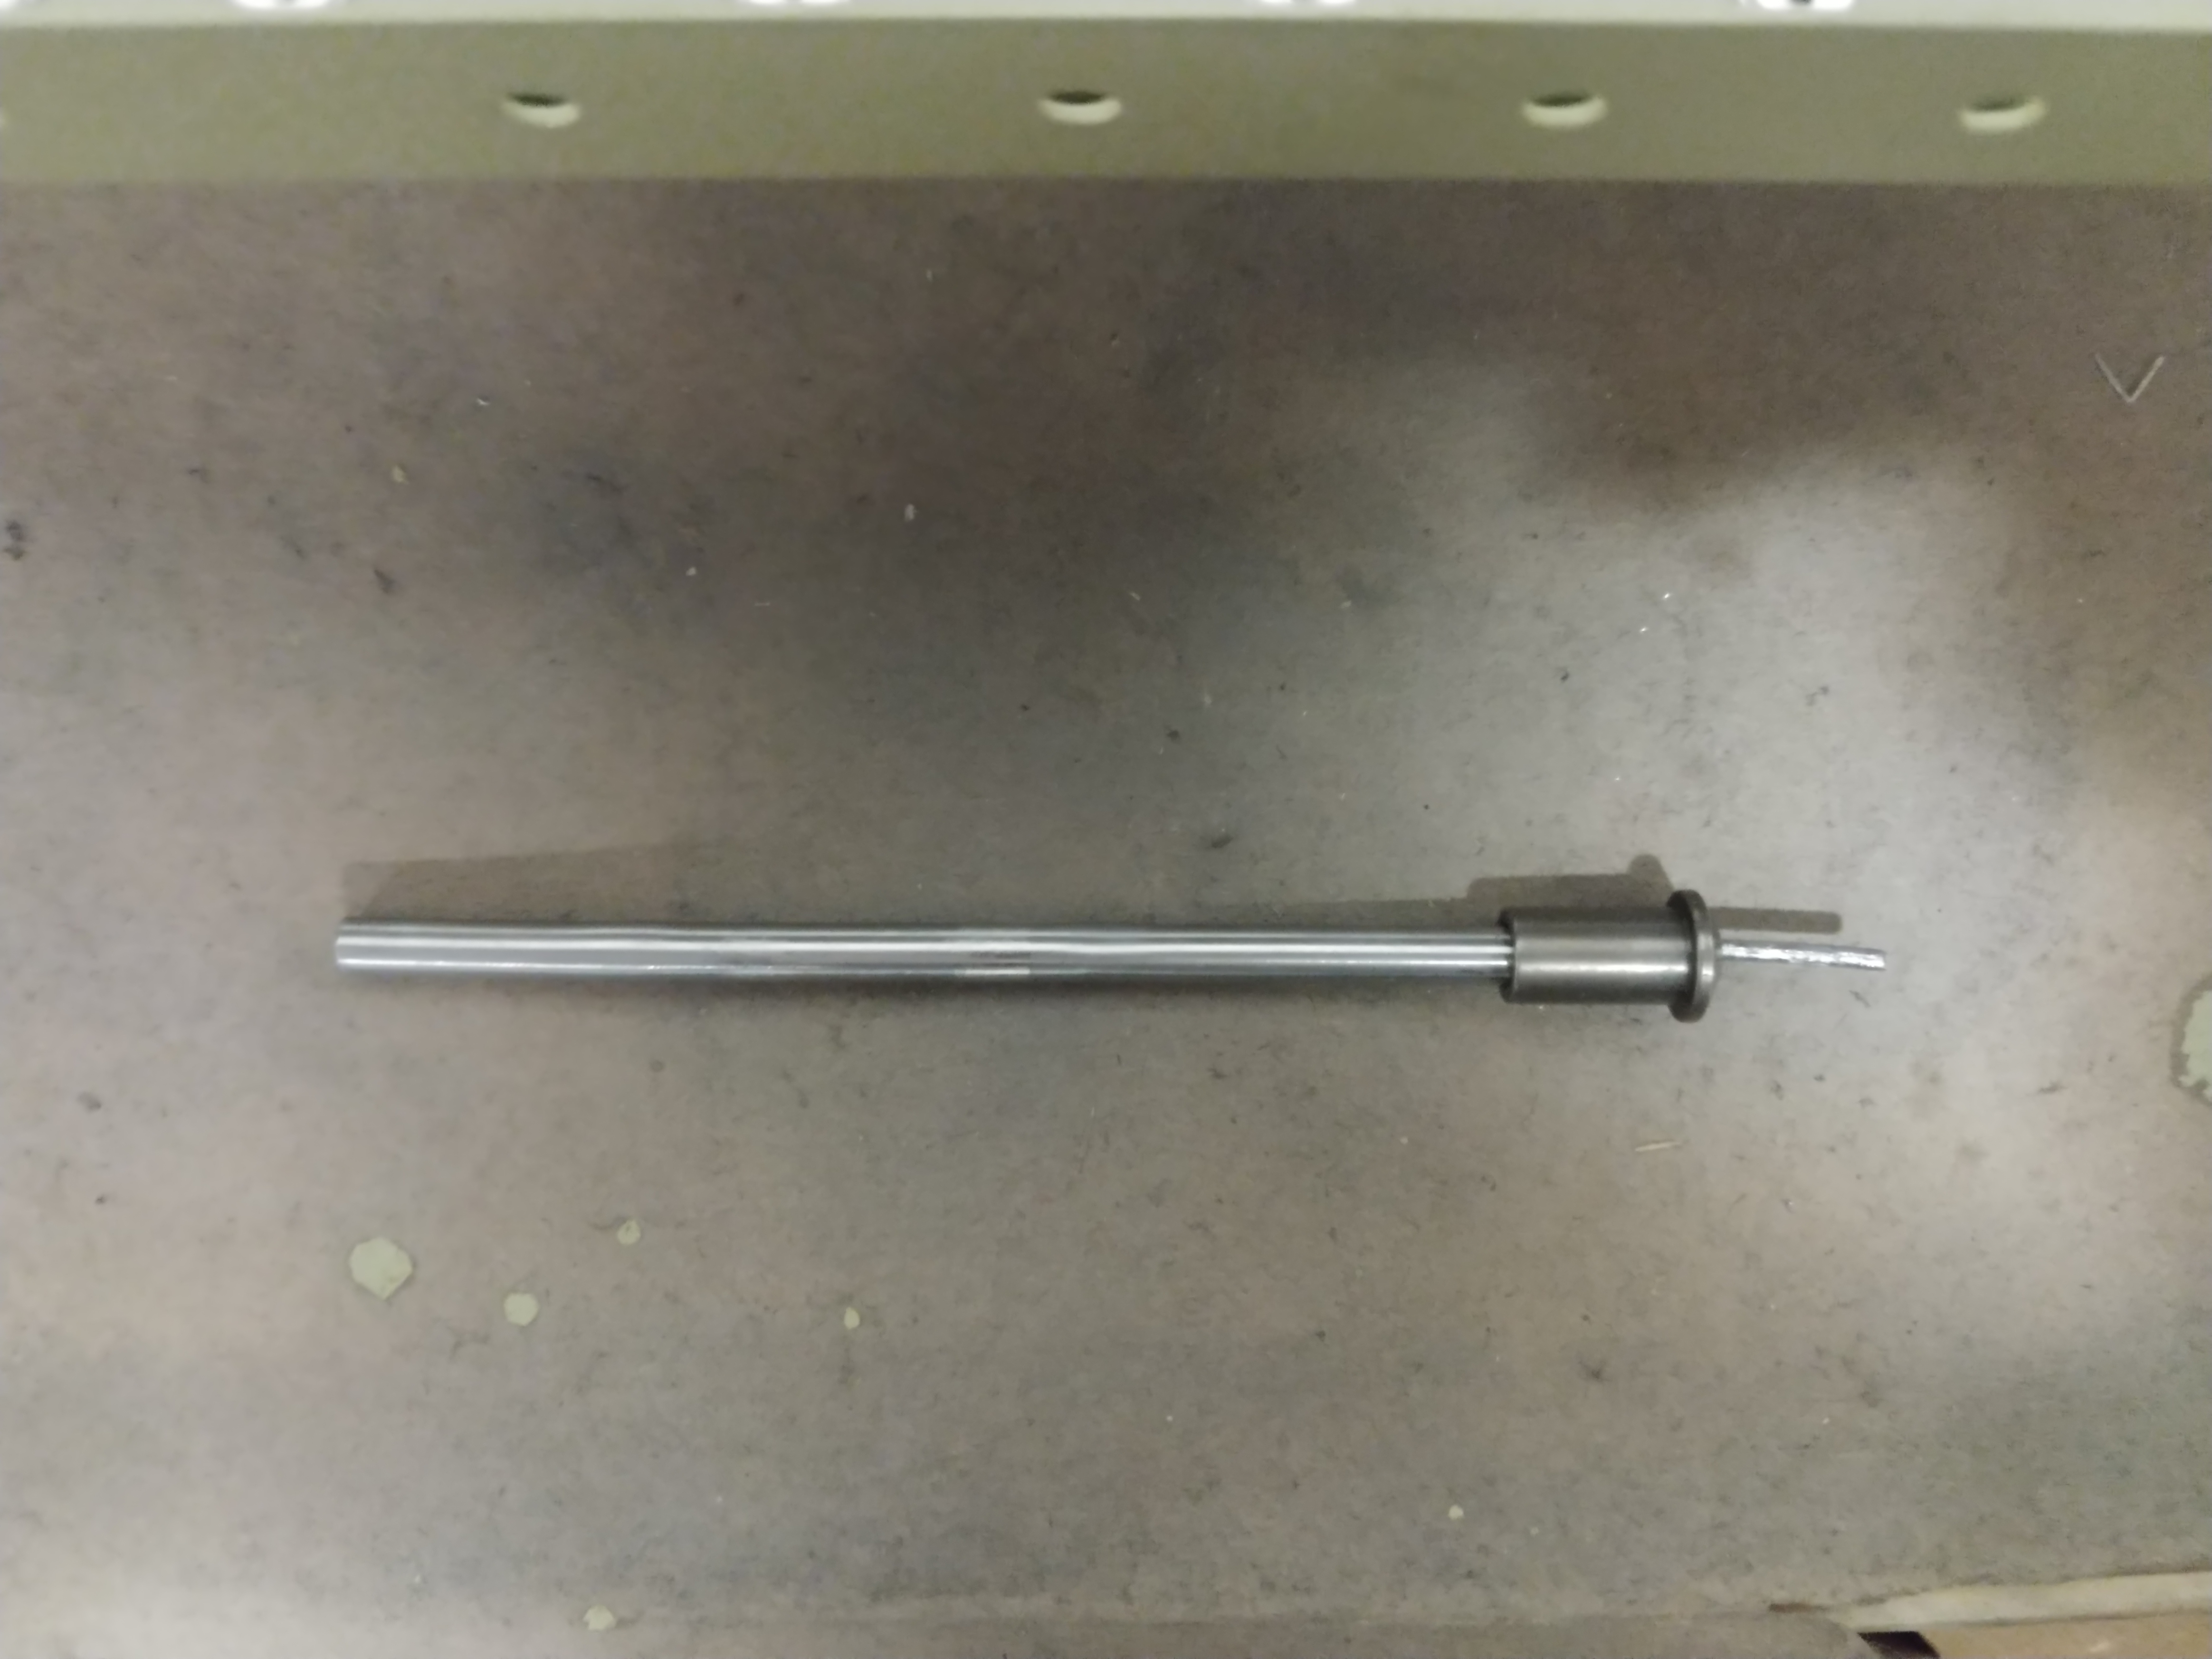
Peter and I went home, whereupon Peter spent several hours trying to get these mandrels unstuck. We tried to hammer them out, wiggle em with pliers, disassemble the gun, WD-40 all with no results.
Luckily, as with many problems even tangentially related to the Sling, our neighbor Claude has already has this happen several times. So he had a stock of these mandrel-eating tubes from which he very kindly let us claim our own replacement. This allowed the Work to continue. In case you, reader, end up with this problem, the replacement tube can be found here (except it is a giant pain to order directly from Milwaukee because they take forever to validate the account)
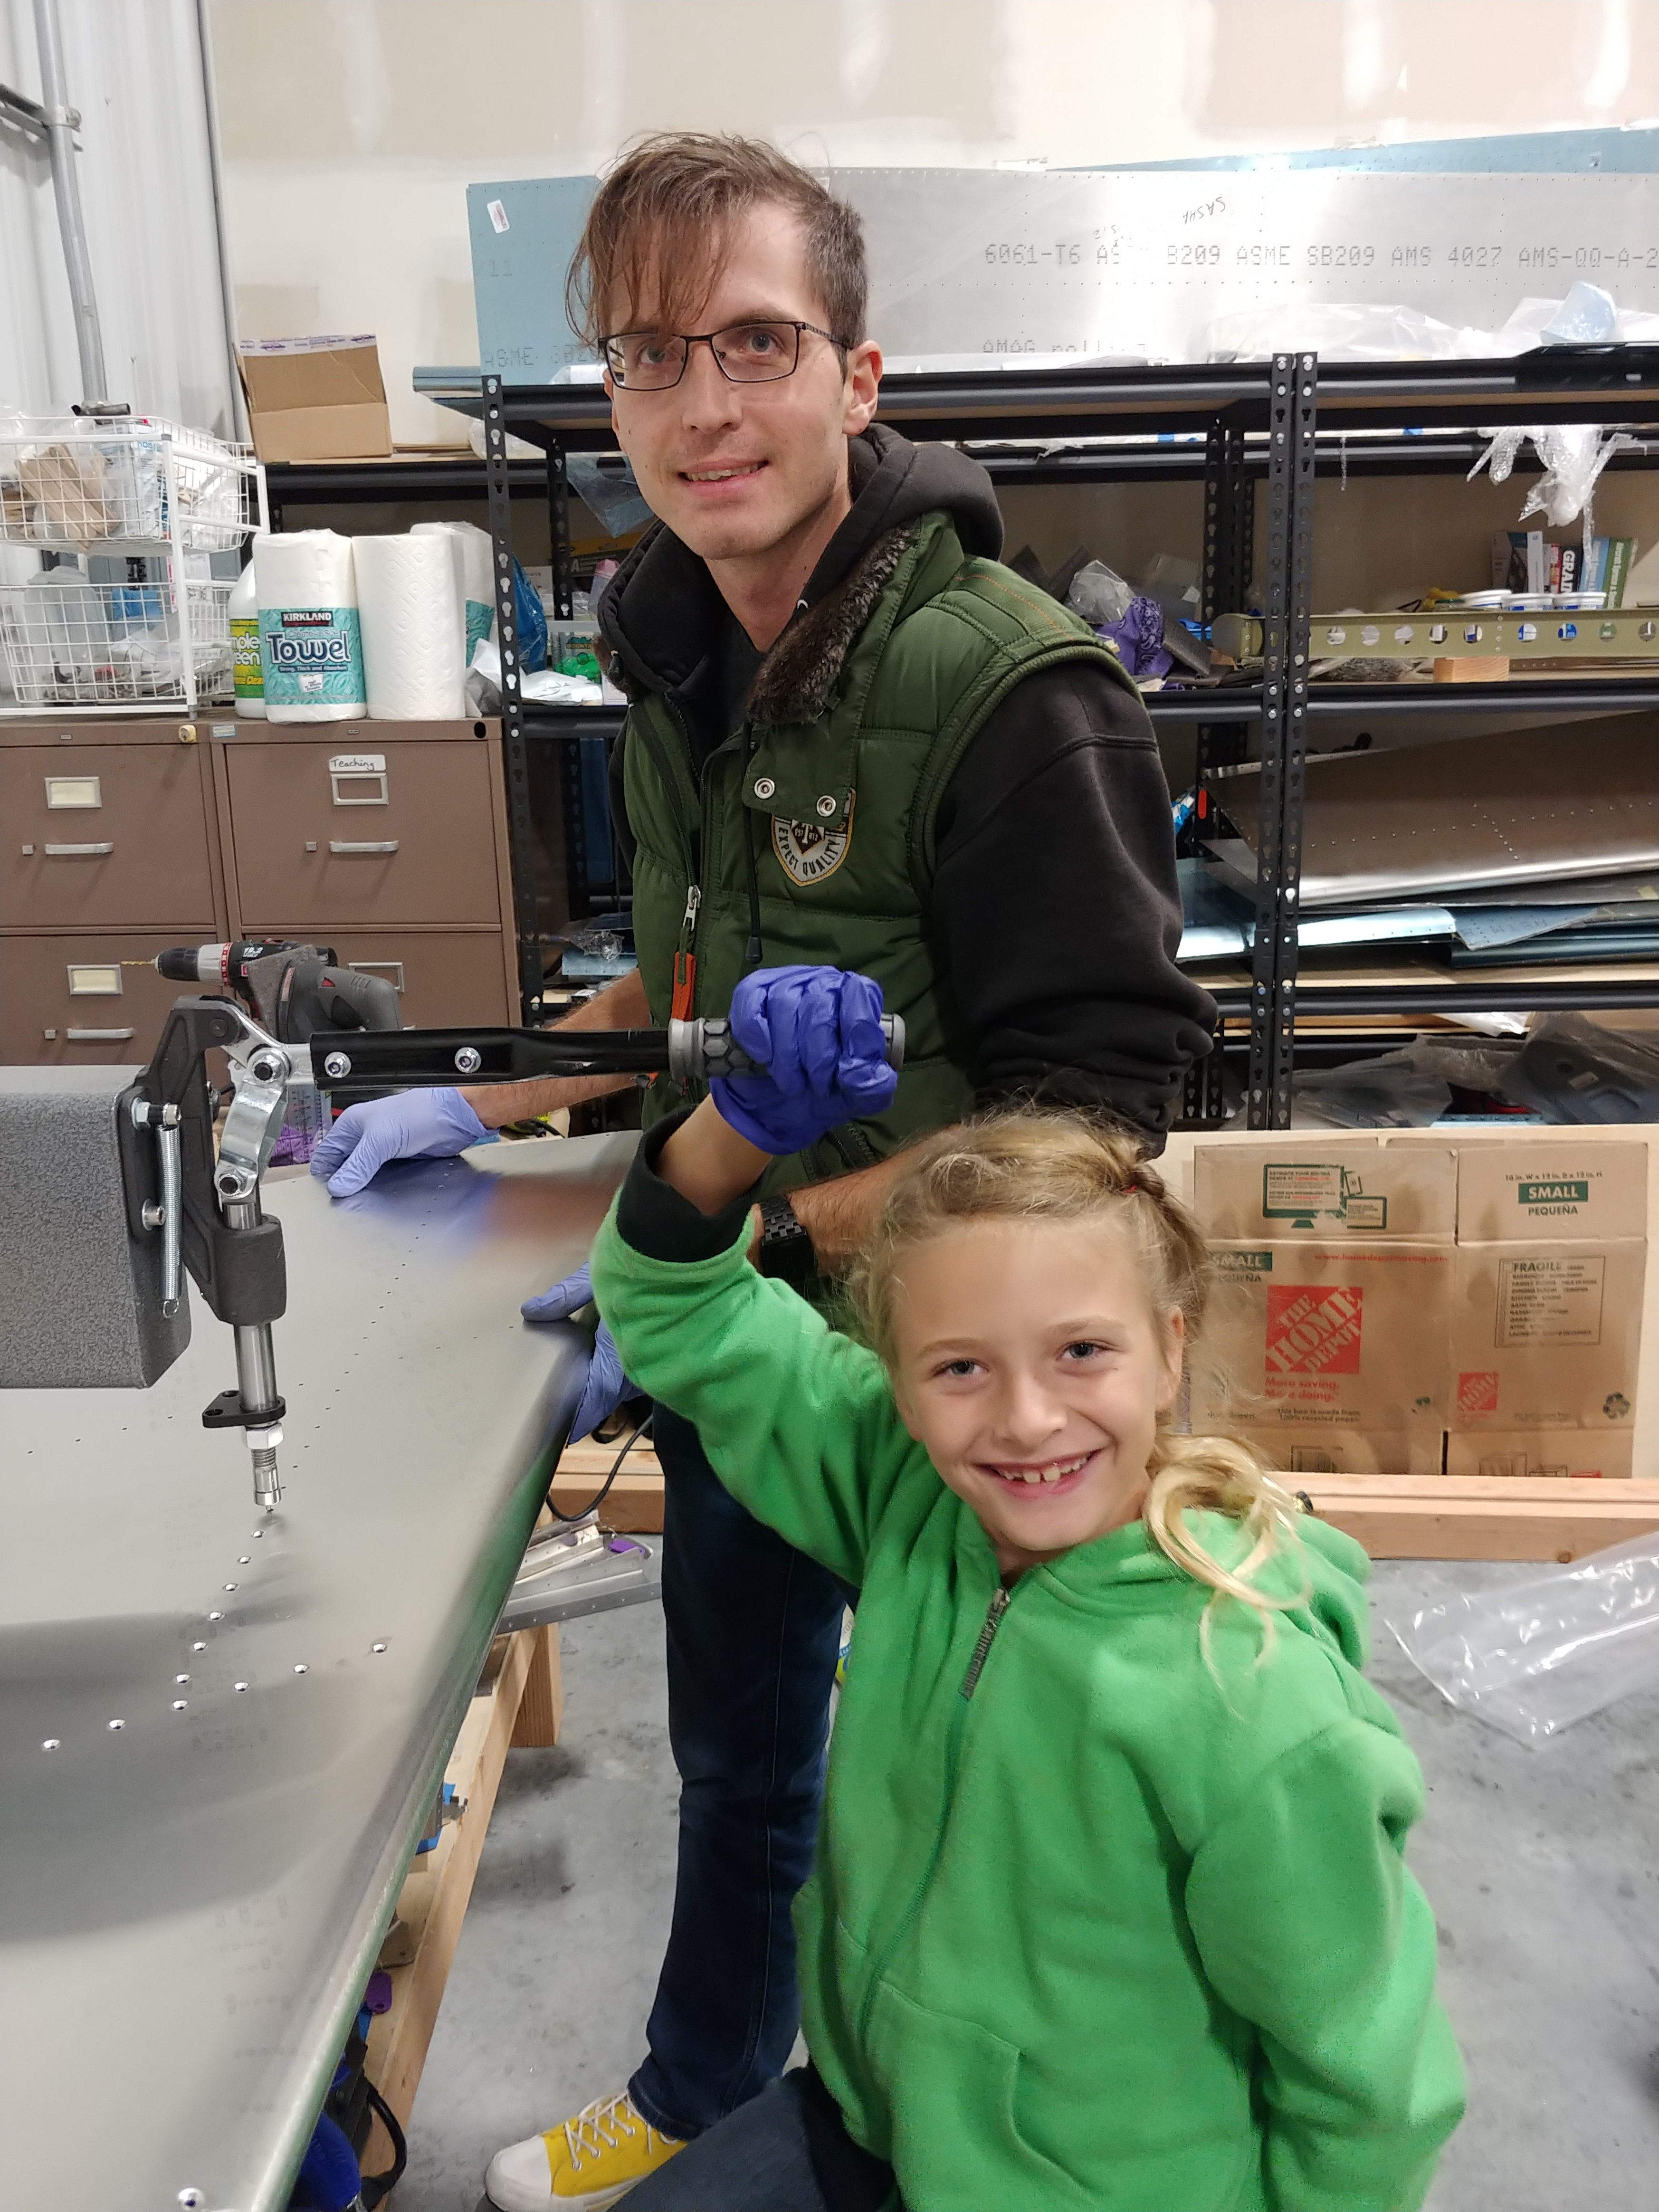
After that, we just shook the gun a little to get the mandrel to come out the bottom instead of getting fed into the top. I’m still not sure what the utility of having this mandrel feeding tube feature is at all if the gun gets stuck every 20 rivets or so. We then took a deviation from our official program in order to have our 8-year-old sister, Zina, visit. She very professionally dimpled some aluminum skins.
Next, we decided to compare all of the #priming spray paint guns/techniques we’ve obtained over the last several months. The results have been thoroughly documented:
with the final high-res images of the aluminum samples displayed below.
—Some high res images of the aluminum squares— My favorite is obviously the (quite expensive but y’know airplanes aren’t cheap either) FujiSpray Minimite 4 spray system. The gun sprayed easy and well, with the finish on Samples 3 and 4 a cut above the rest. We also conducted an informal scratch test between the zinc phosphate samples and the AKZO samples - AKZO won out, hands down. That stuff requires paint thinner and a metal brush to remove. So, what are your thoughts, readers? What are your favorite YouTube hands-on stars? Do you feel the call of the camera? Do you remember your first pulled rivet? Leave a comment below!
#tutorial #empennage #priming