
Closing right wing
Since the last post, we closed skins on the right wing, practiced carpentry, and got ourselves some craft beers from runway-side brewery in Auburn.
Sasha’s IFR checkride is not far away, so she flies a lot lately. Sometimes, she even takes me (Peter) with her. On one of the trips, we went to Auburn, CA, which is famous for having not one, but two microbreweries right next to the airfield - Knee Deep and Moonraker. Both are great, although Moonraker is noticeably more pricey (then again, if you count in the price of avgas and airplane rental into price of beer, the difference is negligible :)) Also, Auburn has a strong experimental aviation presence - Sasha spotted a Sling 2 flying from it, and also this An-2 (which, being born in Russia, we could not pass by without taking a picture)

Not sure why An-2 was labelled as “Experimental”, but this one definitely was.
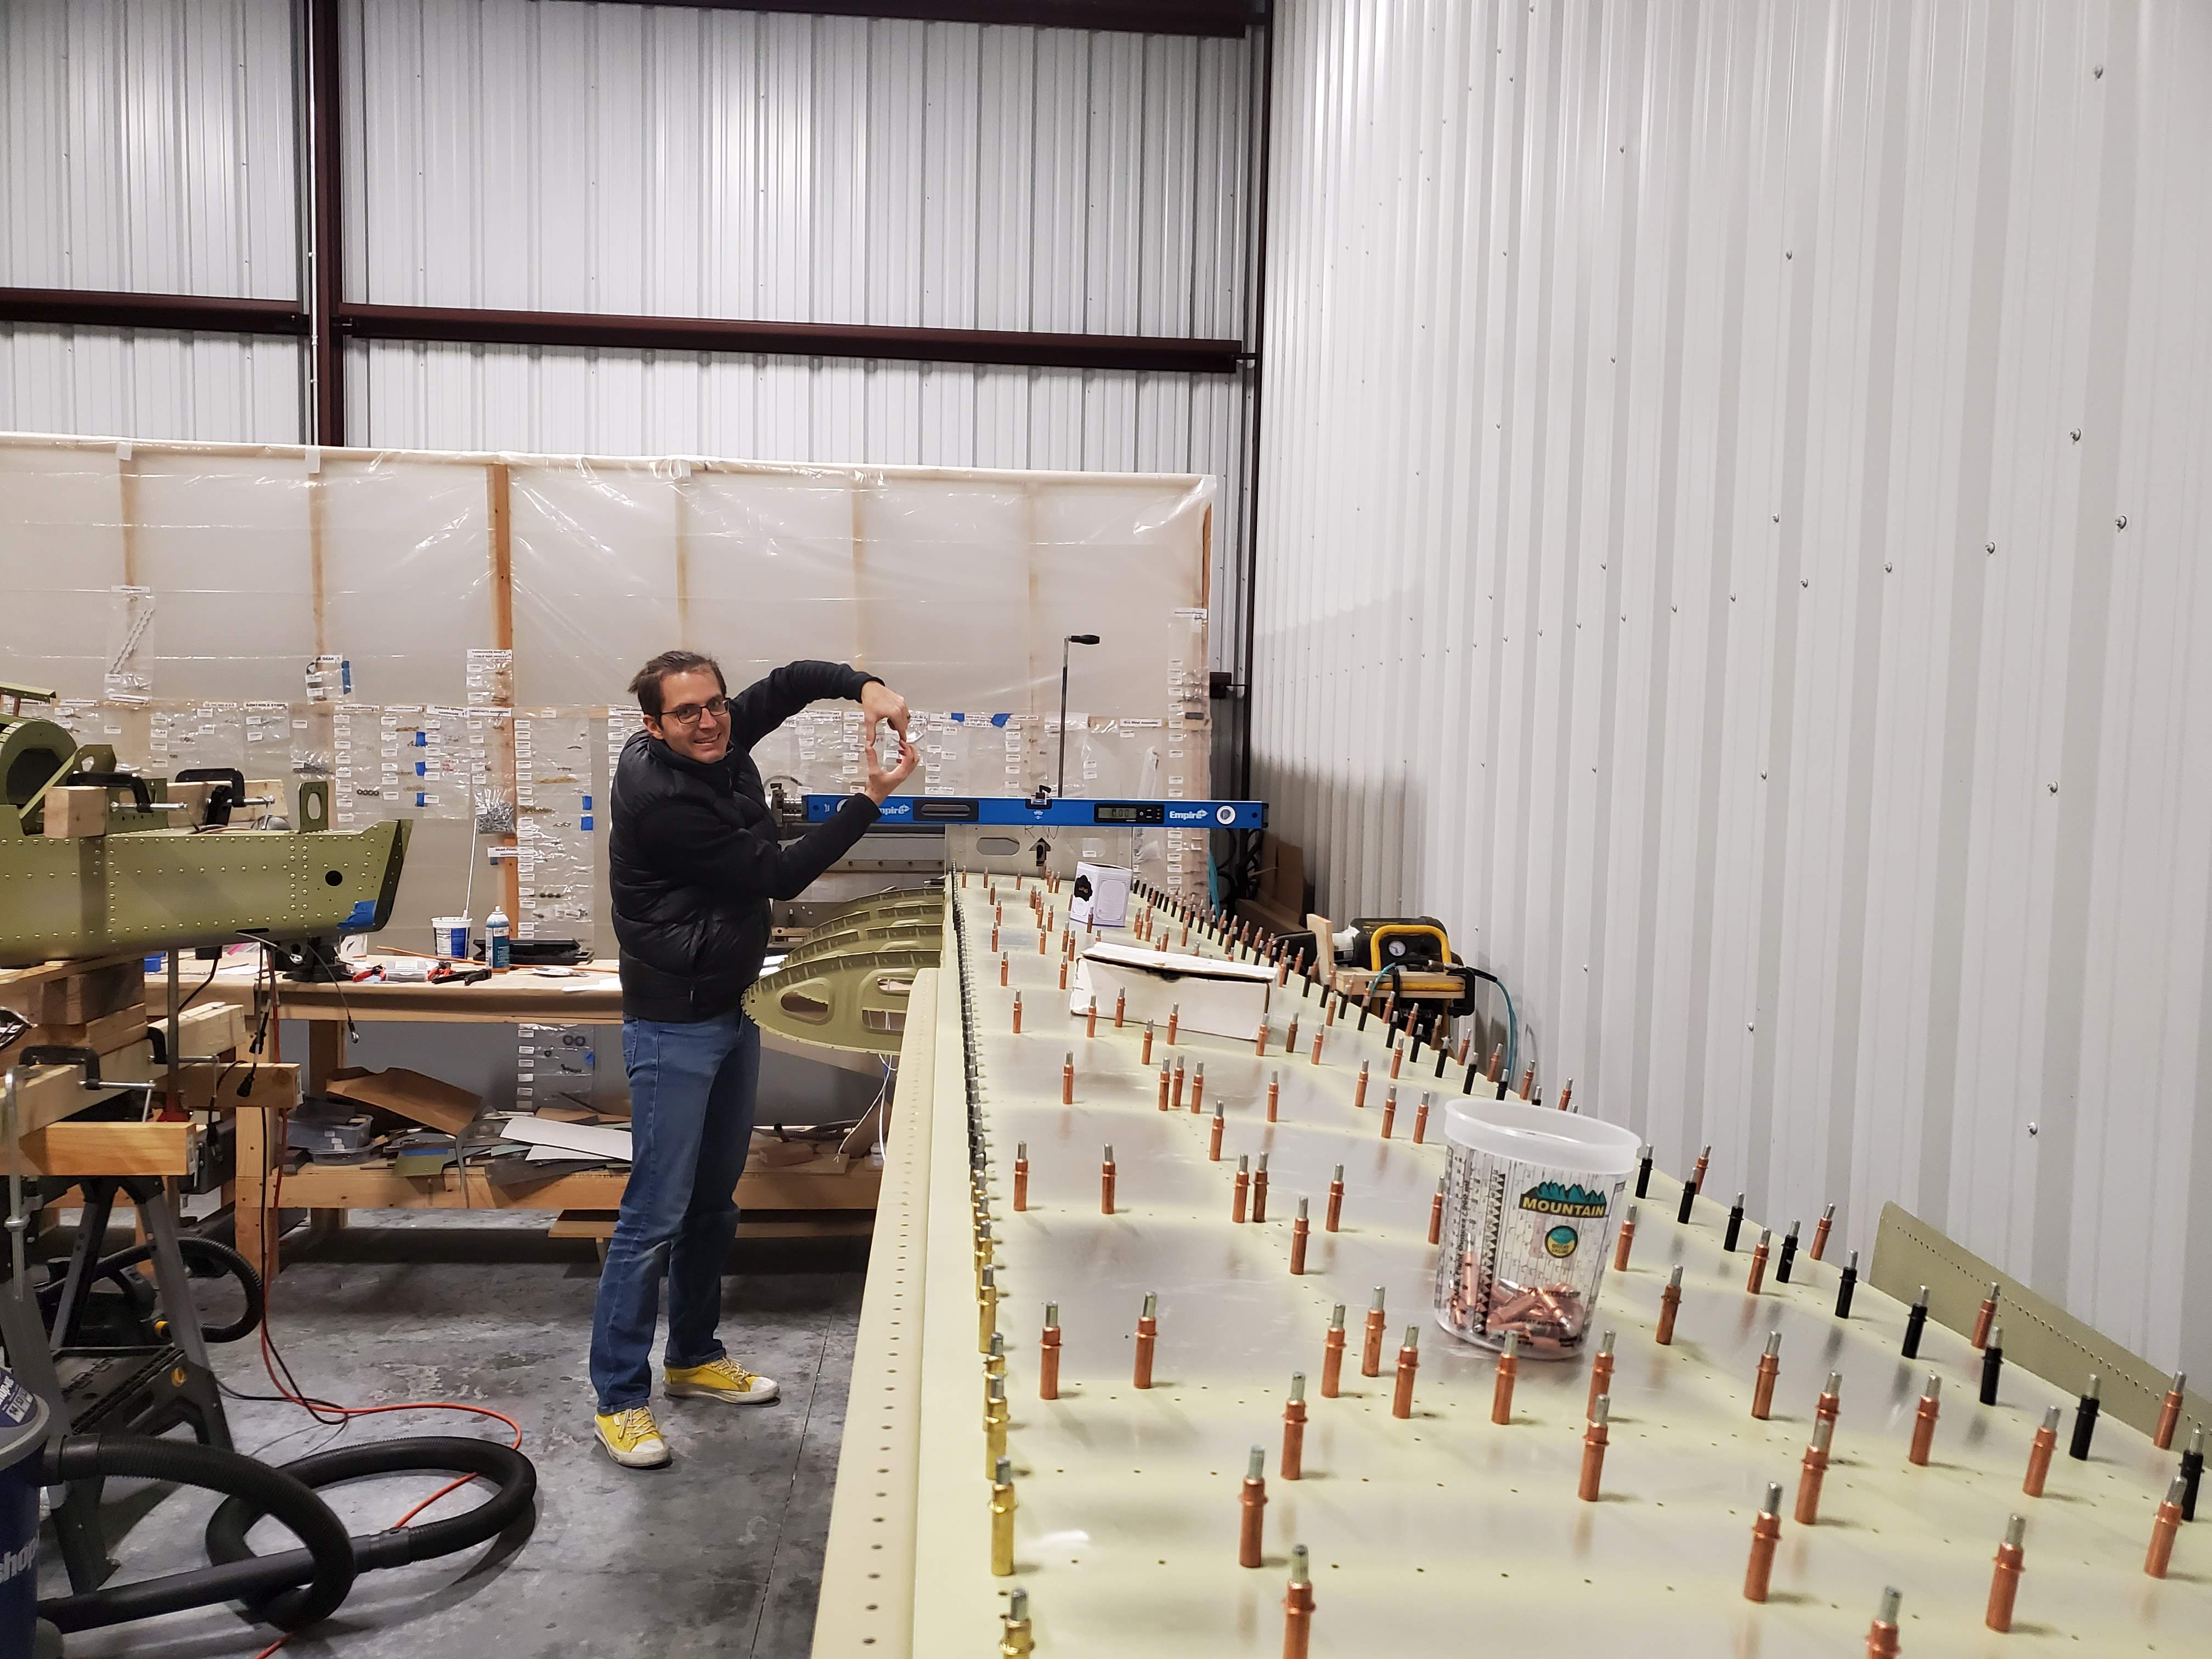
Back at the hangar, when assembling the right wing, we would periodically check that the jigs at the root and tip of the wing are parallel. This can be done via a laser level, or, even easier, by placing electronic level on the tops of the jigs and making sure they read the same value (and adding some shims if they don’t).
However, once we clecoed the top skin on, this stopped working! No matter how many shims we added, we could not align the jigs, and the difference (twist) was about 0.5 degrees. Why? Turns out, the top skin makes the wing rigid enough (in the hindsight - duh!), so that adding shims to any corner only lifts the wing, but does not actually fix the twist. This made us stop and think for a bit, and the solution we came up with was to clamp down two out of four corners of the jigs. With that, we were able to make the twist zero to the precision of our (well, Claude’s, technically) level. Here’s a picture of that happy moment:
Interestingly, untwisting the wing that way solved another problem that we had - the stiffness of motion of flap torque tube. Prior to untwisting, it had required quite a bit of a grip to turn by hand, however, after we clamped down the corners of the jigs, the turning became much easier. To all the future builders of the kit - before you decide to grind down the bushings because the flap torque tube is too stiff, check the alignment :)
After that, we made a rough alignment check of flaps and ailerons
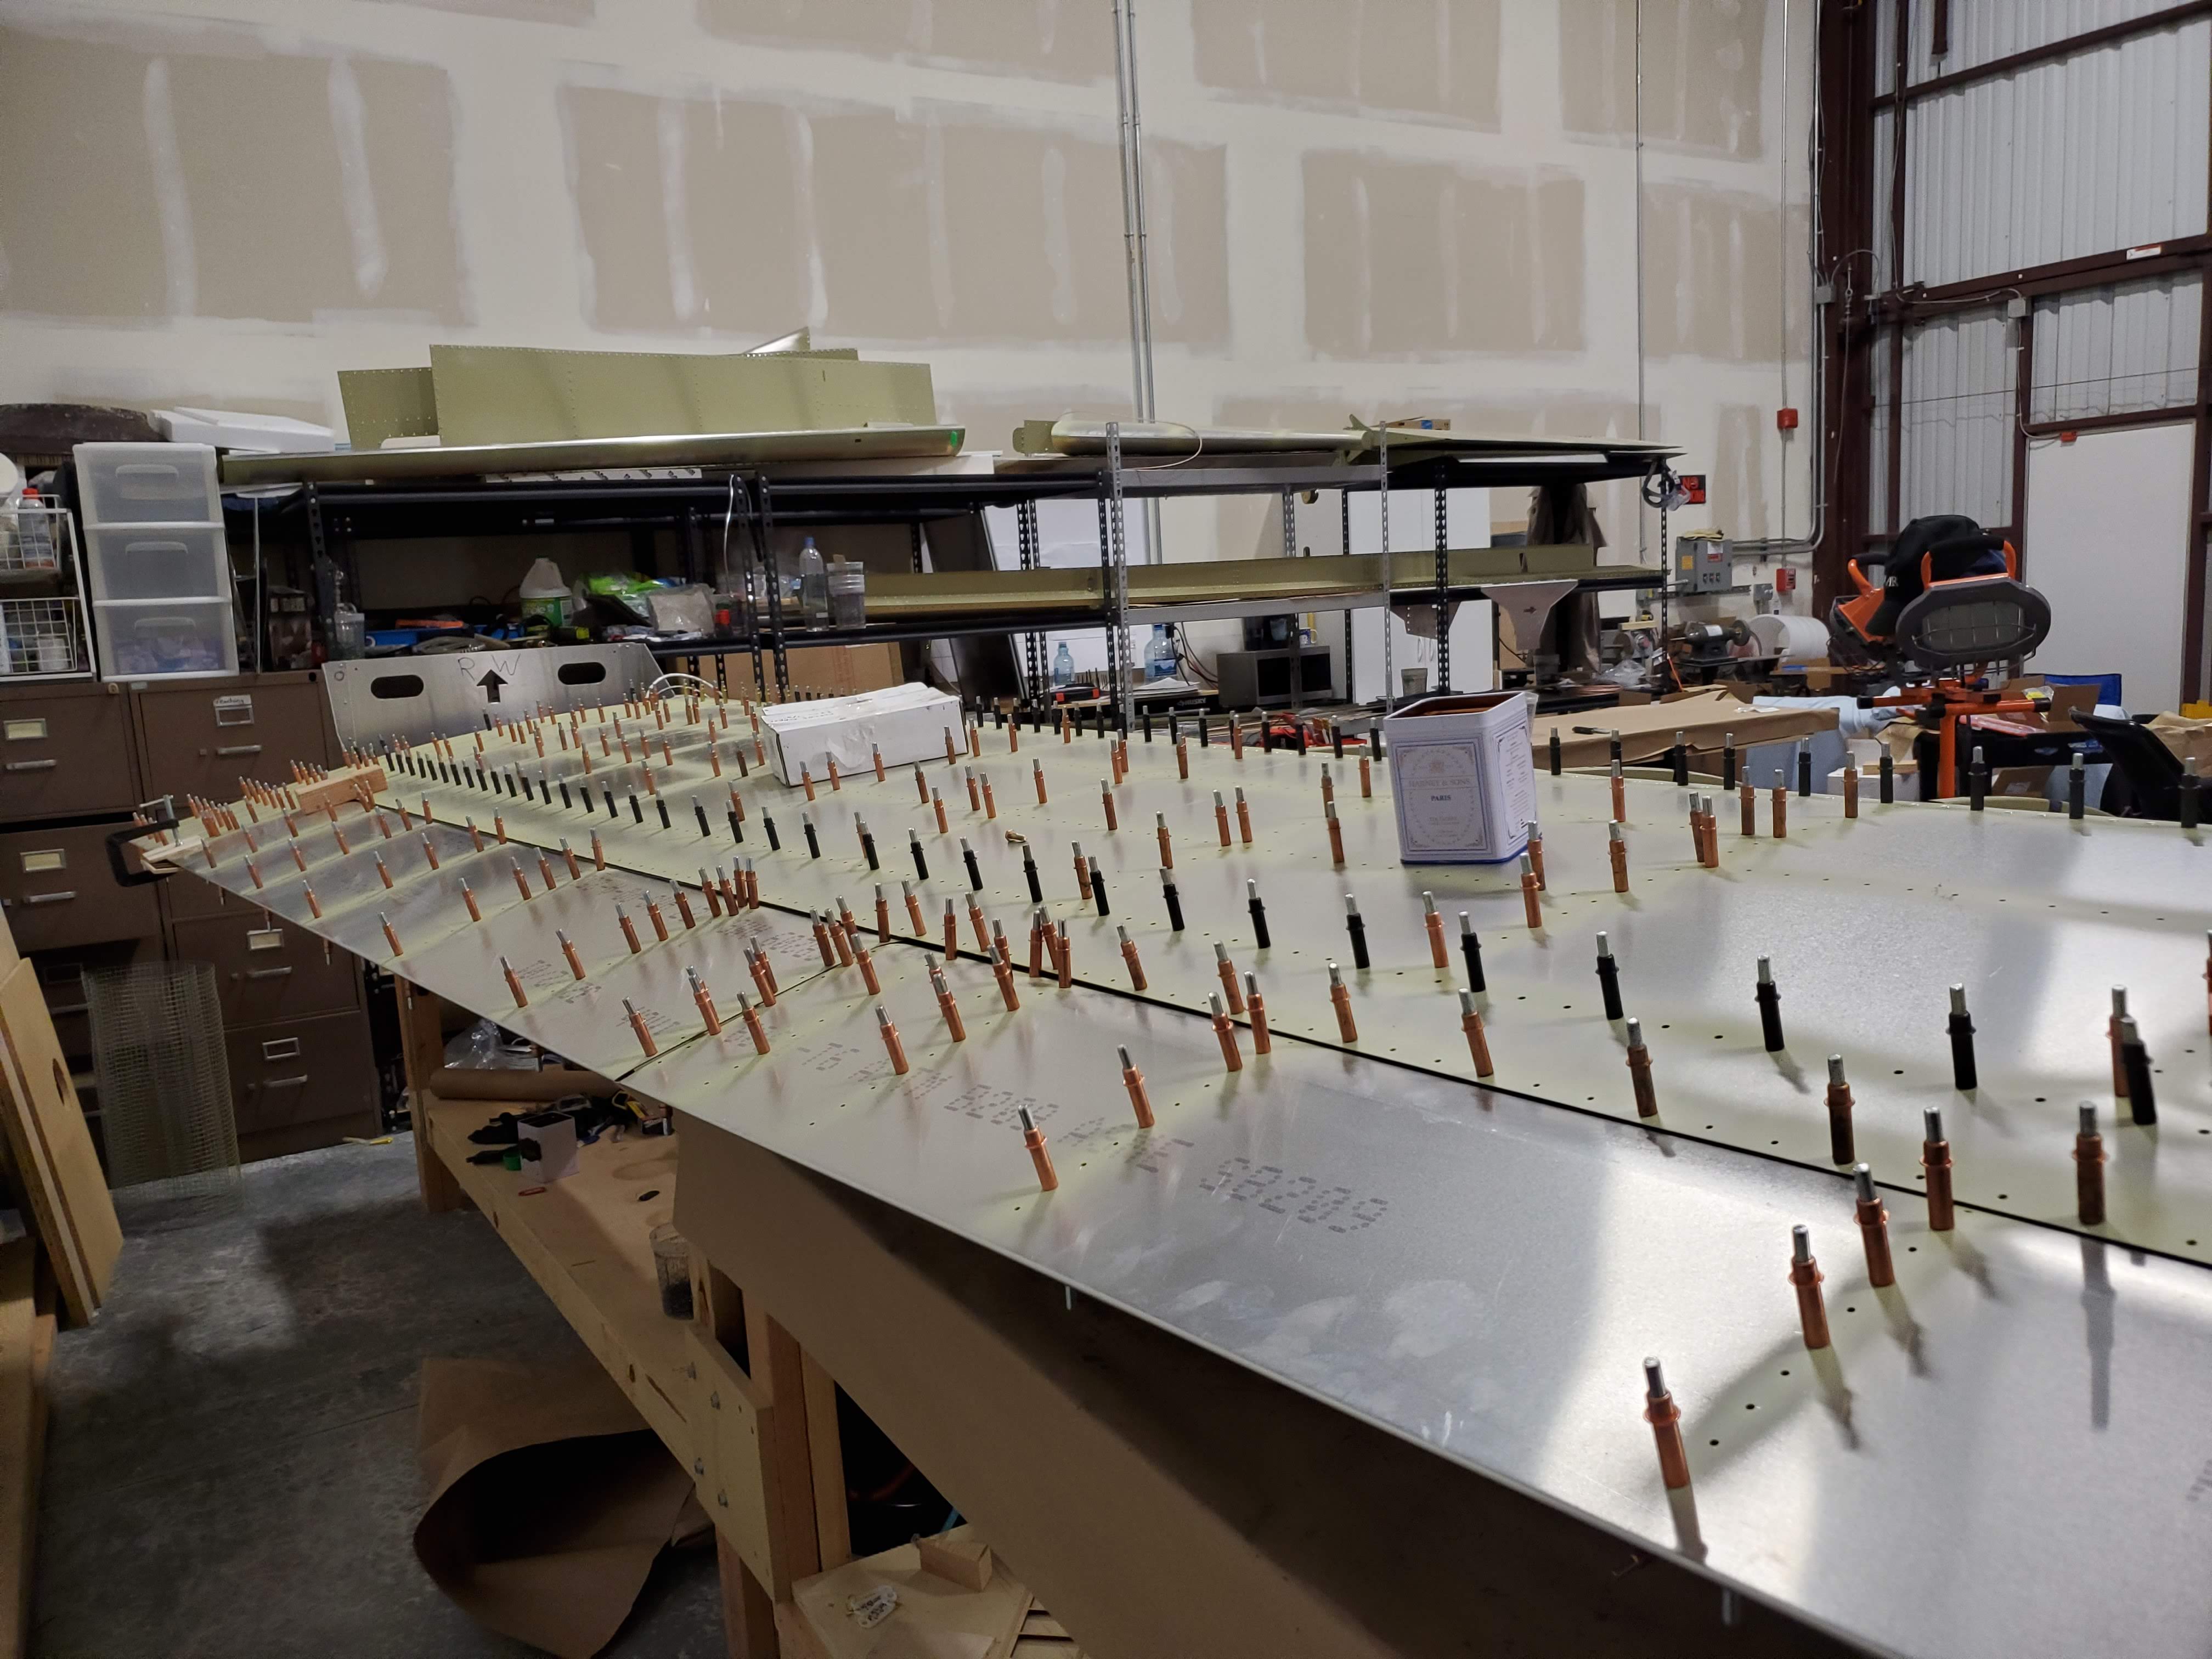
Why rough? Ideally, we wanted to make sure that when the flap aligns with the wing root on one end, and with the aileron on the other end, the aileron aligns with the wing tip. However, we did not have a wing tip installed, nor the last wing rip that the aileron bearing attaches to, so we could only eyeball that things are roughly in line with the wing. Lots of riveting later…

Top skin was on (well, almost - there is a spot next to rib 11 assembly where the standard 3.2x8 mm rivet is too long and does not fit. We are waiting on the specially ordered 3.2x4 mm rivets for that). As a next step, we put the fuel tank on …
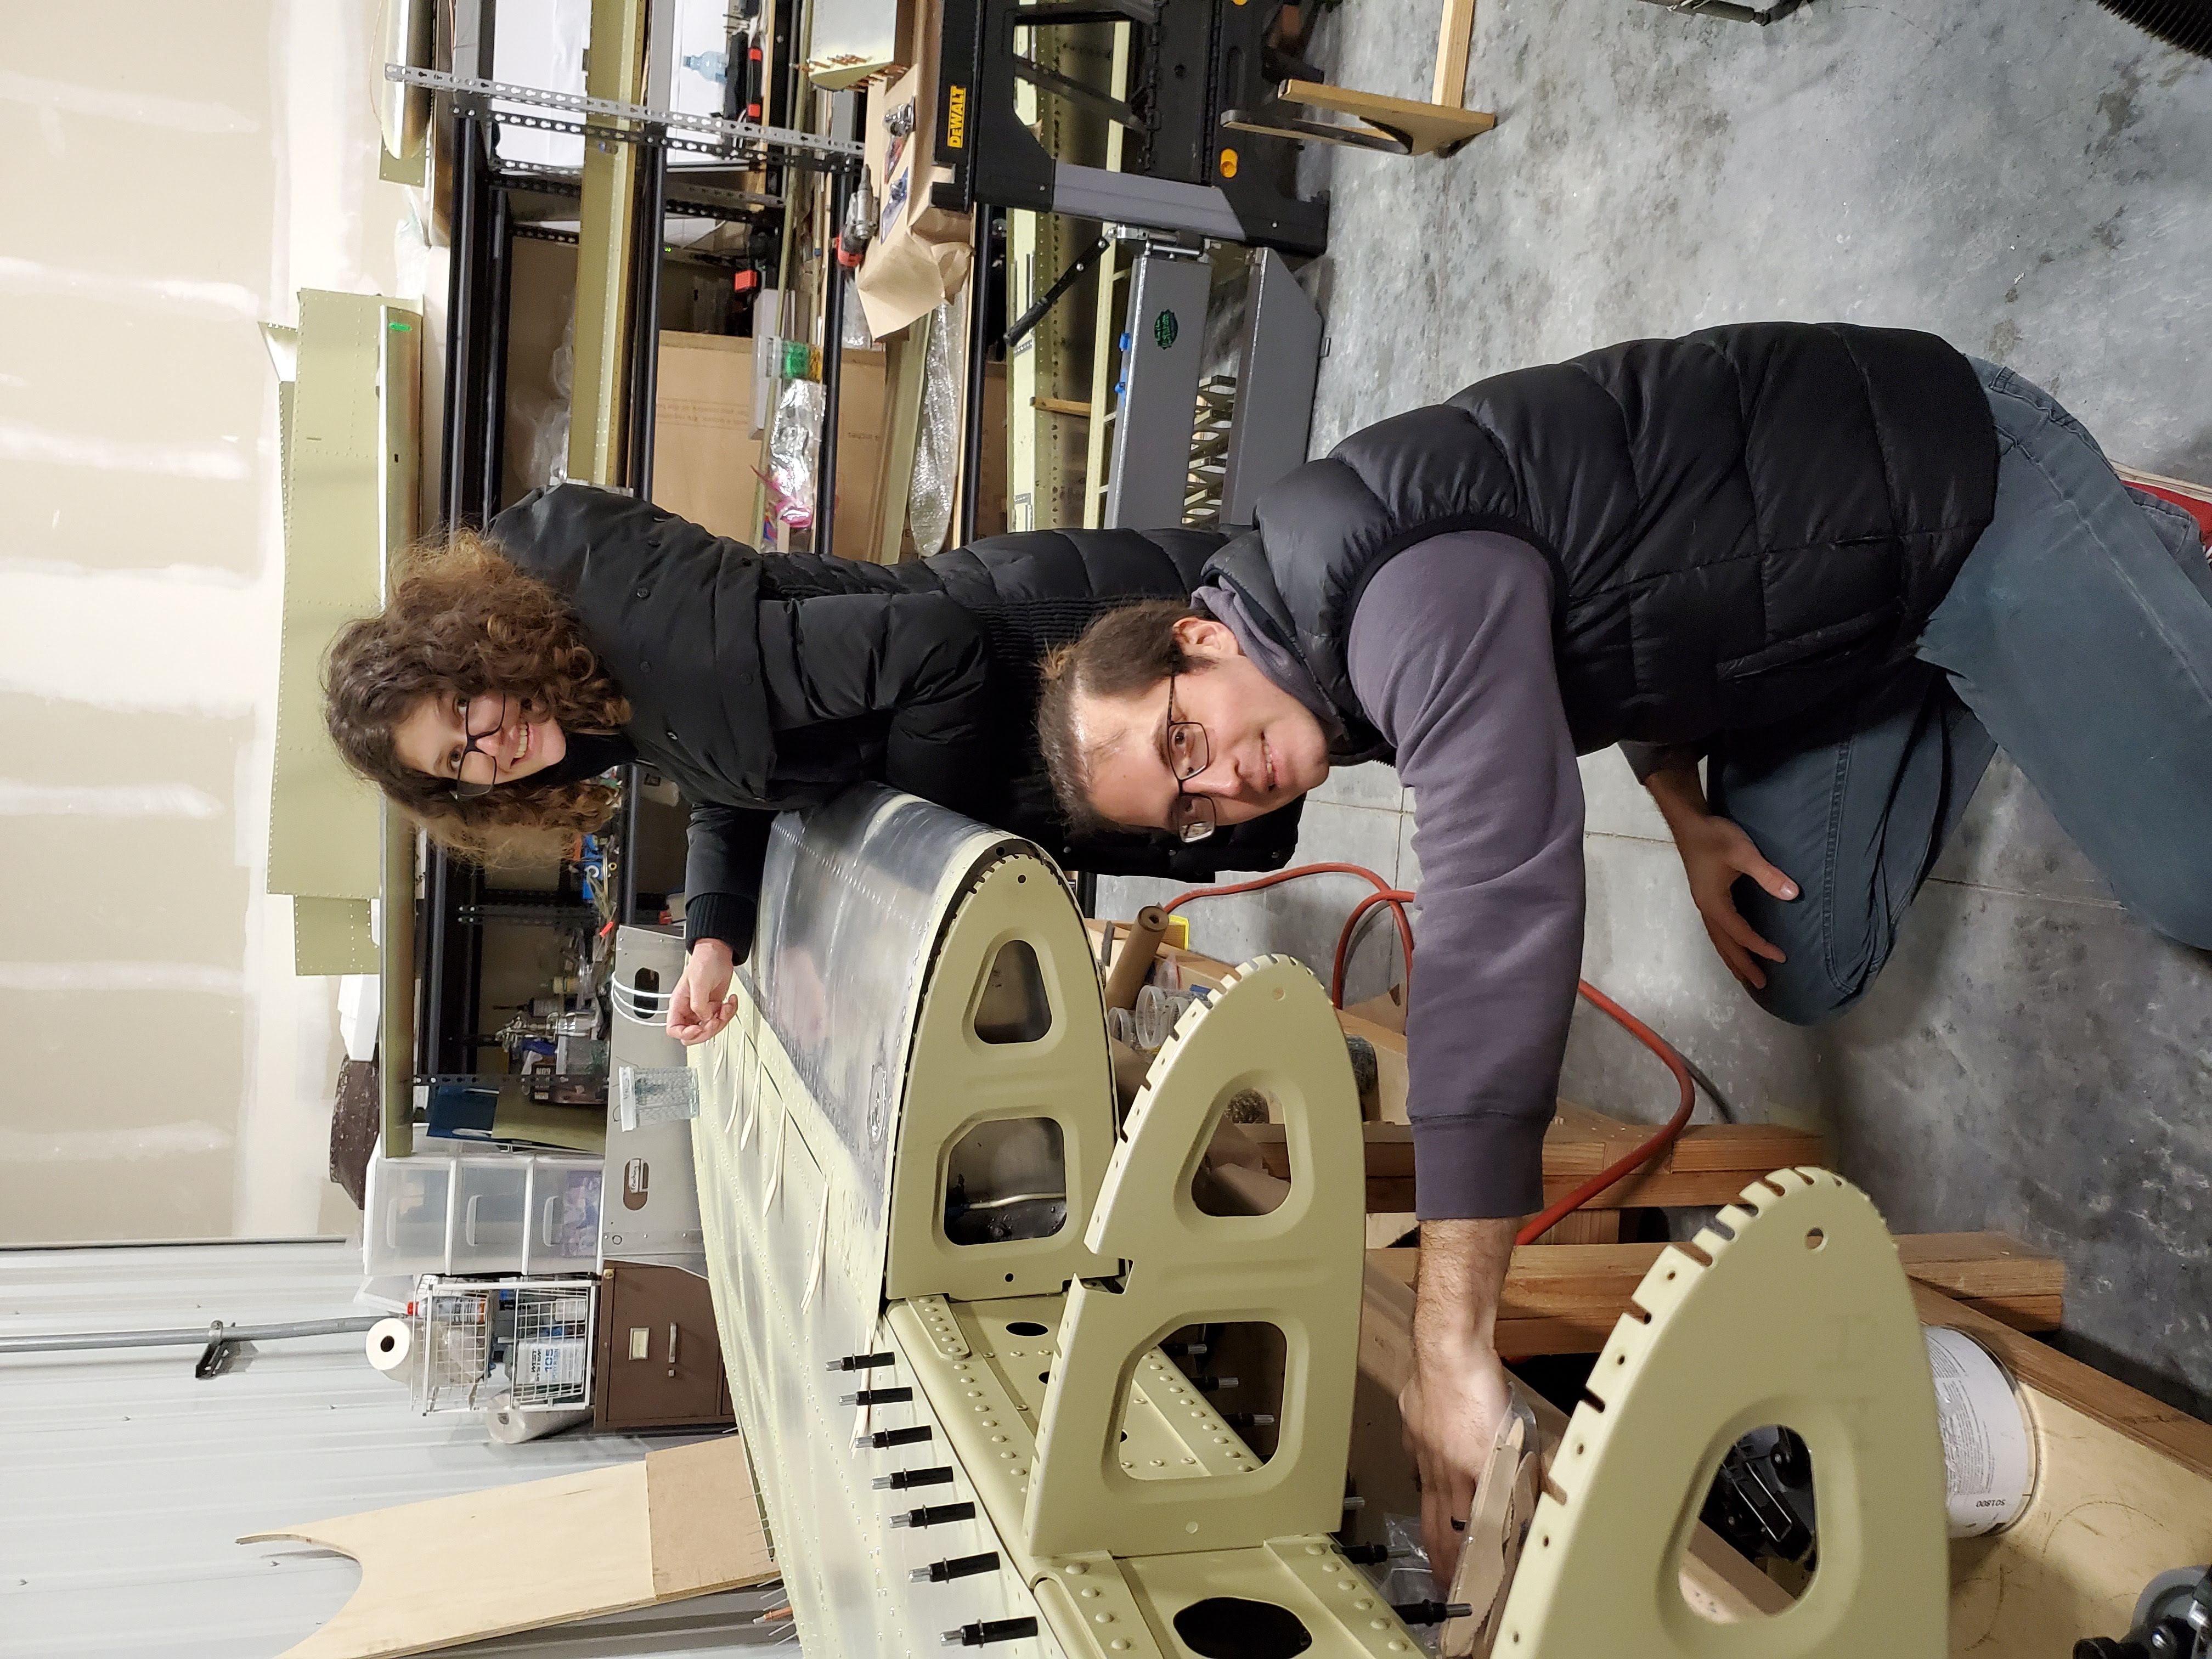
… which was a mistake :( It was the leading edge skin that was supposed to go on first. At the time, we thought it would be easier to shove the leading edge skin under the fuel tank skin. However, that moves the rib WG-RIB-101 (the leading edge rib on which the leading edge skin and the fuel tank skin overlaps), and it becomes impossible to align… Long story short, after taking the fuel tank off and putting it back on a couple more times, we discovered a technique that works. We developed a wooden-cutlery-based technique (notice the forks sticking from the tank in the picture above) to prevent skin interference between fuel tank and top skin, and putting the tank back on was not that painful anymore.
After the final installation of the fuel tank, we ran another pressure test - and our tank held the balloon inflated like a champ, for at least three days.

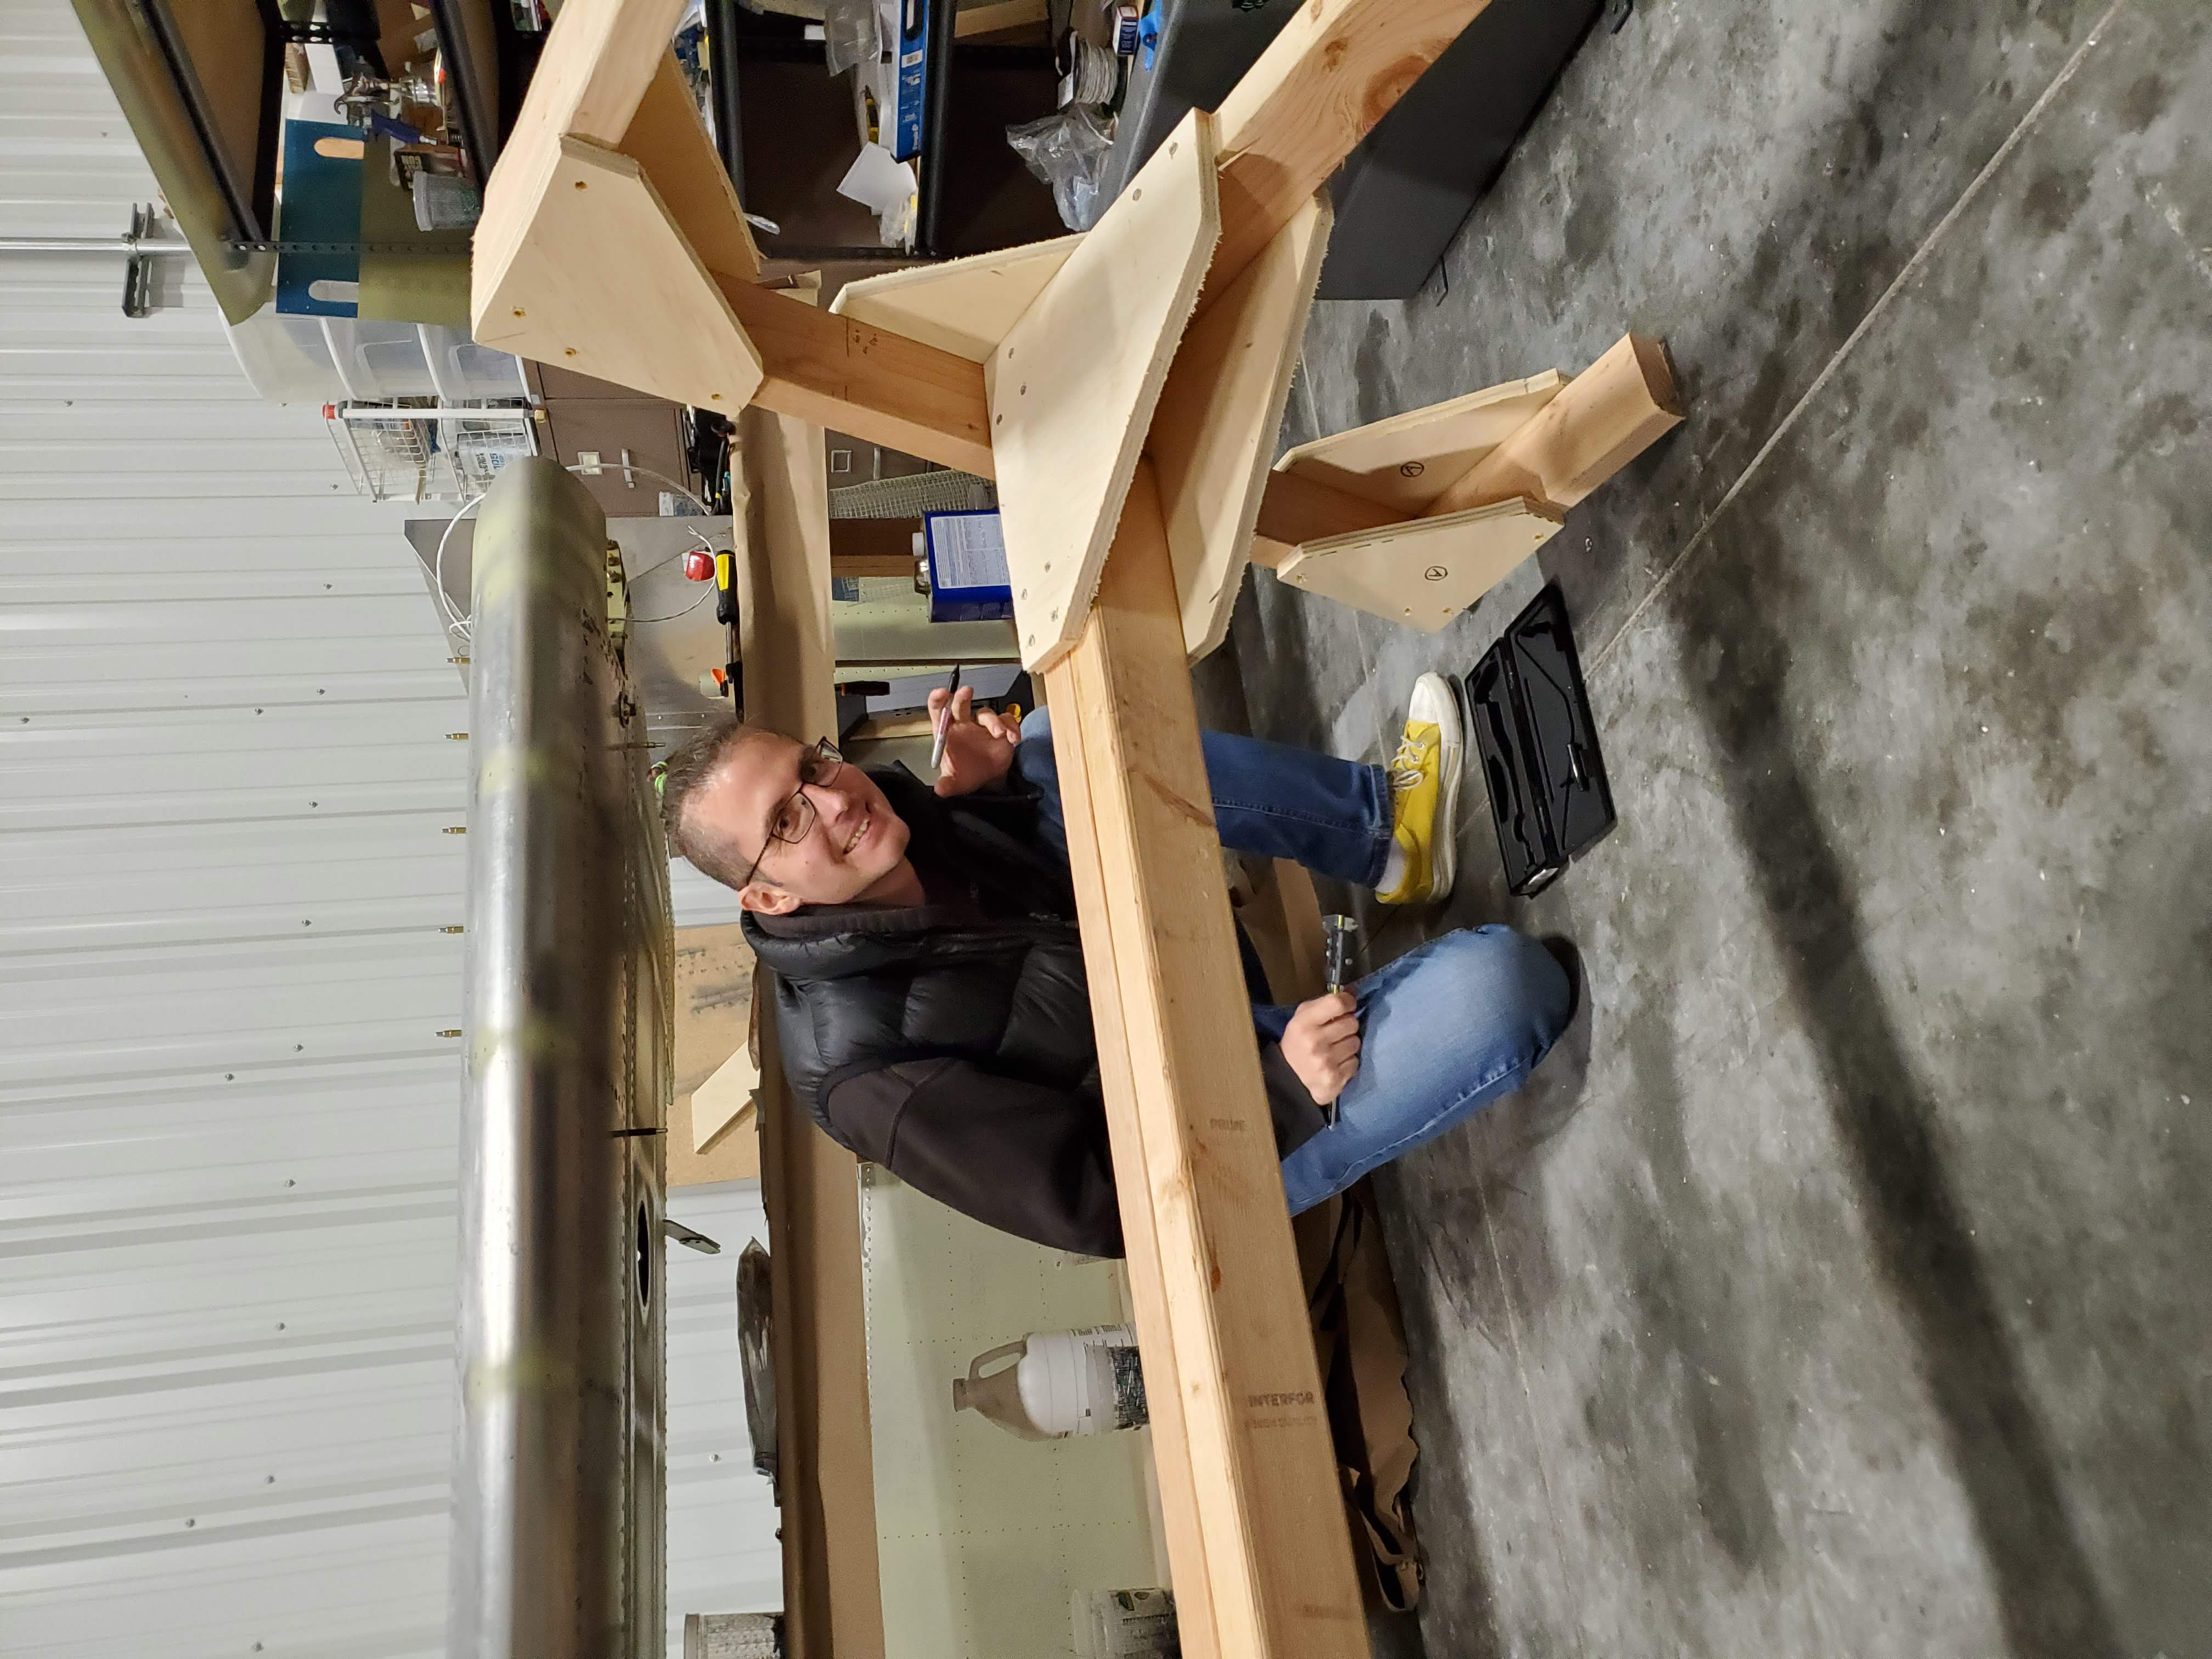
At that point, we realized that the right wing is not that far from done, and dedicated one of the weekend days to making the wing stand.

We used these plans, with minor modifications - we did not have a 4x4 beam, so we used two 2x4s as a base piece, and we are using sticky foam instead of carpeting slings. The lumber was actually leftovers from table construction, and sticky foam was salvaged from Sasha’s team’s shutdown. The result (at the time of caster installation) looked like this:
What about you readers? Are you spending your weekends doing carpentry? What is your favorite place to get craft beers / wines? Leave a comment below!
#wings