
Building a table
Eventually, we’ll need a relatively large flat space to work on wings. We decided to bite the bullet and build a table rightaway.
Tool list:
- Ryobi table saw for cutting two-by-fours
- Black and Decker circular saw for cutting plywood sheets
- Craftsman electric screwdriver for driving wood screws (100% necessary)
- Leveler to make sure things are nice and level
- Carpenter’s right angle
- Two large clamps (5 inches+)
- Hammer for molding and general alignment
- Rando hangar stuff as a table for circular saw
- Staple gun for attaching butcher paper to table
Claude let us use one of his tables, however, we wanted to build another one to have a large surface to work on the wings. So Sasha whipped out the plans for the EAA-recommended table. We made some small adjustments to make it compatible with the table Claude gave us (so that we could, if we needed, connect them into a single 16 foot long table) and then we went to our new favorite place, Home Depot (we mentioned before that our hangar is right across the street from Home Depot, right? This came in real handy!).
Here’s the list of the adjustments we made:
- the table is 8 ft long instead of recommended 5. This means that the top long beams are 8 ft, and the bottom ones are 93 in.
- the top surface is also 8 ft long (which is, conveniently, the length of the standard plywood sheet sold in home depot)
- the top surface is not flush at the front, but has a small overhang - we did it to be able to attach clamps to it. Otherwise, one has to clamp things to the top beam and the top surface together, which requires a minimum of 5 inch gap from the clamp.
In terms of stuff that we actually bought and used (for a single table - we accidentally ended up bying twice the amount of stuff we needed, but we’ve left that part out of this description :):
-
2 in x 4 in x 16 ft studs - 4 (this deserves a comment. Standard cheapest two-by-four studs are 8 ft long, but by the time we got to the store, most of the remaining ones were bent in one way or the other, or cracked. So we got slightly more expensive 16 ft ones - we were able to find really nice and straight ones)
- 6 ft x 8 ft x 0.75 in sanded plywood sheet - 1
-
6 ft x 8 ft x 0.5 in sanded plywood sheet - 1 (for the shelf; if you are building one table, you can just get one thicker sheet and use half of it for the top, the other half for the shelf, no need to repeat our mistakes :))
- #10 x 3 in self-drilling (torx) wood screws - 1 lbs (in case you are as clueless in Home Depot magic as we are, those are actually on the opposite side of the aisle from the regular, non-self-drilling screws. Do not skimp on the screws, the torque required to get #10x3 screws into the wood is respectable, and will tear the head of cheap screws apart)
- #10 x 2.25 in self-drilling (torx) wood screws - 1 lbs
- #8 x 1.5 in self-drilling (torx) wood screws - 1 lbs
- butcher paper - 1 roll (for covering the table)
- molding to look nice and experiment - 22 ft
- 4D finishing nails - 1 small box
- wood glue - 1 small bottle
Now to the construction procedure.
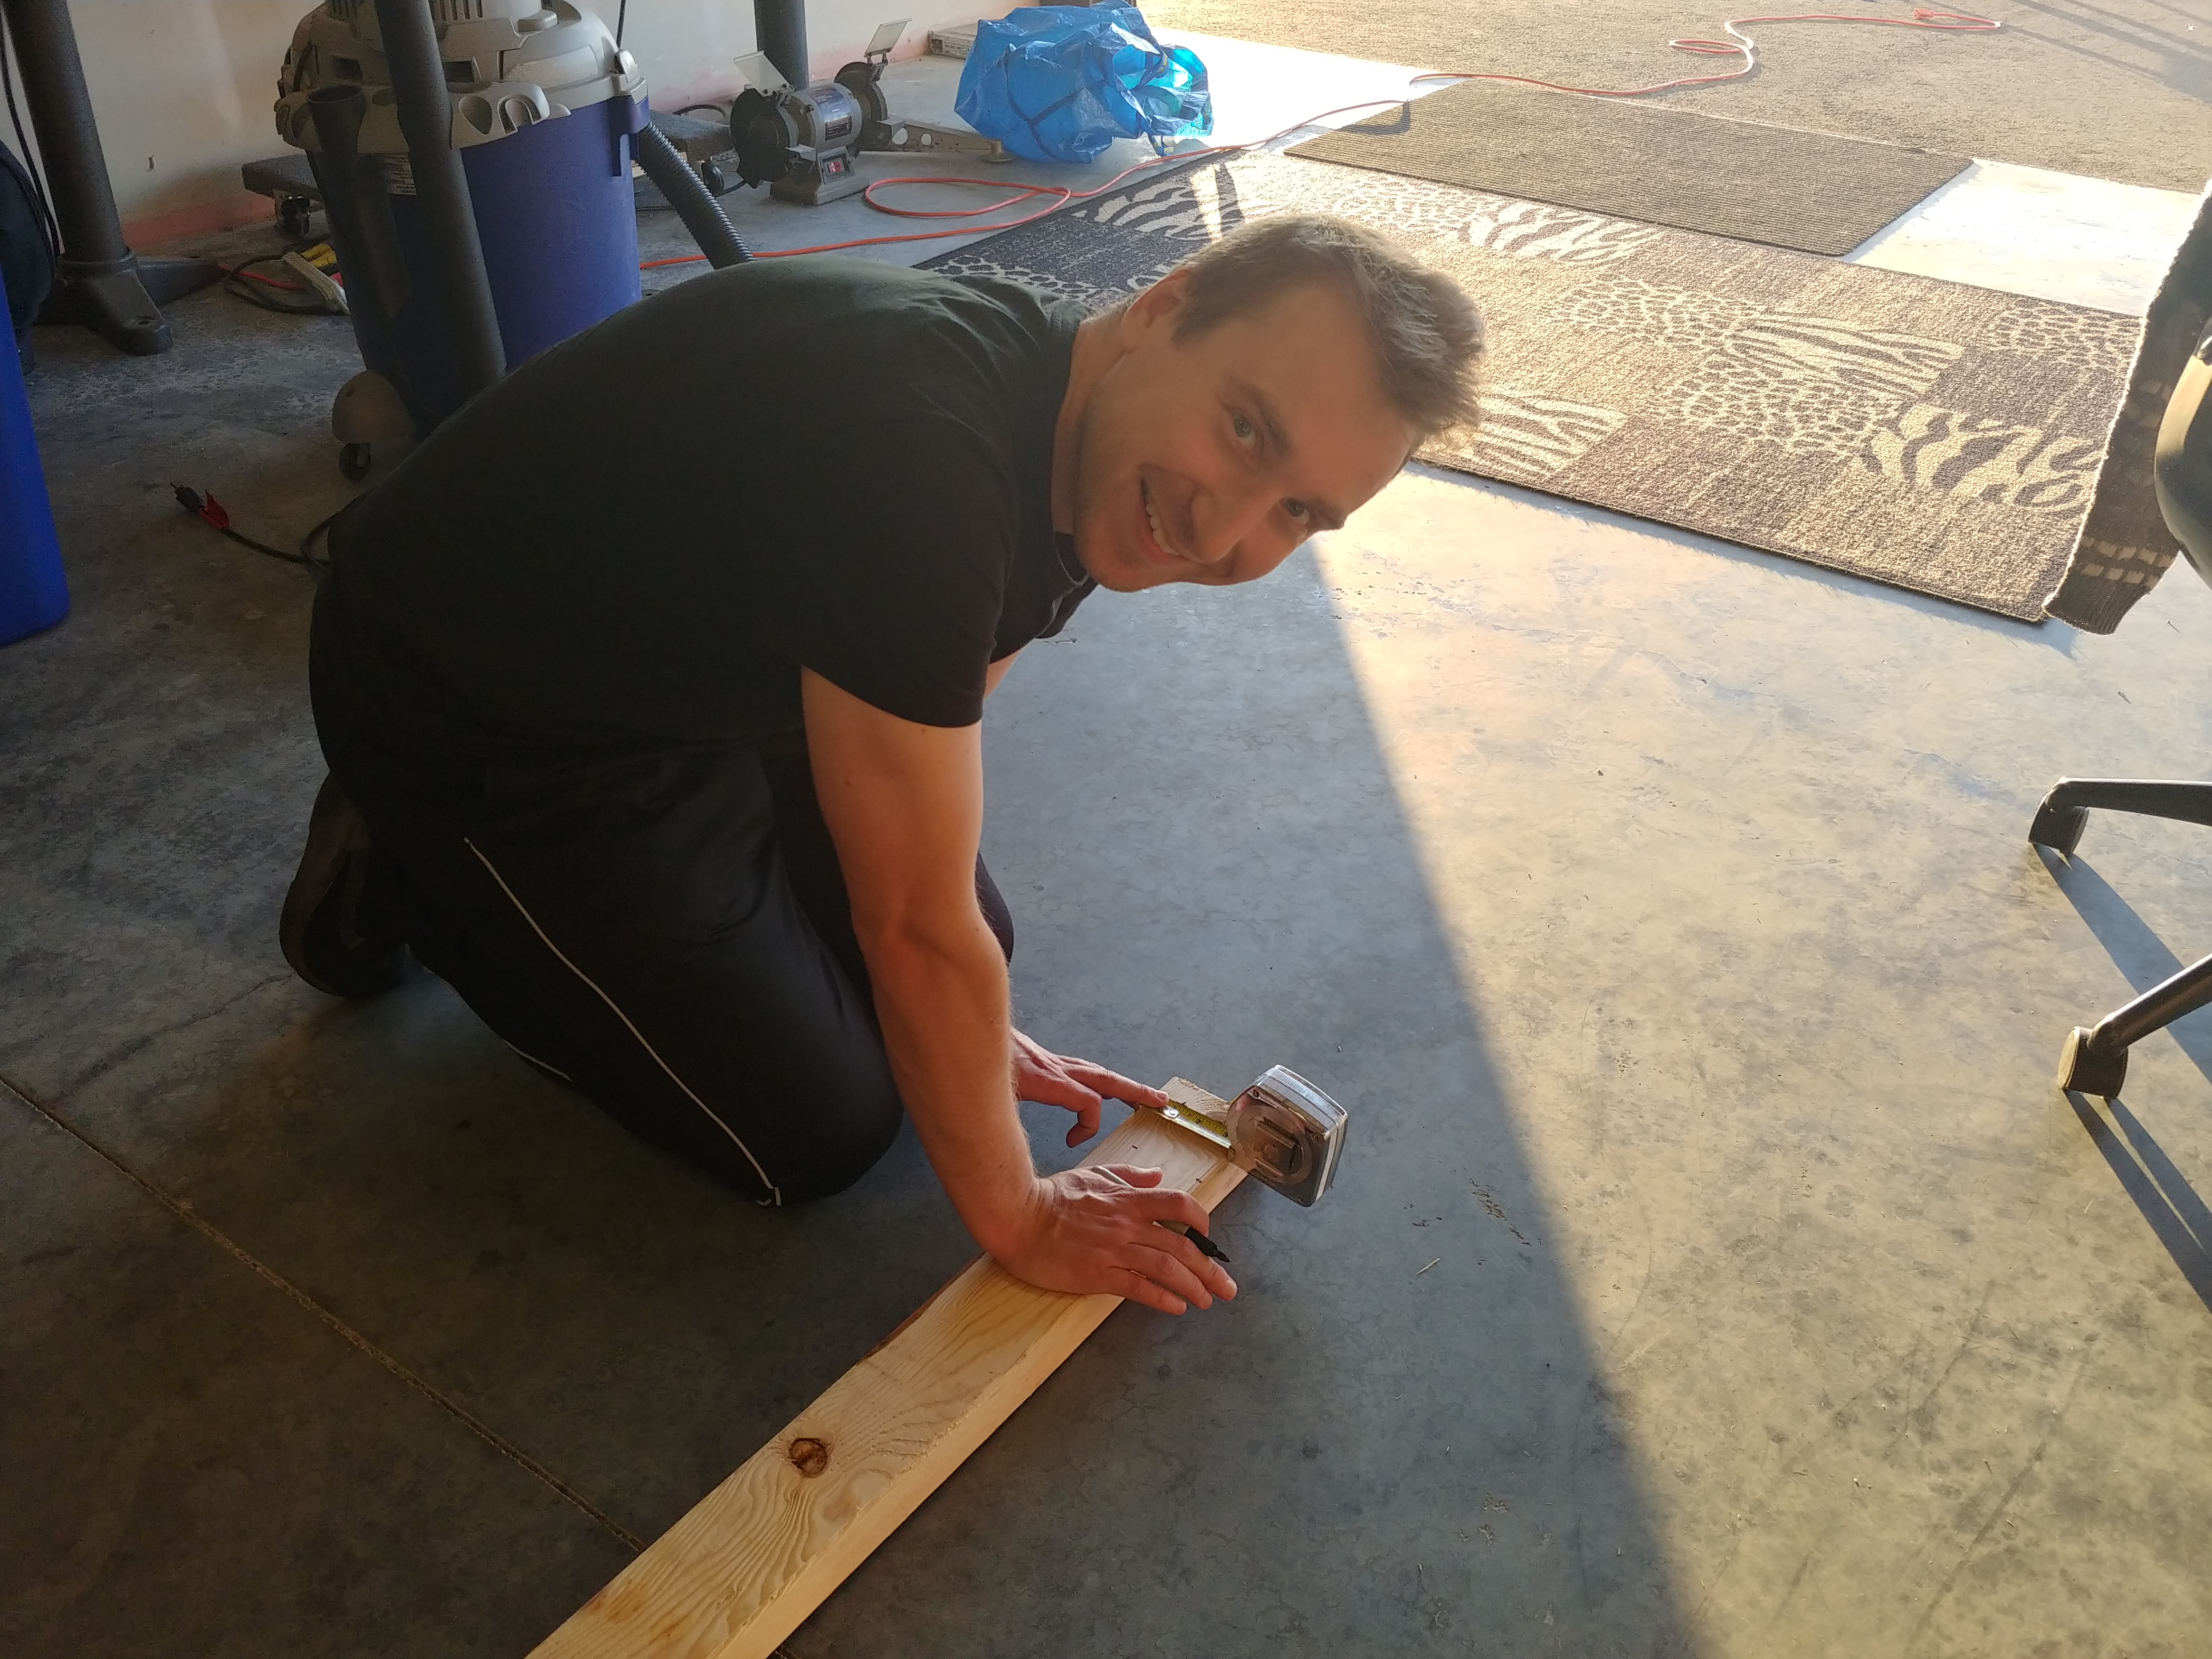
First, we measured and cut the two-by-fours into pieces - which sizes we can’t remember, refer to the EAA plans linked above :)
Claude has an awesome table saw that makes cutting a breeze. However, with first couple of cuts we forgot to account for the blade thickness, so just a heads up guys don’t forget to do that. Next, a reasonable thing to do would be to then assemble the frame, and use the frame for cutting the top (as Claude told us later). At the time we did not come up with a plan that brilliant though and simply followed the directions of the plan to cut the top and the sides rightaway. As a cutting tool, we used Claude’s circular saw. However, how to suspend the 6 x 8 ft sheet of plywood to be able to cut it? We used the hydraulic lift’s shelf on one side, and our toolbox from the other side. We double-checked that both are clear of the cut, and turned on the screaming little beast of a circular saw. The first cut ended up a bit janky, because a) it was the first time either of us has used a circular saw, and b) we have not figured out how to cut all 8 ft in one pass, and instead tried to cut 4 ft from one side, and then 4 ft from the opposite side. Sure enough, the cuts did not match precisely, so we ended up with a bit of a step. When cutting the shelf, we became more comfortable with the circular saw, and have cut it pretty neatly (big shoutout to the high quality of Claude’s tools!)

Next came the assembly stage. We put the top beams on the floor (fortunately, the floor in the hangar is rather flat), used the right angle to align the beams into a rectangle (with 21 in beams between 8 ft beams), and screwed in 8 #10x3 screws (2 on each side).
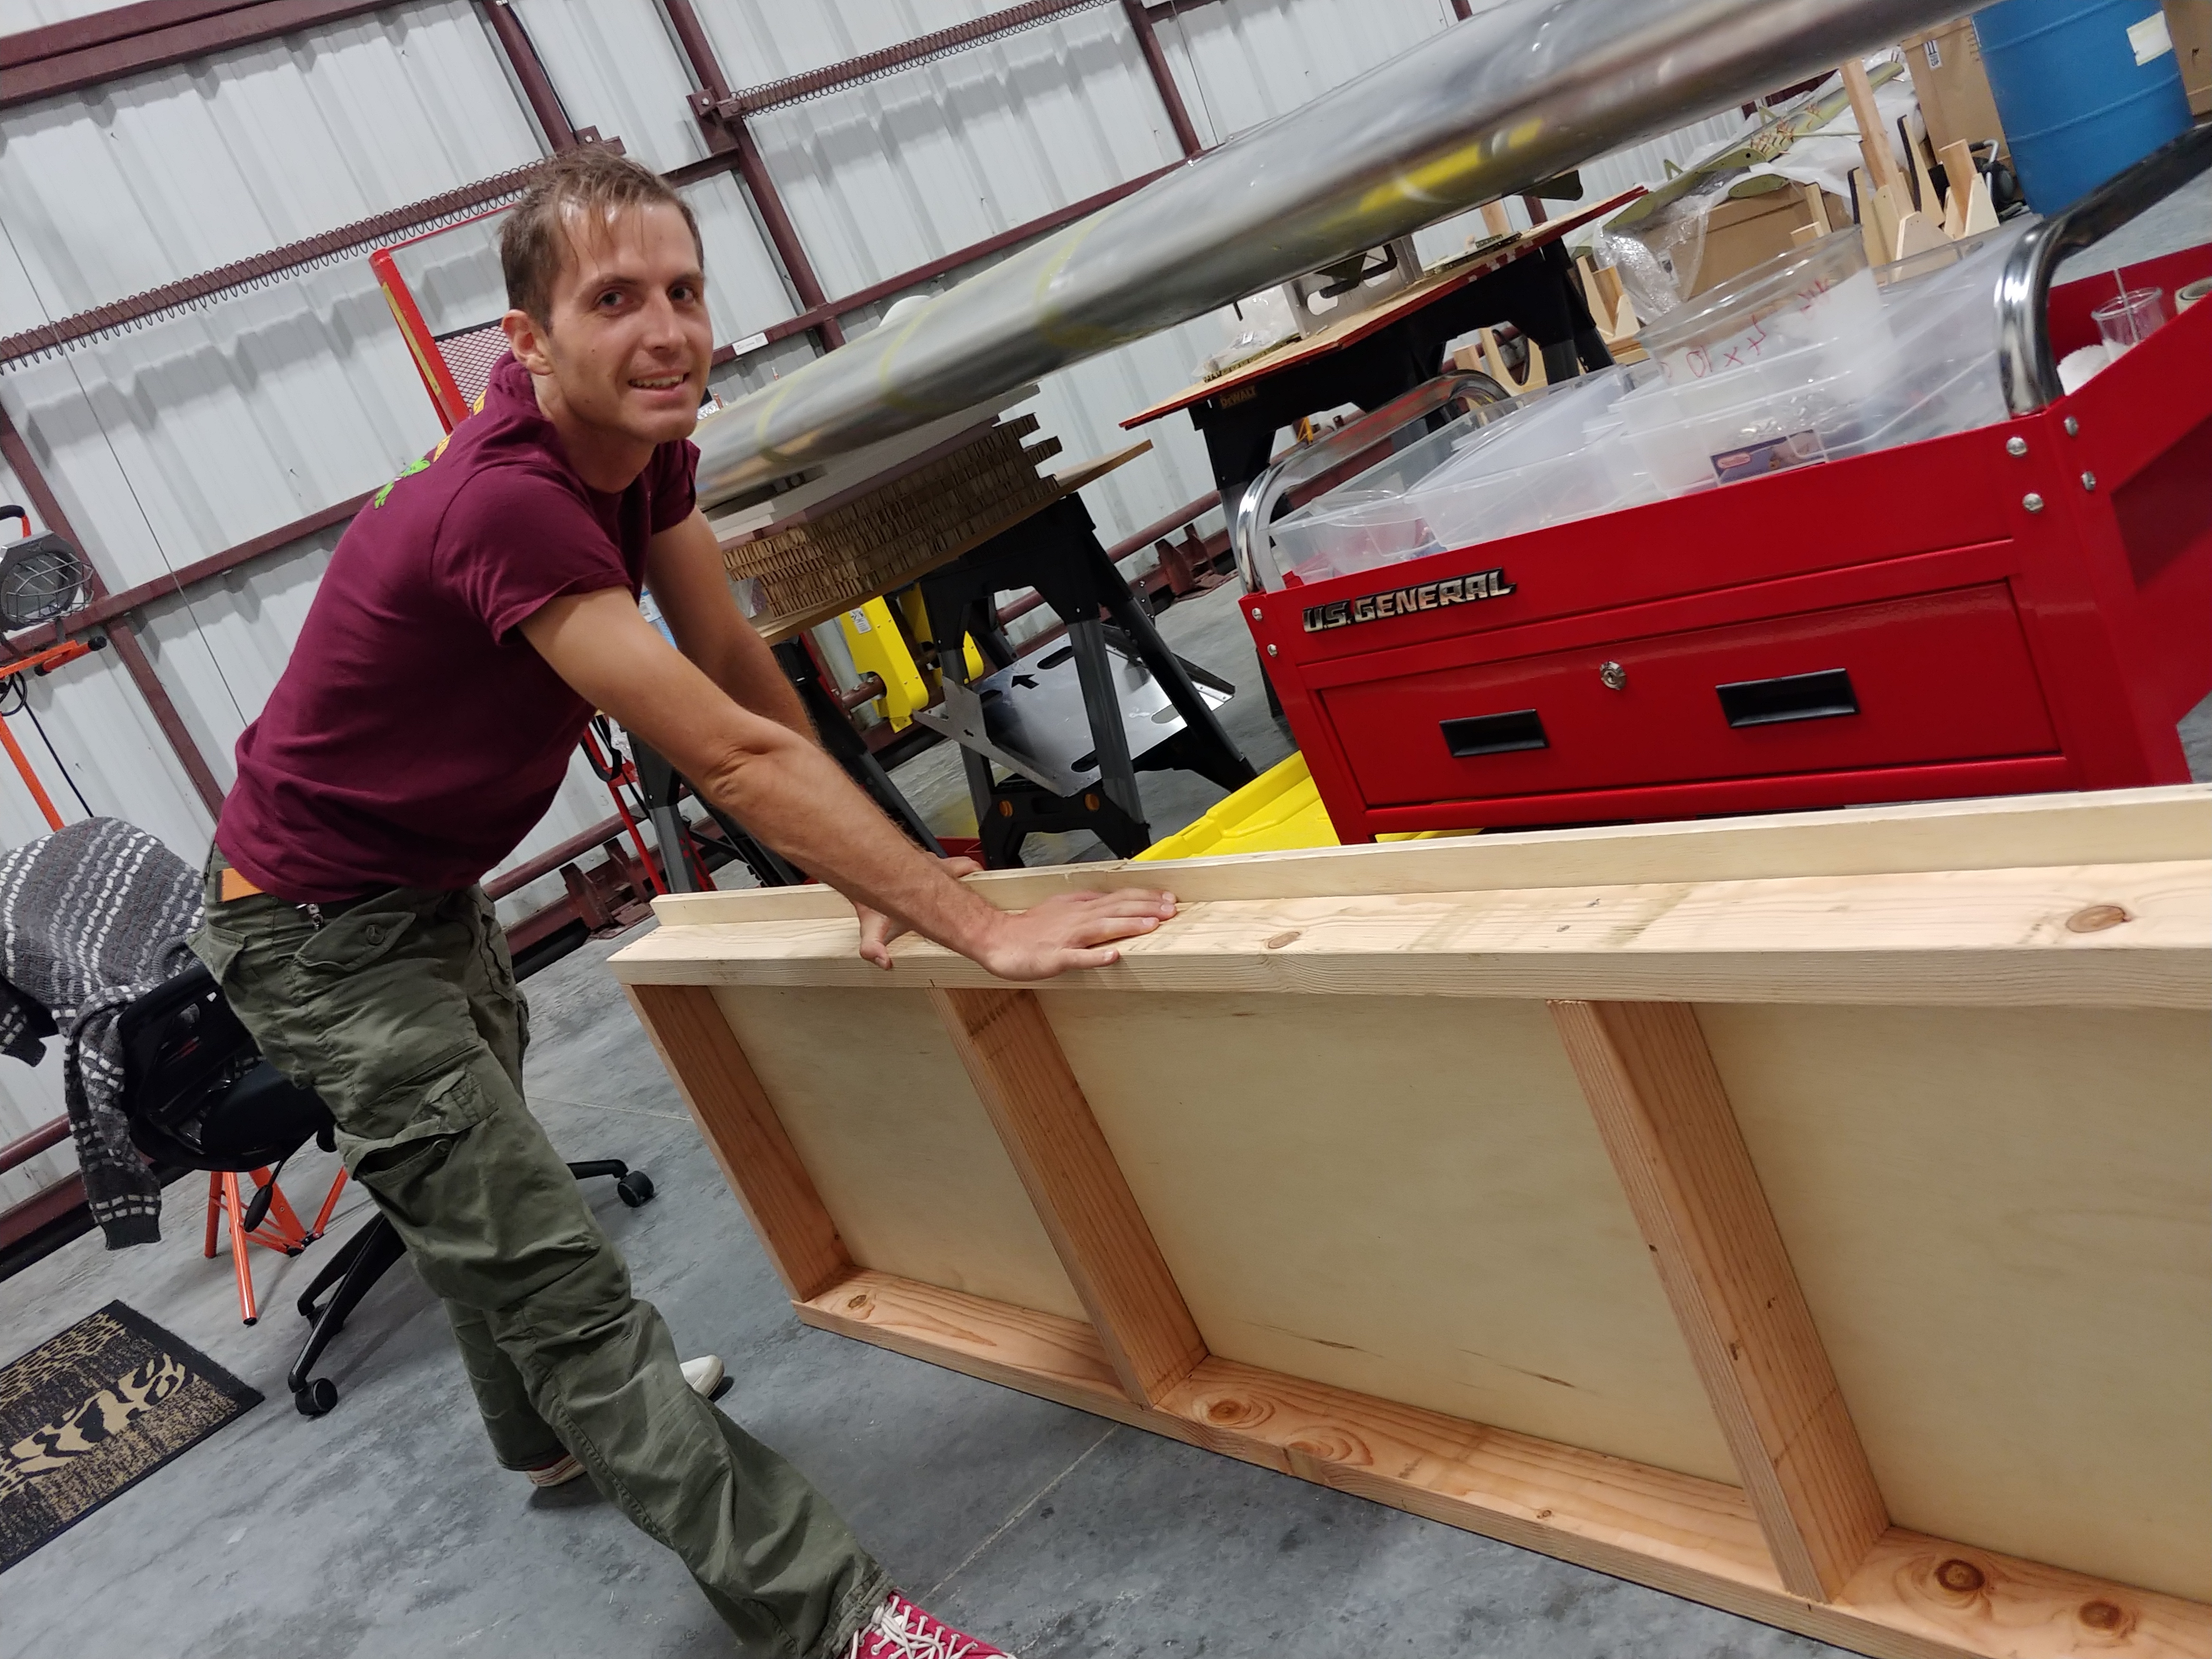
Again, a good electric drill / screwdriver is a must for this stage, because those #10x3 screws take a lot of torque to get in; and tend to slip unless pressed really firmly. Peter broke a sweat even with the electric screwdriver!
Next we attached the intermediate supporting beams. There was supposed to be 3 of them (so 5 total - 3 intermediate, and 2 end beams), but we miscounted during cutting and ended up with 4 total, so 2 intermediate beams. Not a disaster!
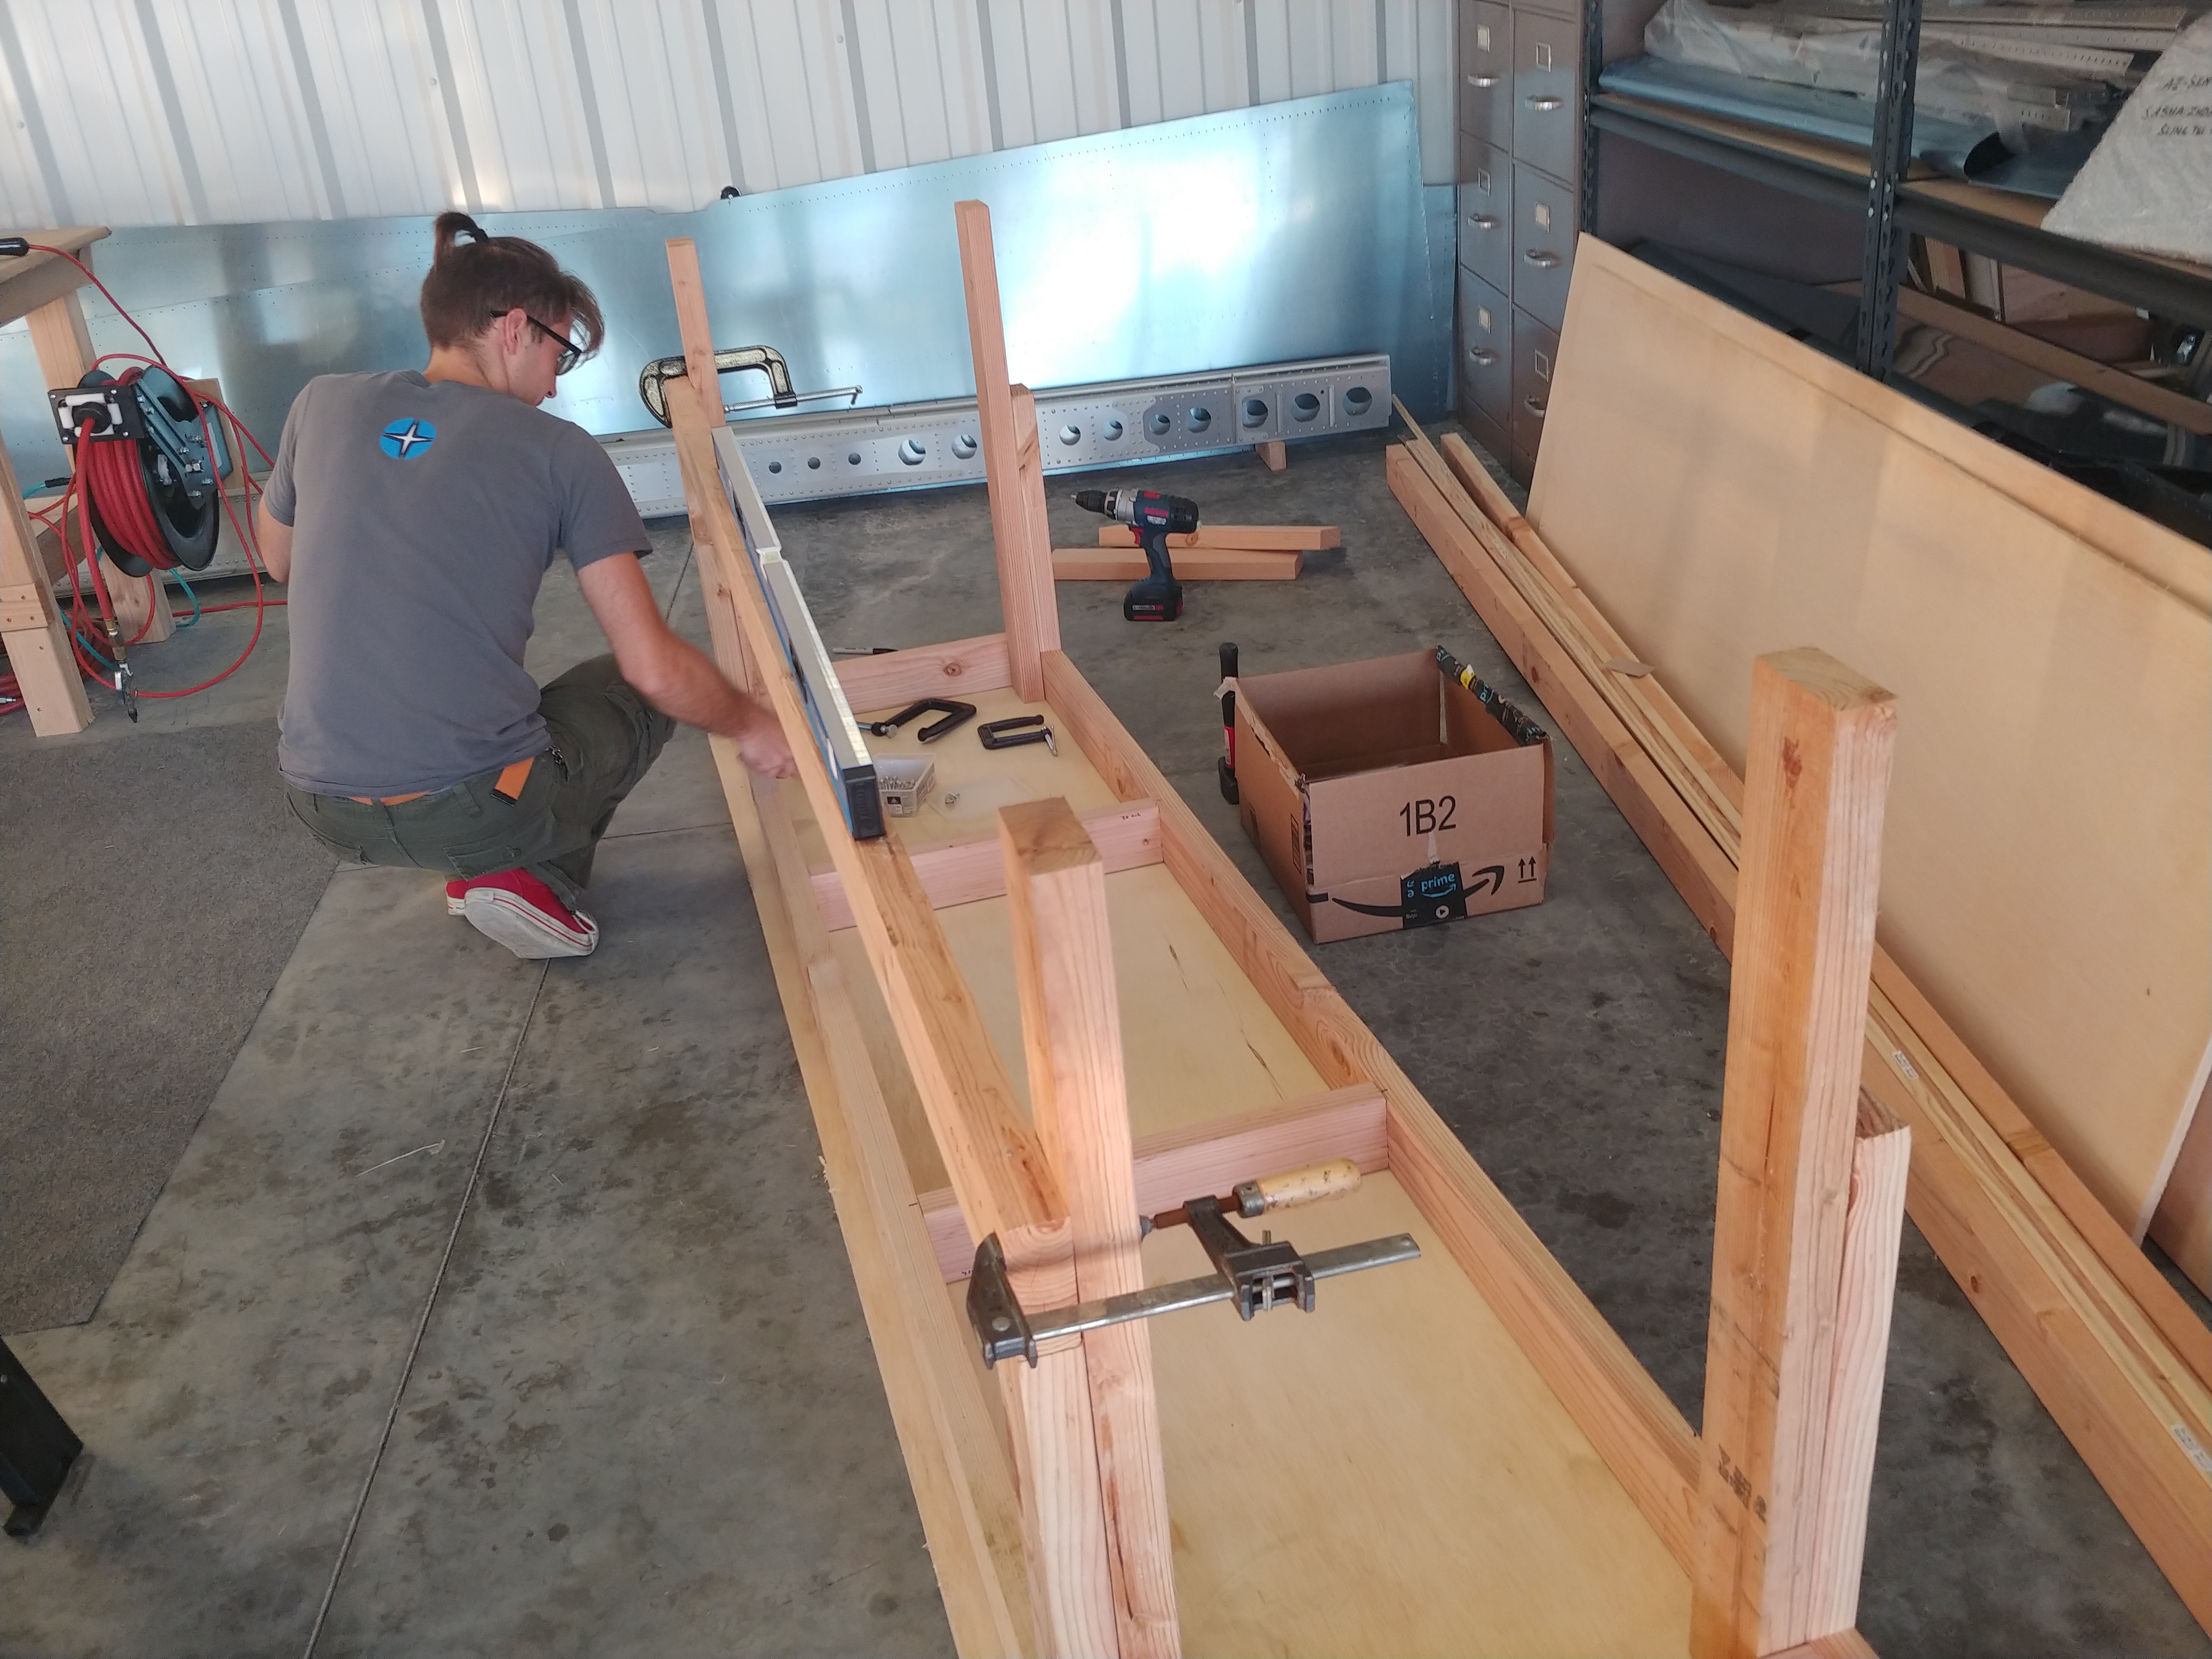
Next, the legs! This part was a little tricky - most legs were vertical when placed within the frame (we checked that using the level), but one leg was slightly off. Sergey, who was helping us out that day, came out with the great idea of cardboard inserts (cut out of the box we used to move stuff to hangar) to correct the tilt of the leg.
The rest was pretty straighforward - add leg doublers (17.5in slices), attach and level 93 in shelf supports, and cut lower leg doublers to length. We did a decent job cutting, but to make the bottoms of the legs perfectly flush, we needed some of those cardboard spacers again.
Lastly, we added the shelf (it turned out a little long, so we shortened it by an inch using the circular saw); and attached the moldings using wood glue and 4d finishing nails. The molding required pre-drilling, but even so, attaching it was really fast, while protecting us from splinters when carrying the table around. This is how the table looked like in the end:
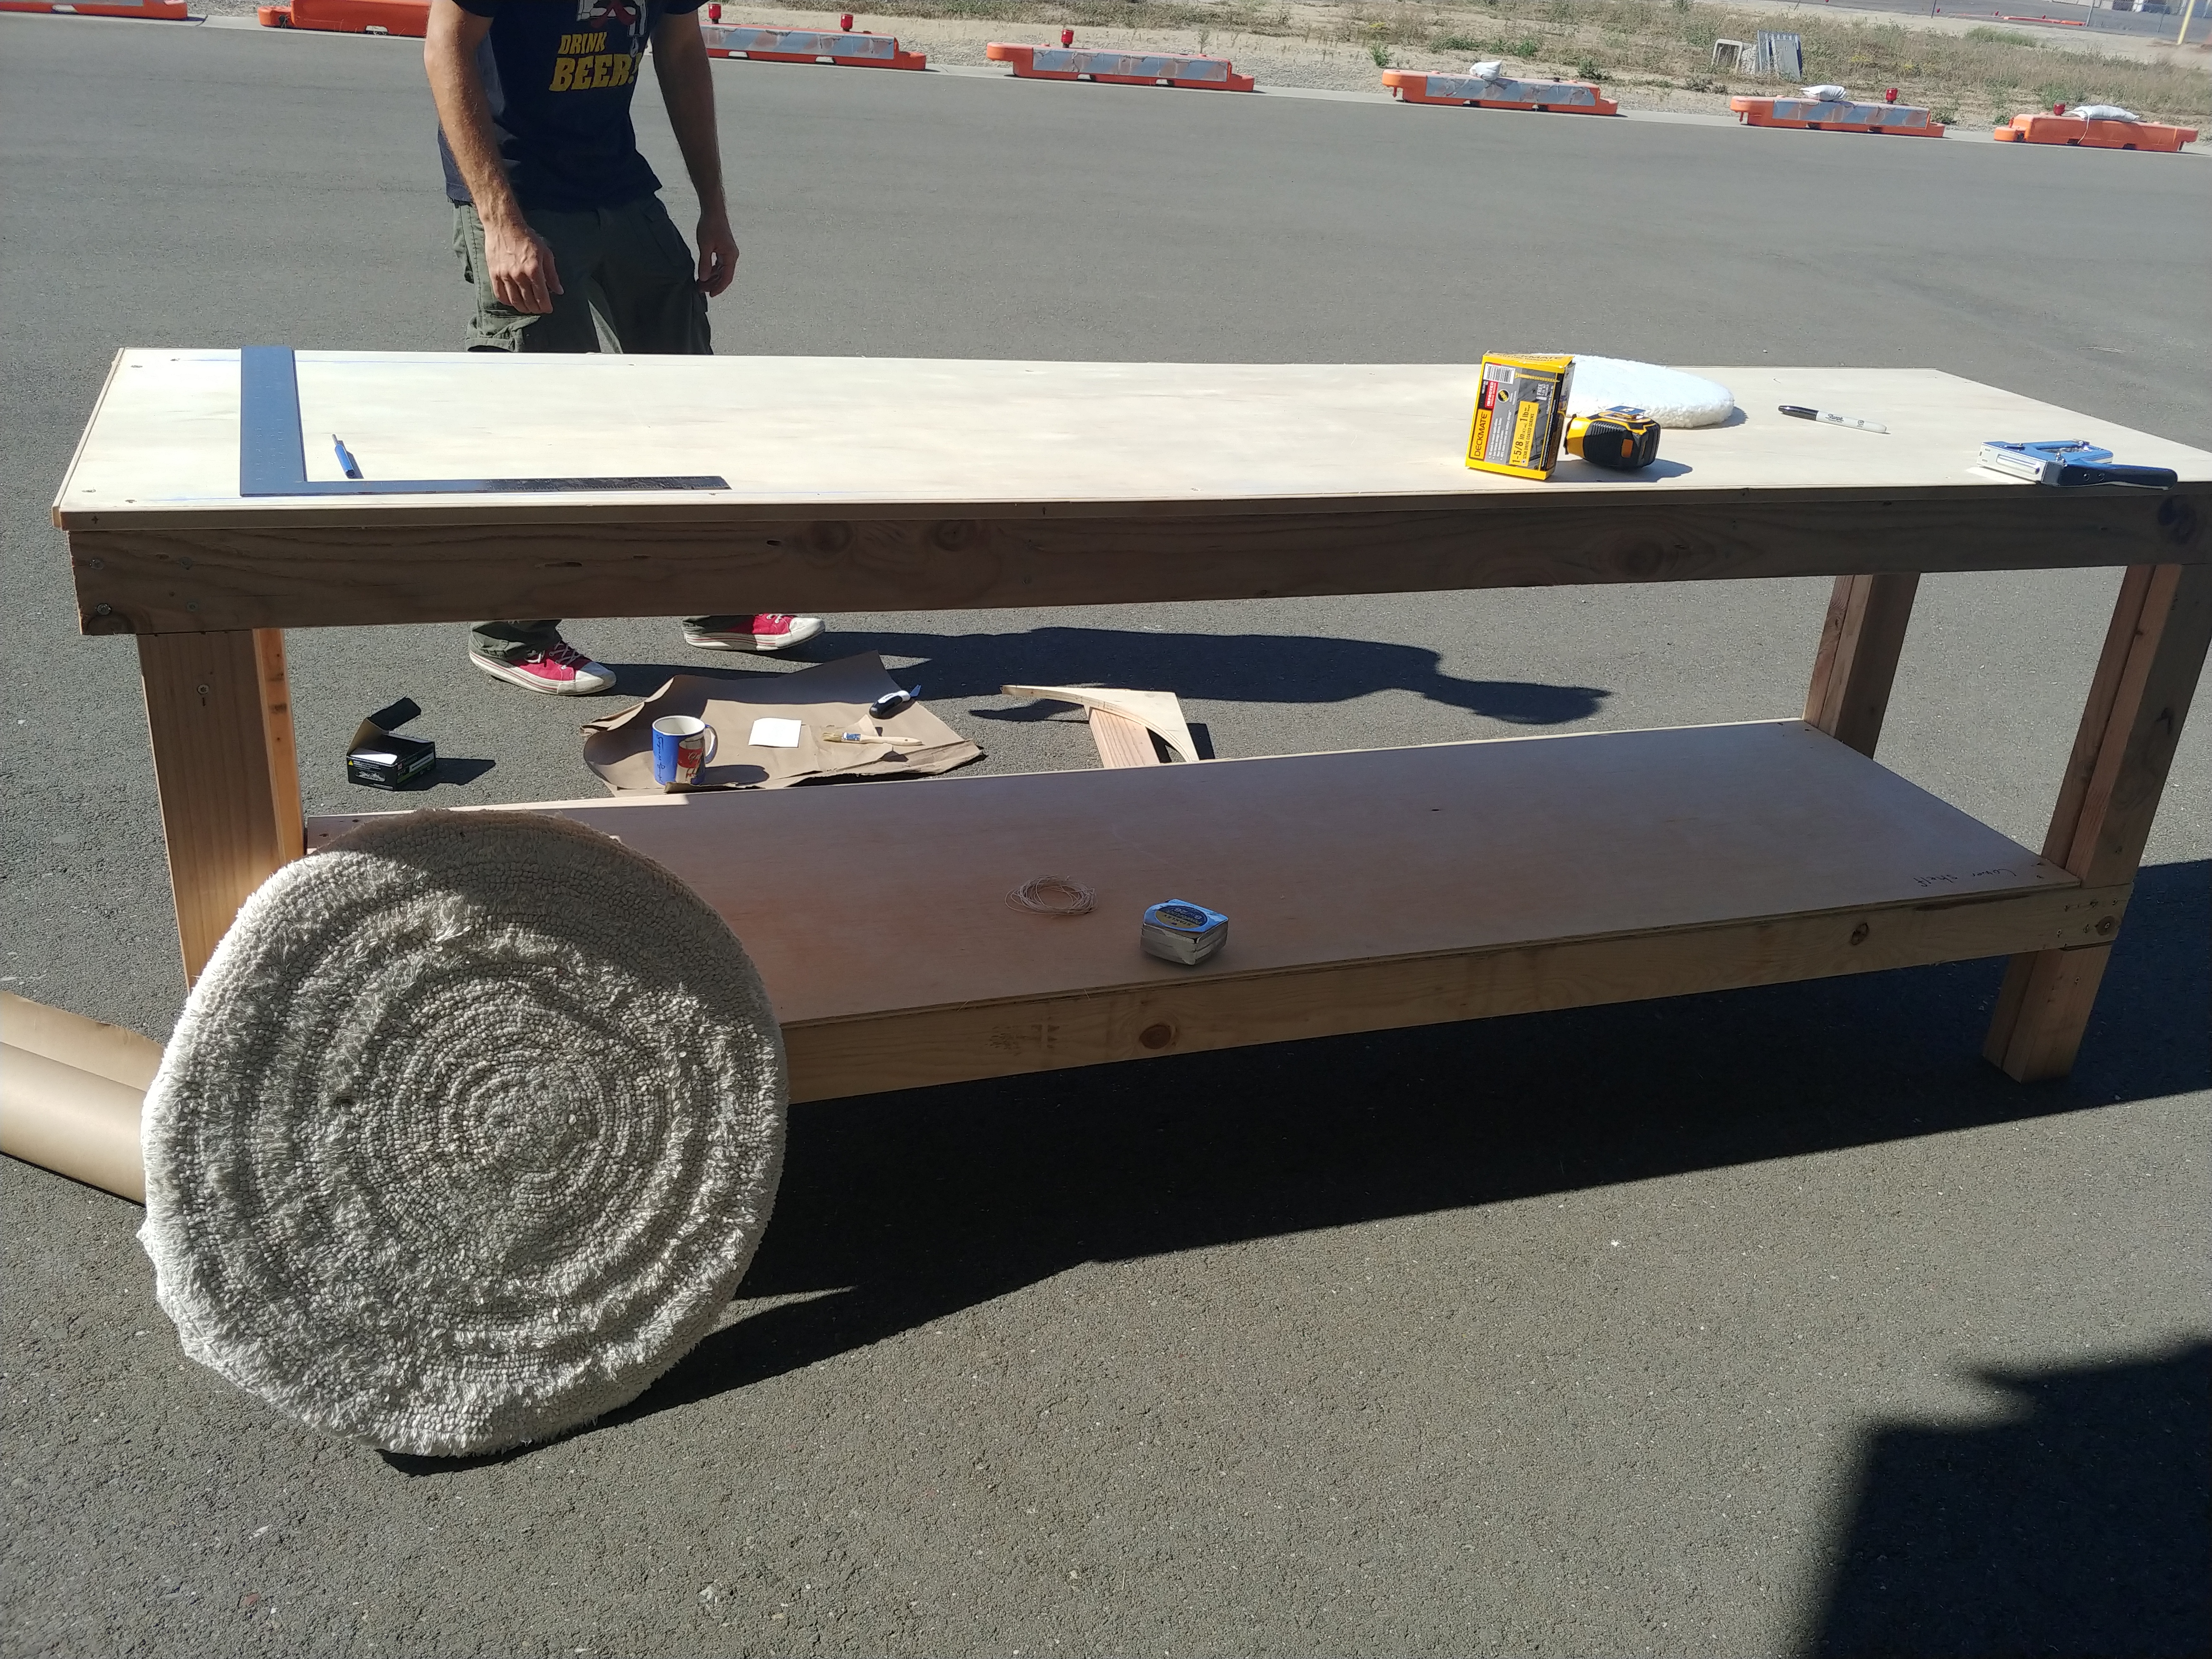
What do you guys think? Worth the effort? Sasha is not entirely convinced it makes sense to build tables as you could possibly buy them, but that does seem rather like saying building an airplane doesn’t make sense as you could buy it :) Thoughts? Leave a comment!
#working-space #tutorial