
Receiving the engine, closing the side skins, LOTS of wires and help from friends!
Since our last blogpost (almost two months ago… apologies dear readers!) we have made a lot of progress, mostly because our friends were helping us a lot along the way! We put in wires, fuel lines, installed side skins and the passenger floor. Another exciting bit of news was receiving our engine!
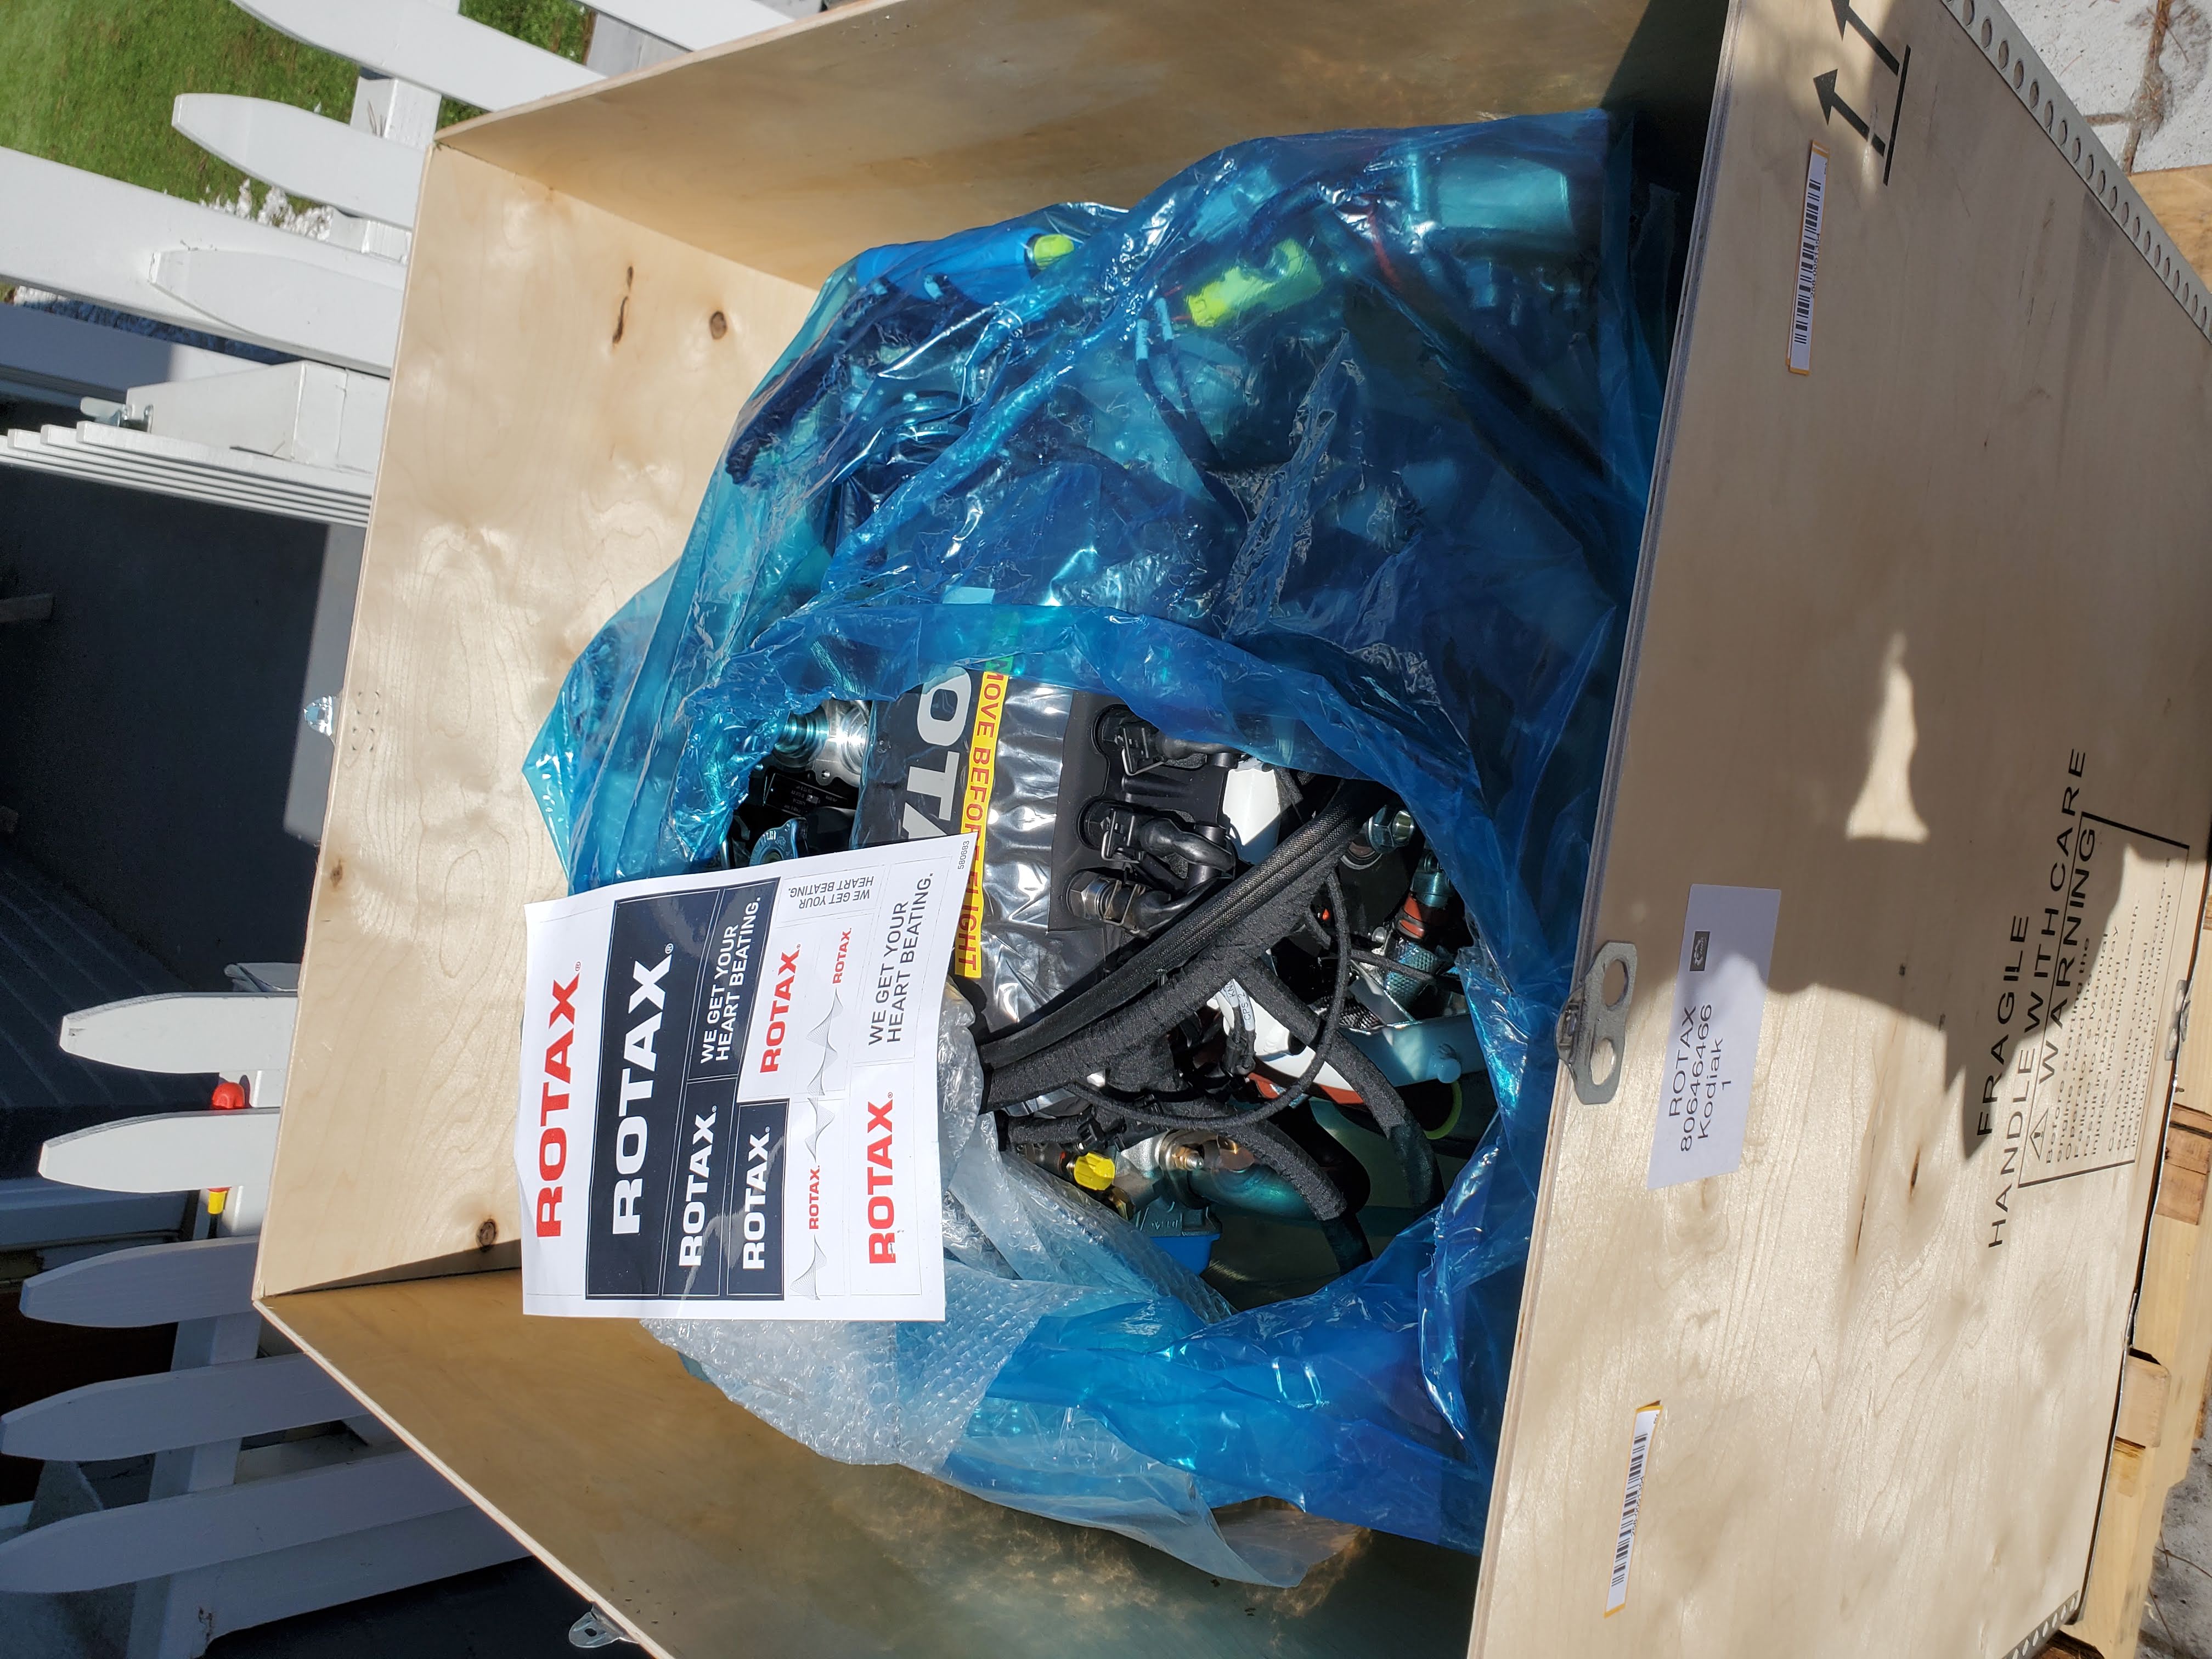
As typical with freight companies, they sent us an email saying we’ll be contacted to make delivery appointment; and then just showed up and unloaded the pallet at our house. Fortunately, we were home, and the engine did not have to sit in the driveway for too long. However, the corollary is that the engine is now in our garage. Still figuring out how to get it to the hangar. We’ll likely try to shove it in our hatchback, and if that fails, rent a uhaul.
With the engine delivered, we had even more reasons to double down on the build, to be able to put the side skins and firewall on. To be able to do that, however, we needed to finish the wiring, controls adjustment, and routing fuel and air inside the fuselage, as working inside the center fuselage with side skins on is much harder (and working in the rear fuselage is basically impossible) than with side skins off.
Adjusting the controls gave us somewhat of hard time, but not in the way other builders are typically complaining about. Our controls move pretty smoothly (we did not have to grind the bushings holding the torque tubes). However, making the joysticks be parallel, and deflect to the symmetric angles left and right took us a few attempts; and each reassembly of the link between the joysticks takes quite a bit of time and swearing. We made a video detailing our final choices:
Another thing we mention in the video above is our decision to go with AN8 stainless-steel braided teflon (aka PTFE) fuel lines. They are a bit of a pain to route, because the AN8 lines are rather thick and more stiff than rubber hoses (although still likely less painful to work with and more forgiving than aluminum lines). While routing, especially around some tight corners, we started to doubt our decision to go with AN8. However, since we made the video, another builder went through the trouble of measuring the fuel flow through standard rubber hoses and AN6 teflon lines, and found that fuel flow through AN6 teflon lines is lower, and is below recommended Rotax value for fuel flow (see discussion here) So we feel that it was a good idea to go with AN8 after all :) Evan Brunye pointed out that you could use AN8 for forward line, and AN6 for the return line (as much less fuel is being returned). A final note on fuel lines – AN8 hose and fittings that we got from Hot Rod are a breeze to work with (in terms of fittings installation). The only specialized tool that we used were the shears to cut the hose; and we could probably do without them. The lines held pressure from the first try (we added a plug on one end, and a car nipple on the other, pumped the hoses with Claude’s compressor, and used a car pressure gauge to watch the pressure).
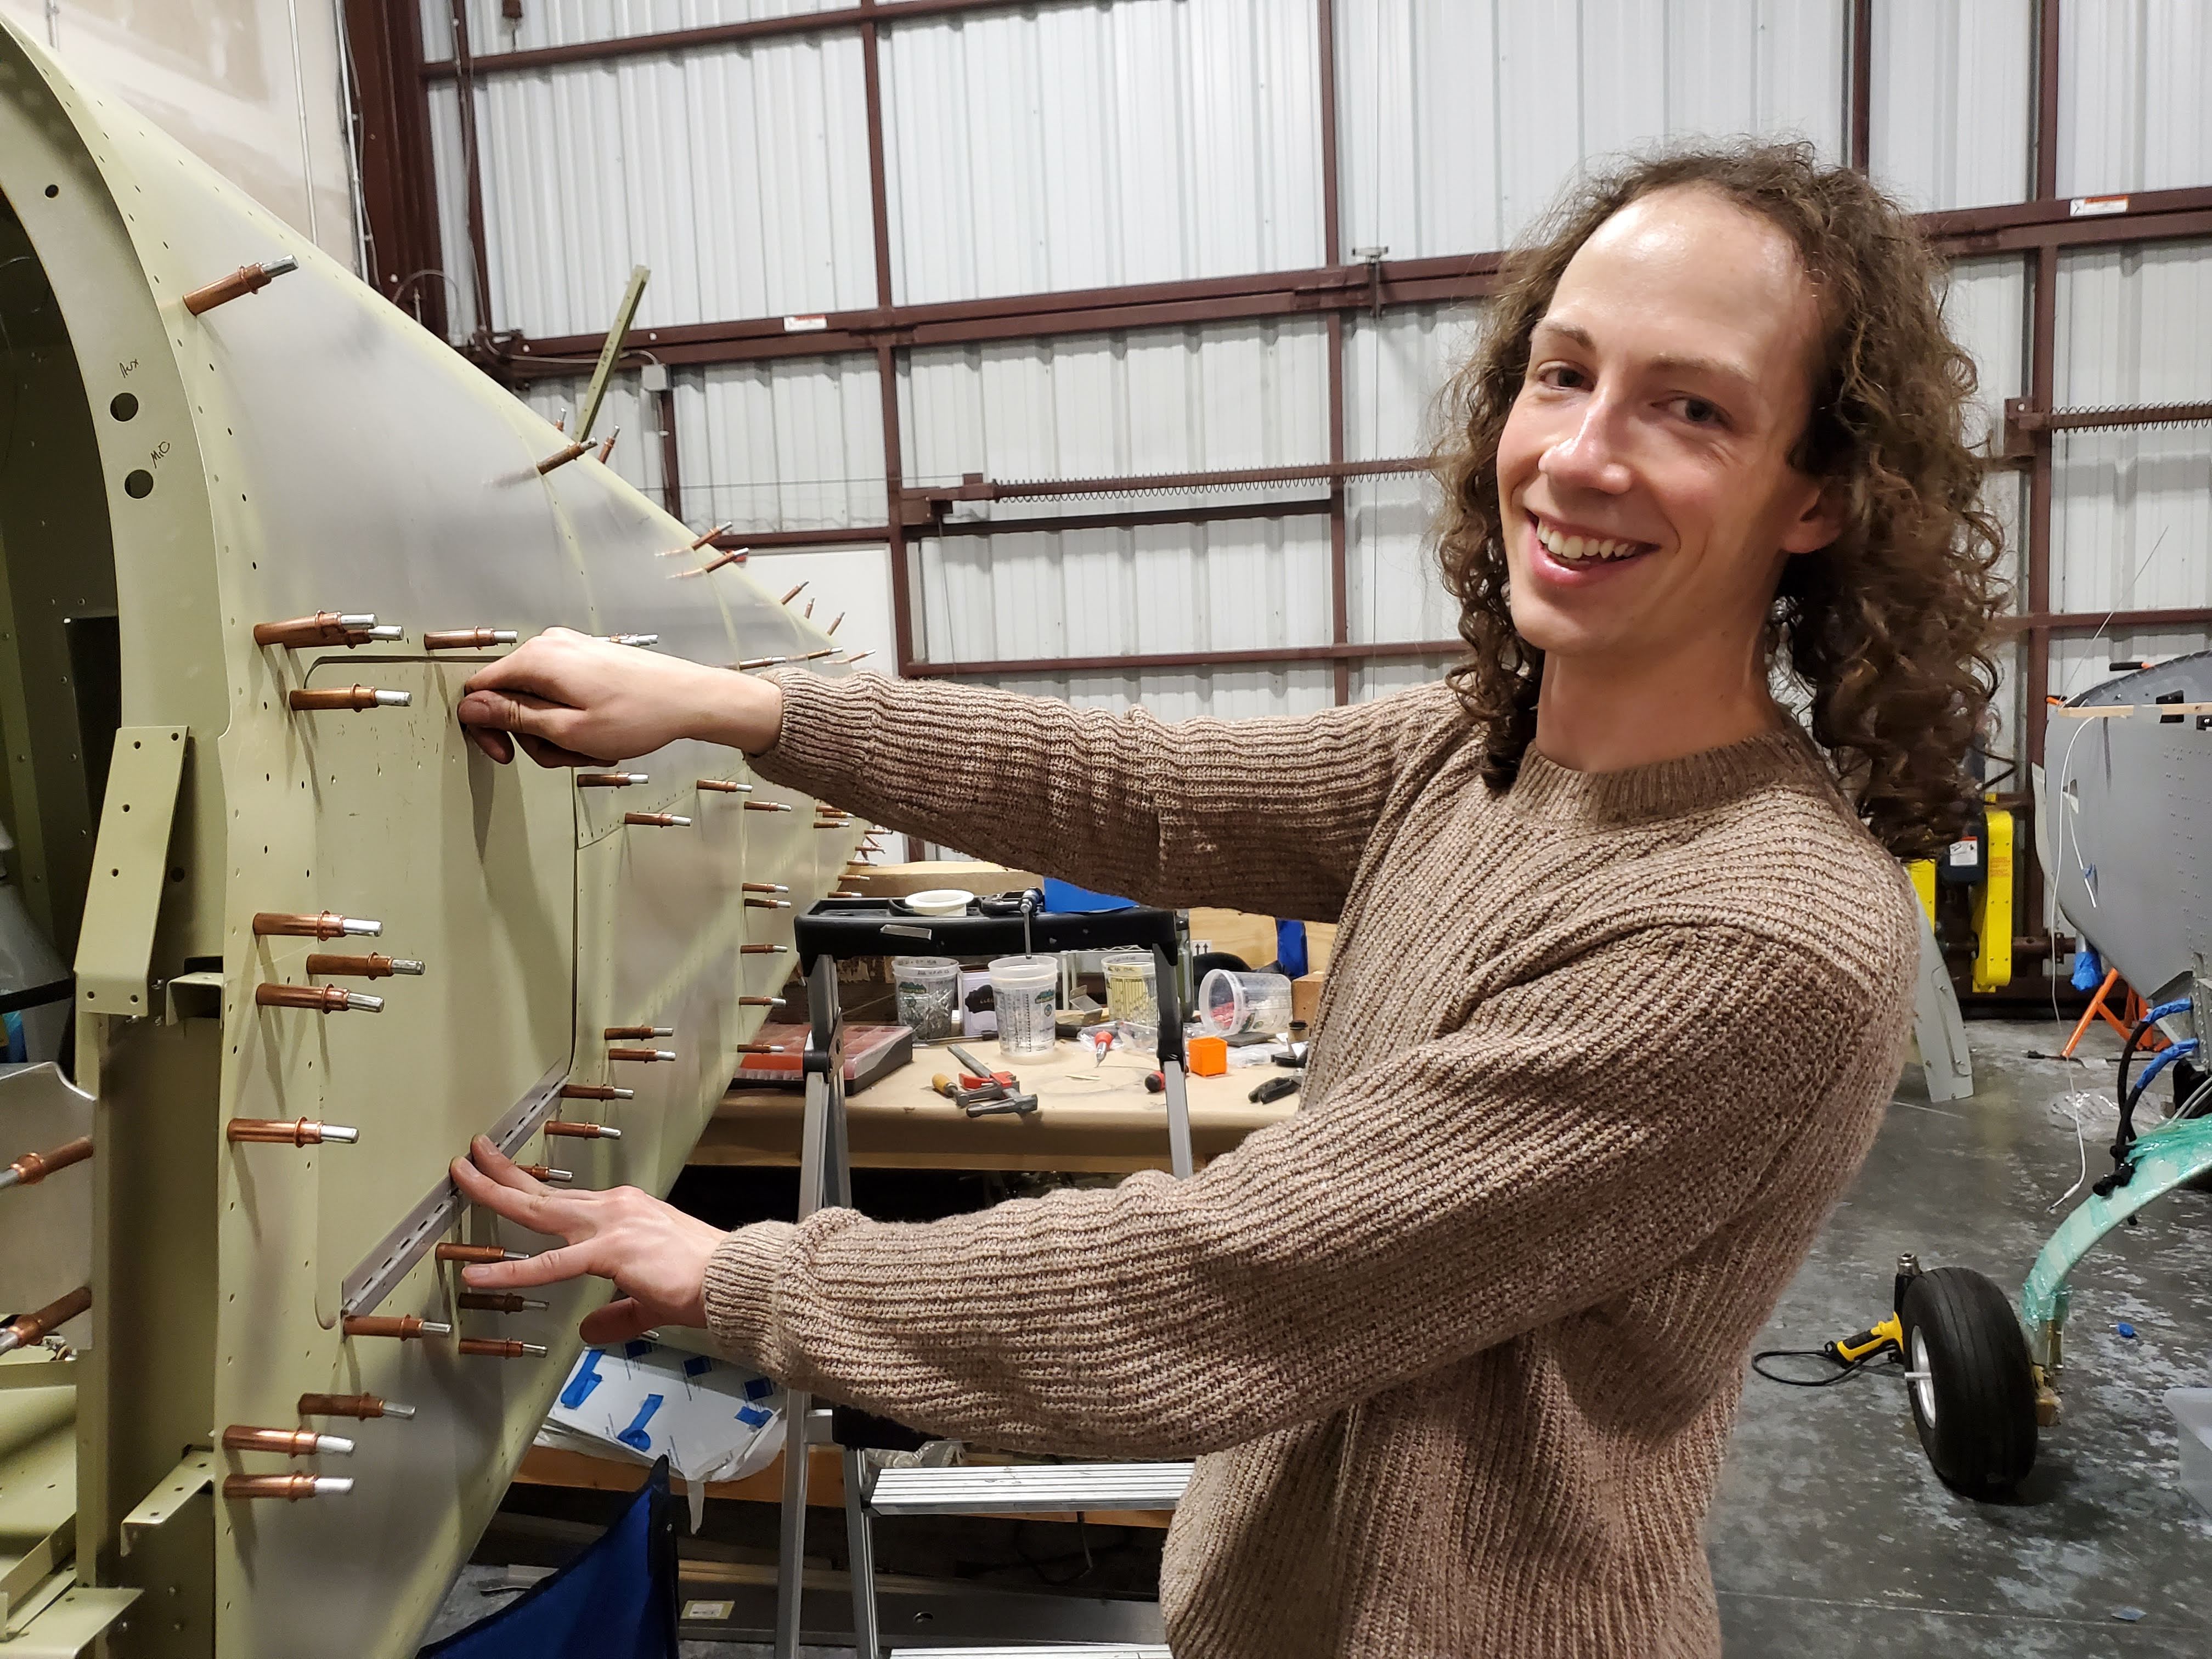
Moving to wiring – our wiring effort was two-pronged. One part is actual routing, terminating, and testing of the wires. Things that deserve special mention here are:
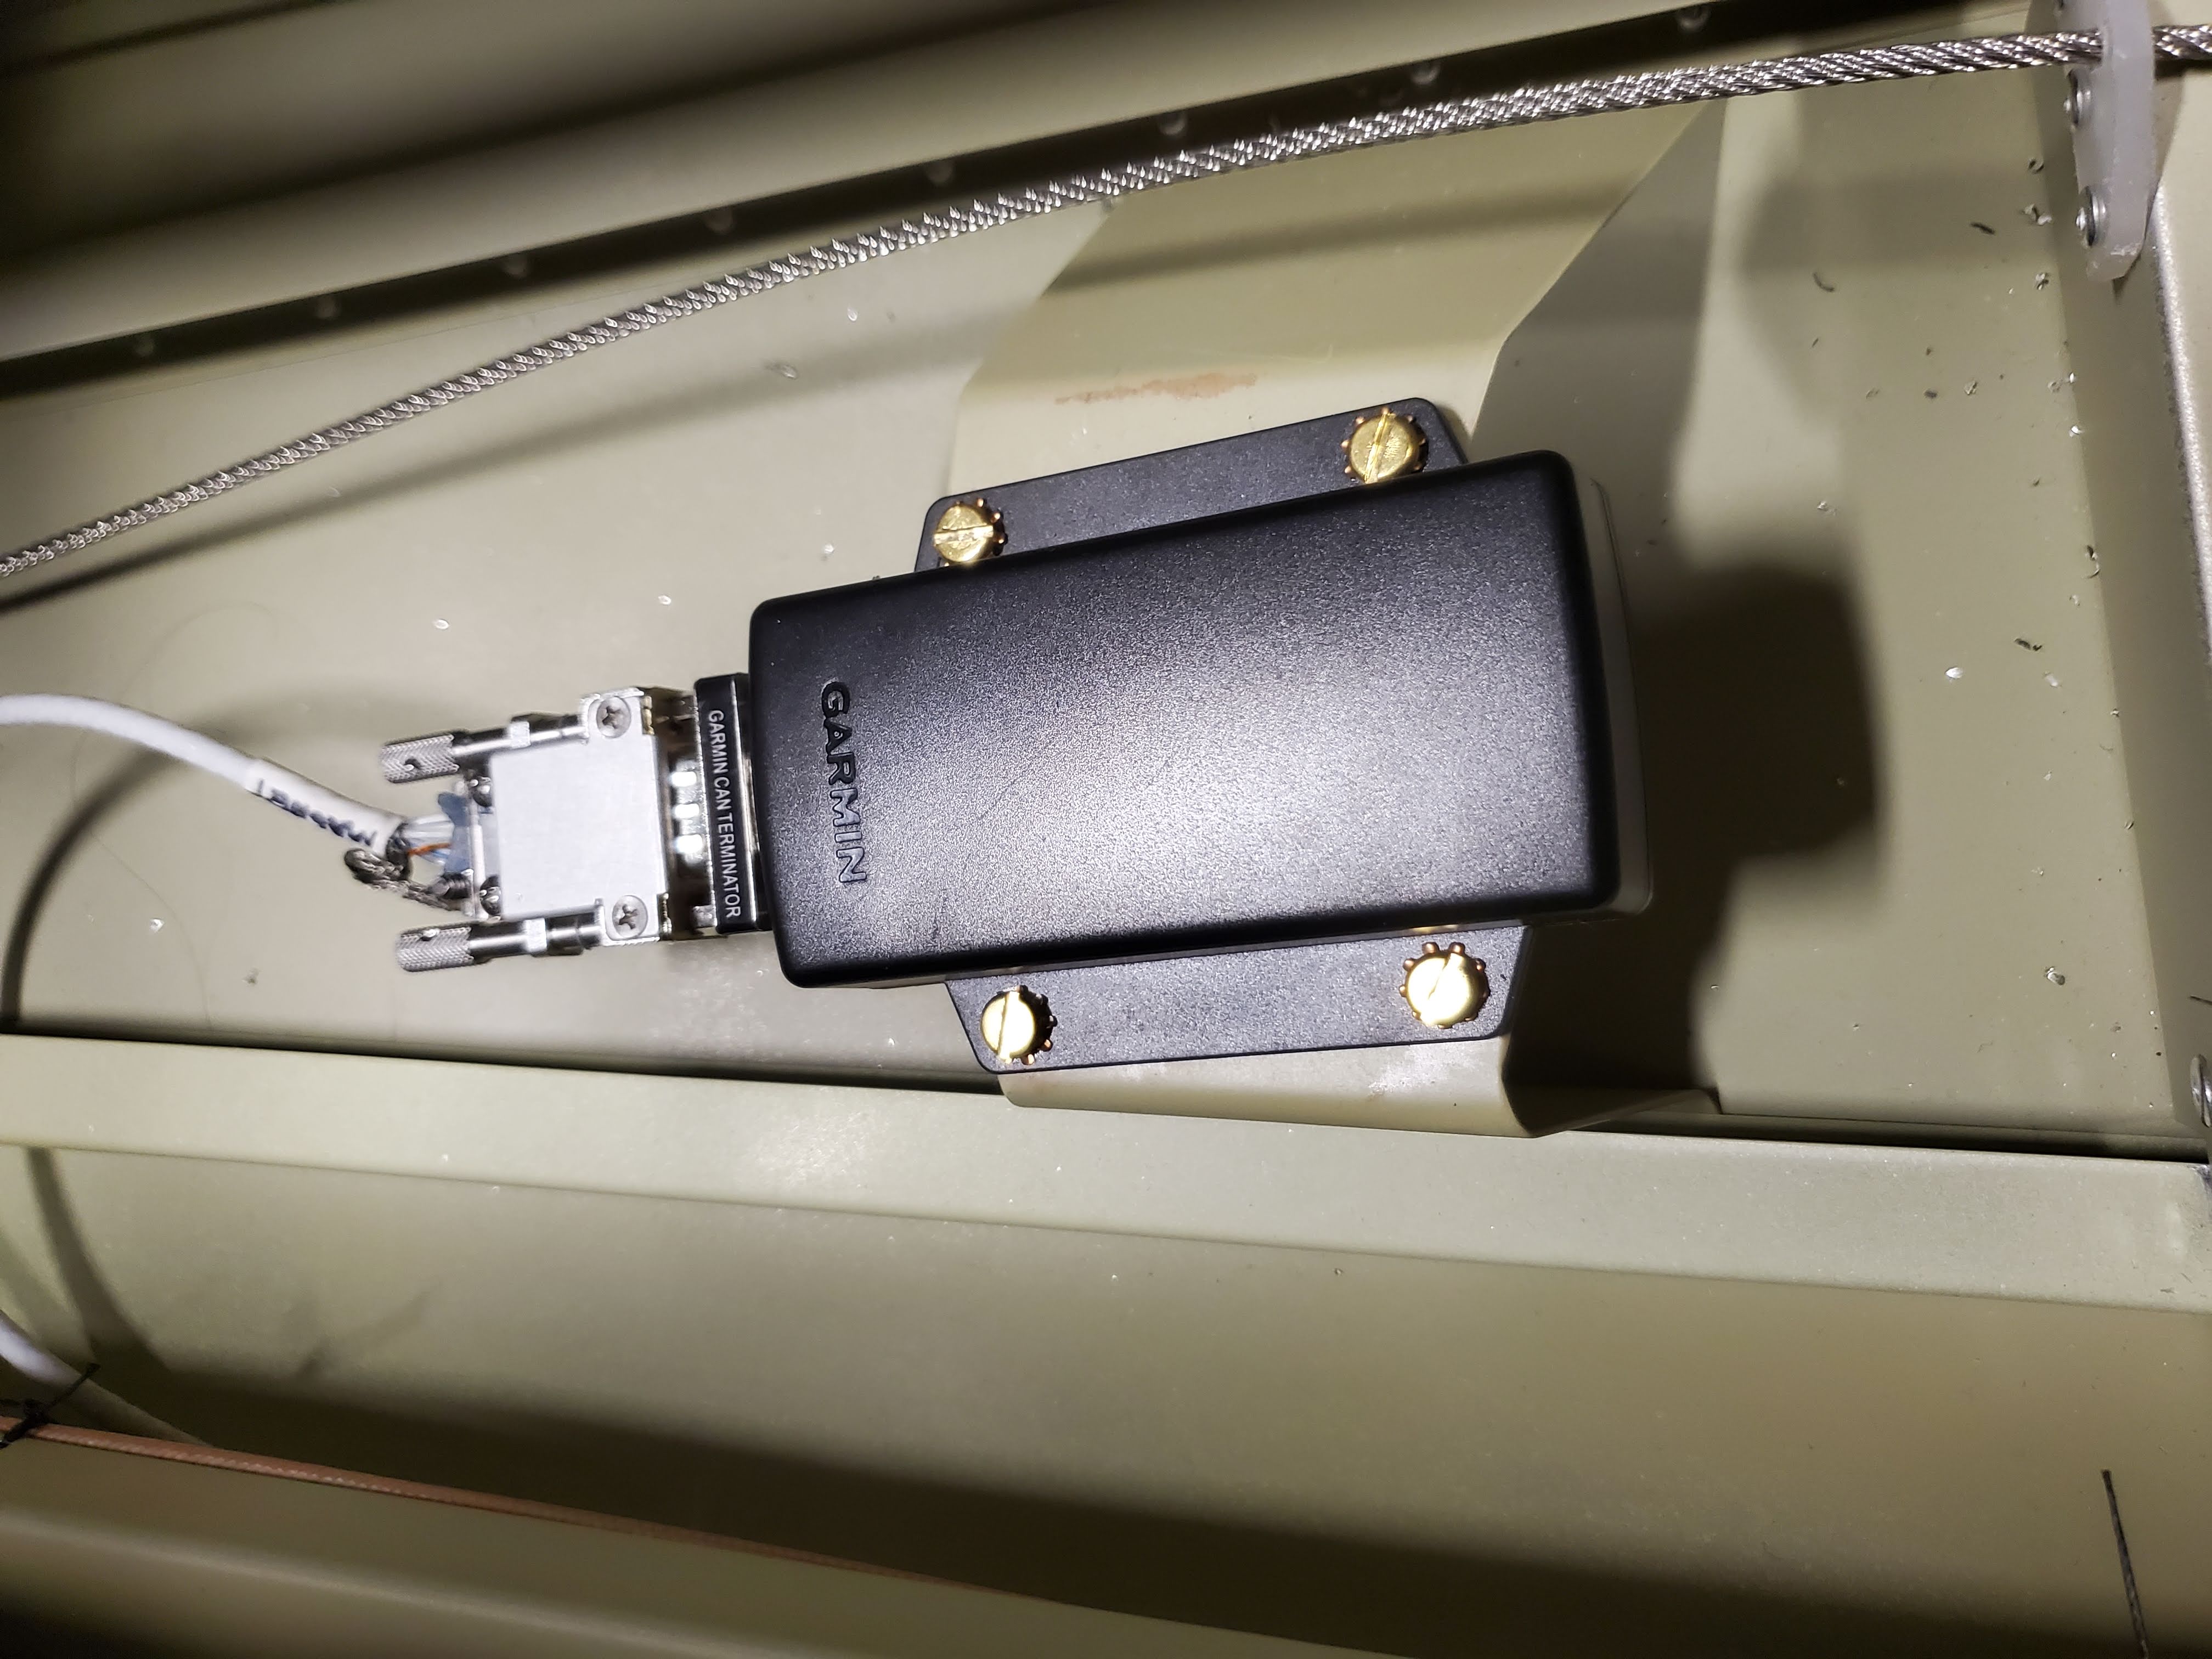
Garmin magentometer connector is made of magnetic steel :$ Seems very silly, given that Garmin requests the magnetometer be placed away from steel objects like rudder cables
We tested all antenna cables with antennas attached to ensure VSWR (Voltage Standing Wave Ratio) is below max allowed values, meaning we did not botch any of the crimps or wires during the routing (e.g. by bending the antenna wire too sharply). When testing VSWR, it is important to make sure antennas have good ground plane (ideally, electrically connected to the fuselage like it would be in the final assembly).
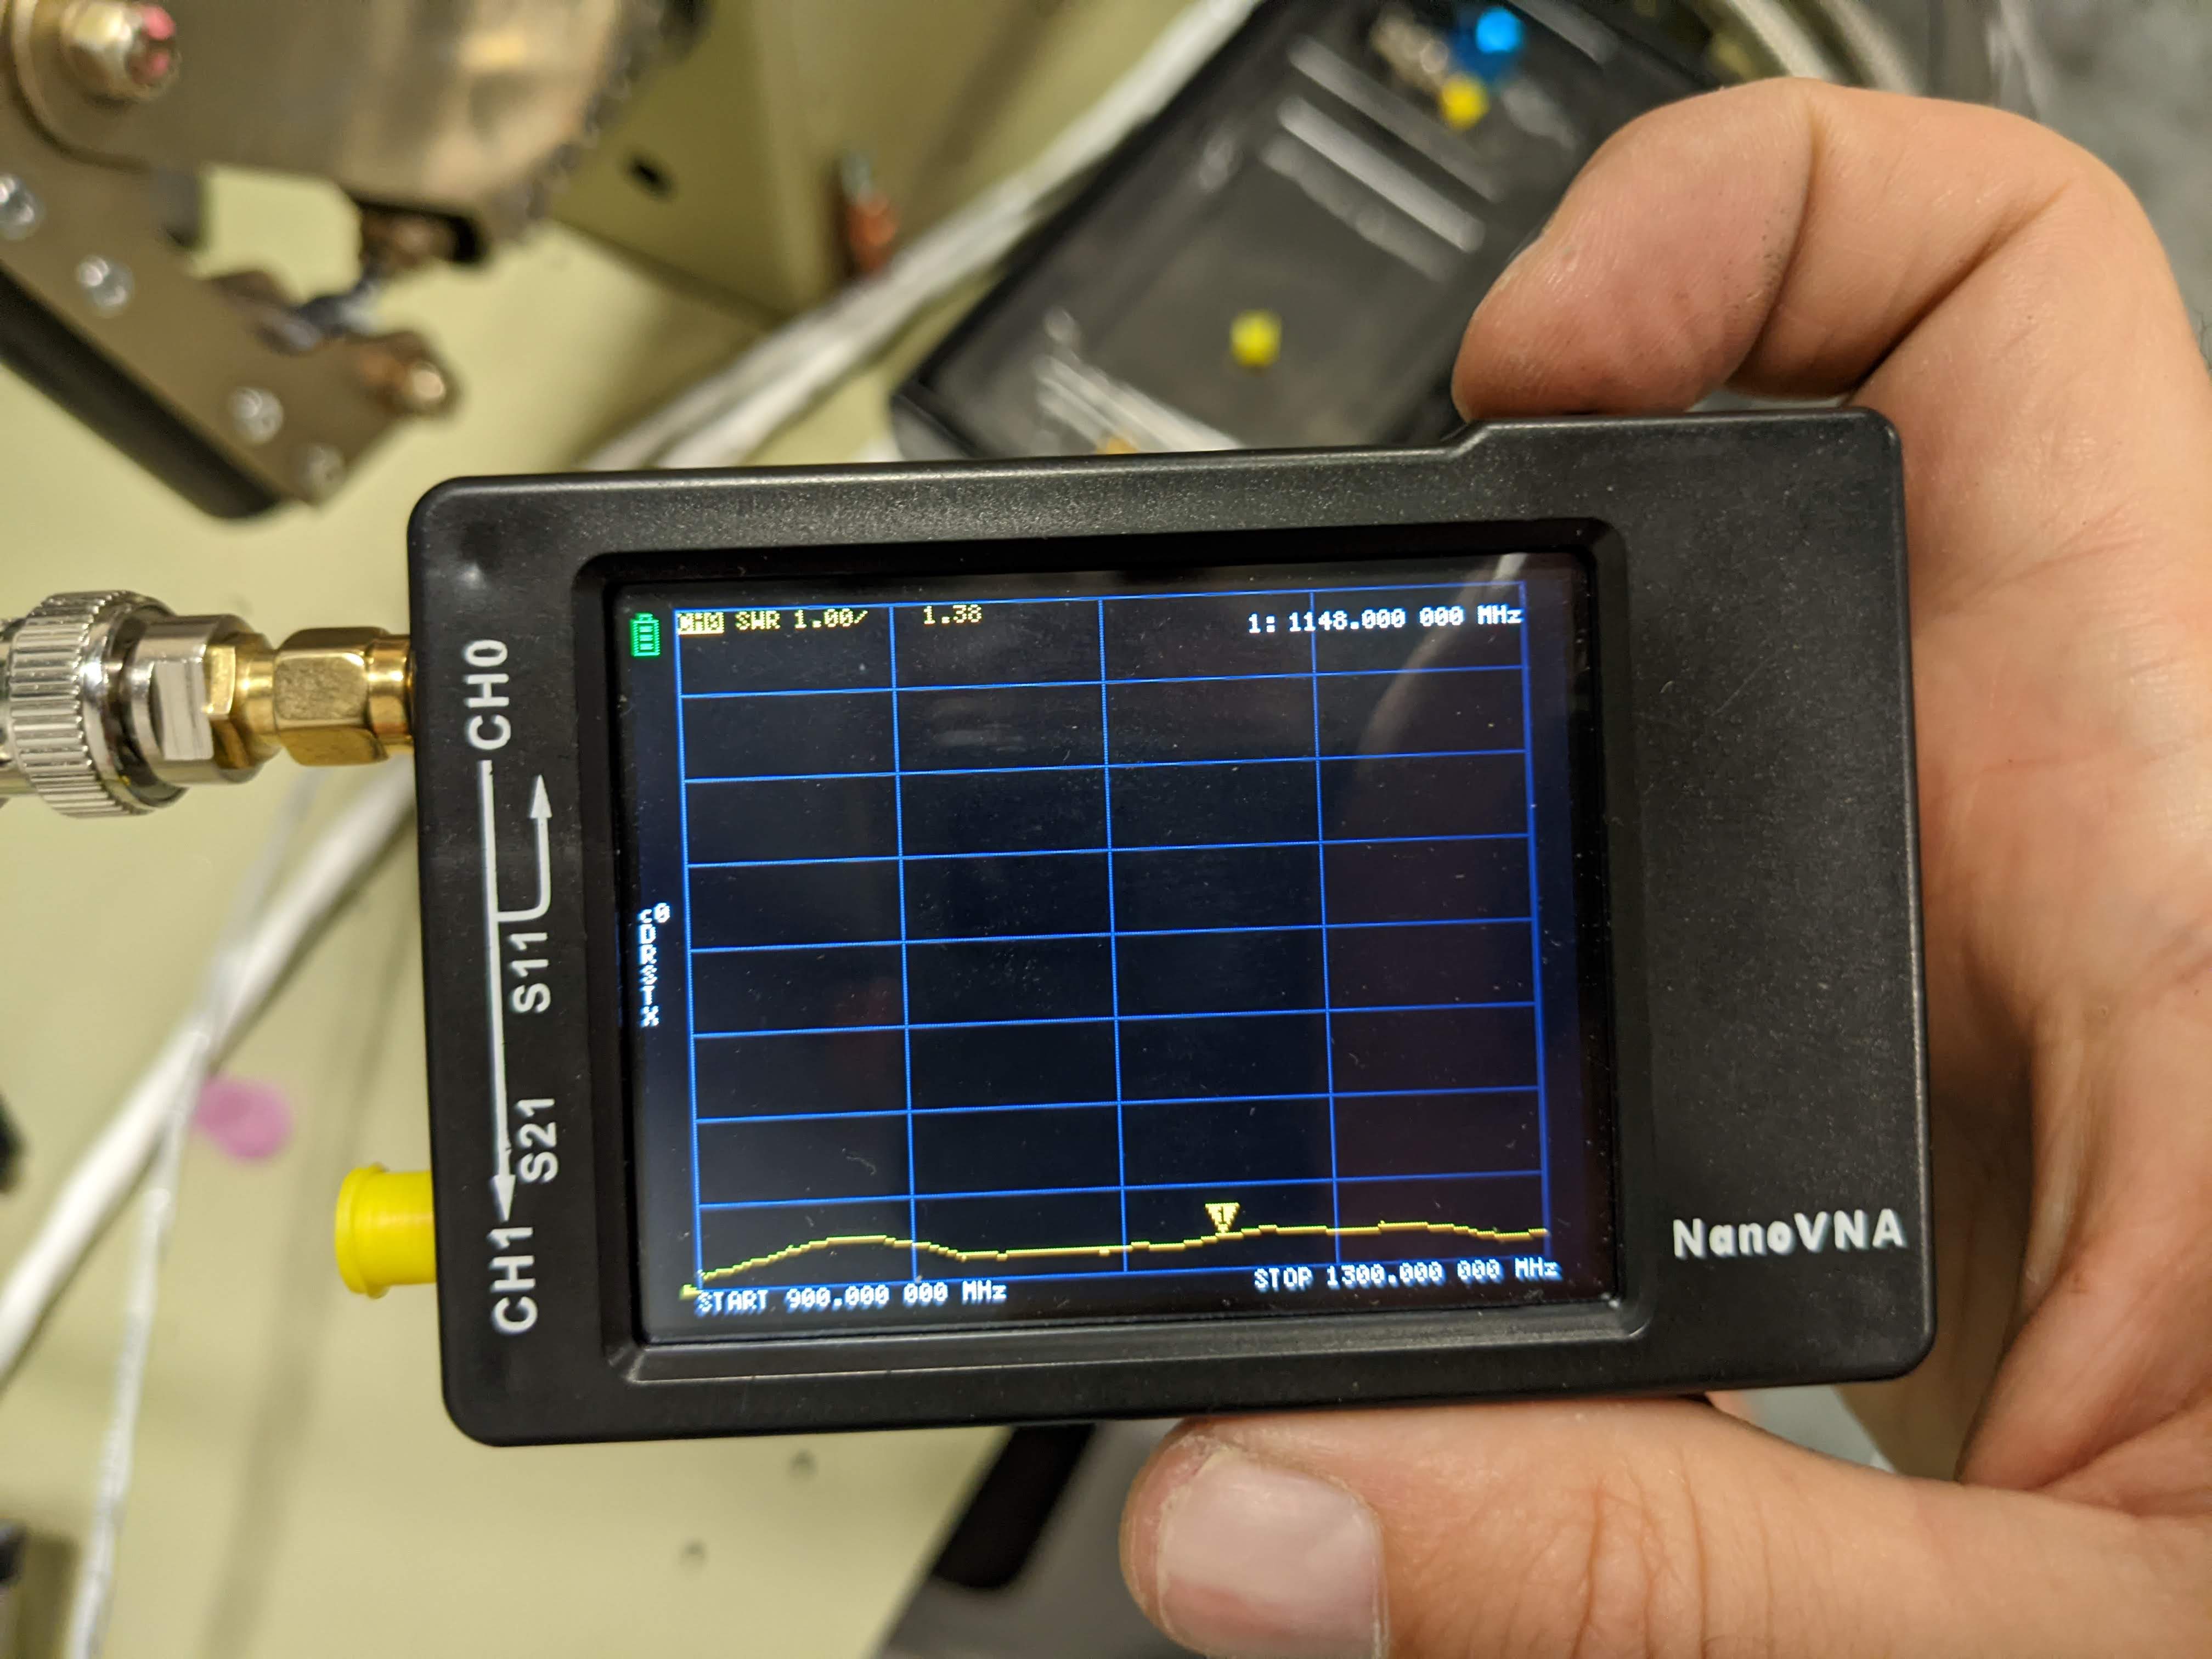
All of the antennas passed, except for ELT antenna. We suspect the main reason ELT antenna had slightly higher VSWR than allowed is poor ground plane (due to the curvature of rear fuselage where ELT antenna is supposed to be installed). When attached at the spot where COM1 antenna should be, ELT antenna had good VSWR.
Lastly, we test-fitted the elevator and discovered that the spot we were planning to use for strobe wire connection interferes with elevator motion and could be pinched – notice the thick white wire in the picture below ends up between elevator and horizontal stabilizer.
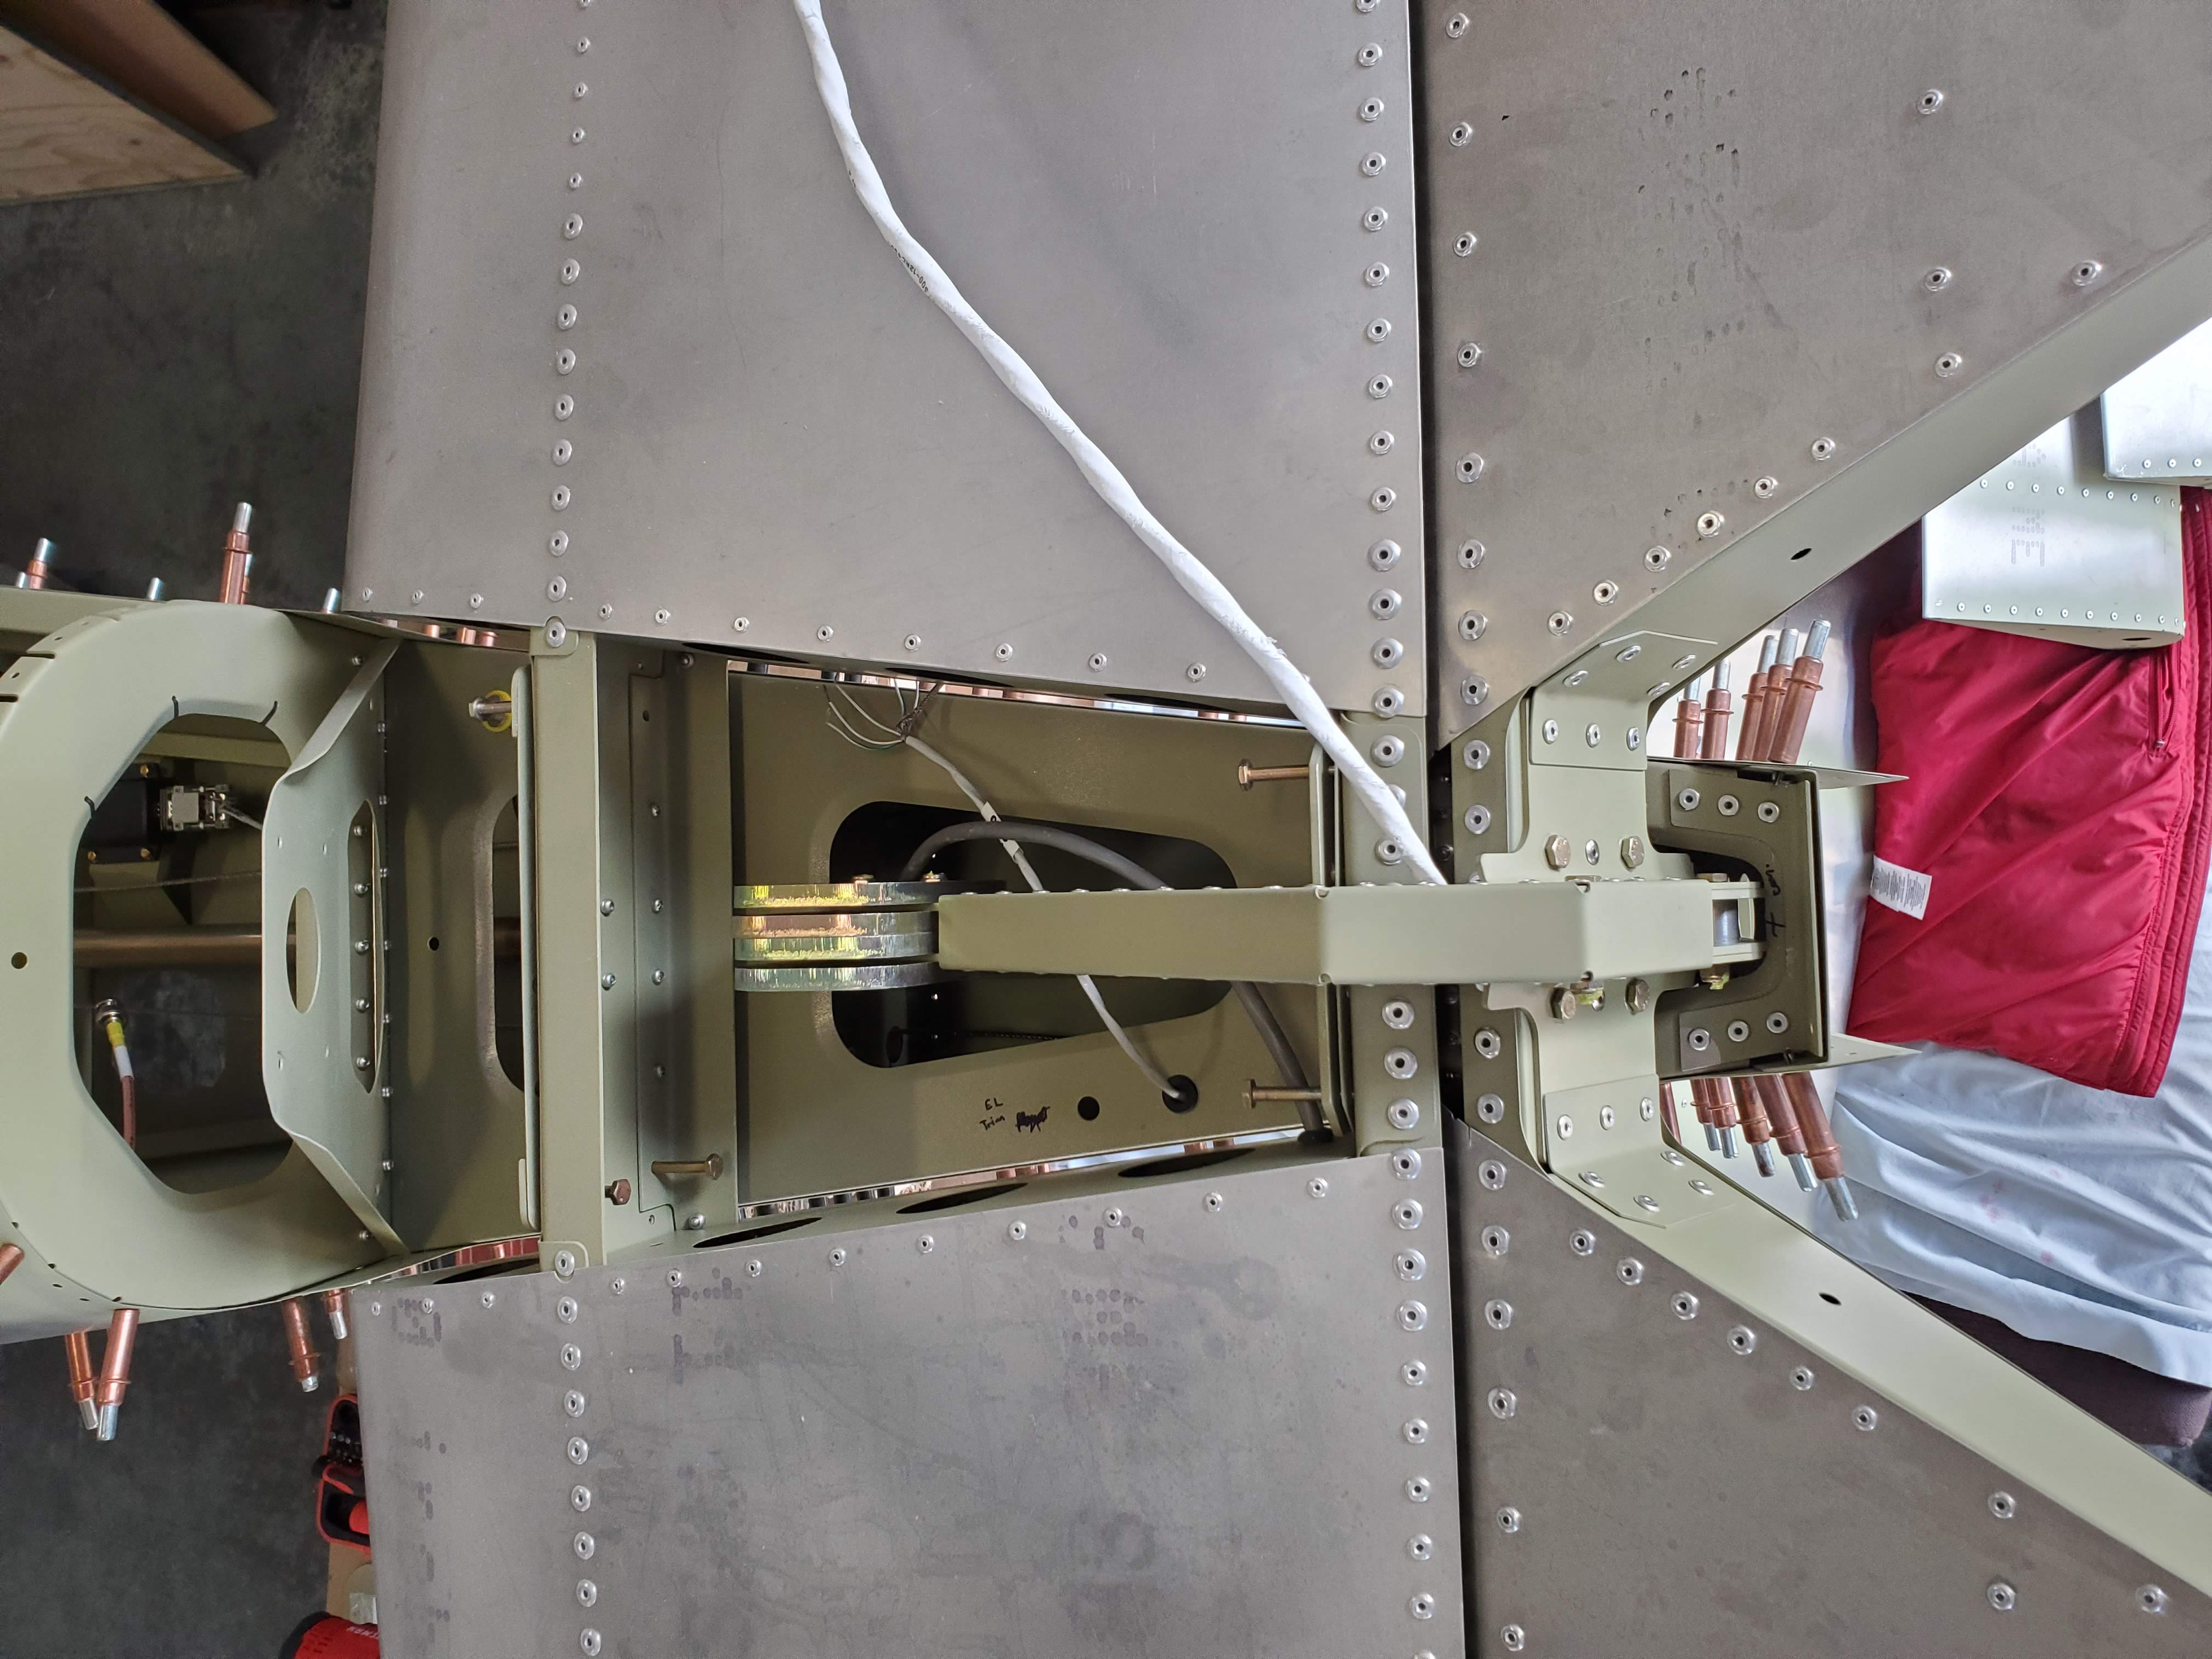
We re-routed the strobe wire through one of holes in the horizontal rib (similar to the servo wire, thin white wire in the picture above) – in the hindsight, that’s exactly what those holes are there for. Here’s a short about us enjoying the test-fitment of the elevator.
The second, and potentially more important prong of our wiring effort was planning. Since we are not going with Midwest and doing our panel completely ourselves, there is A LOT to figure out – from the placement and structural support of the instruments to exactly how ignition is supposed to be wired, which relays to choose and where to place them, how to lay out instruments, switches and LEDs on the panel and so on. On the bright side, planning can be done from the comfort of our laptops, so we can do it when hangar is too cold or when we stay home.
Here’s a picture of the tentative layout of our instruments behind the panel, with cardboard box subbing for secondary NAVCOM unit (which is back-ordered)

For ignition, we are planing to use ignition switch as master switch (similarly to how cars operate, whereby ignition switch “ON” is equivalent to “MASTER ON”, while spring-returned “Start” position is used to energize starter relay. Using a 70A-rated ignition:
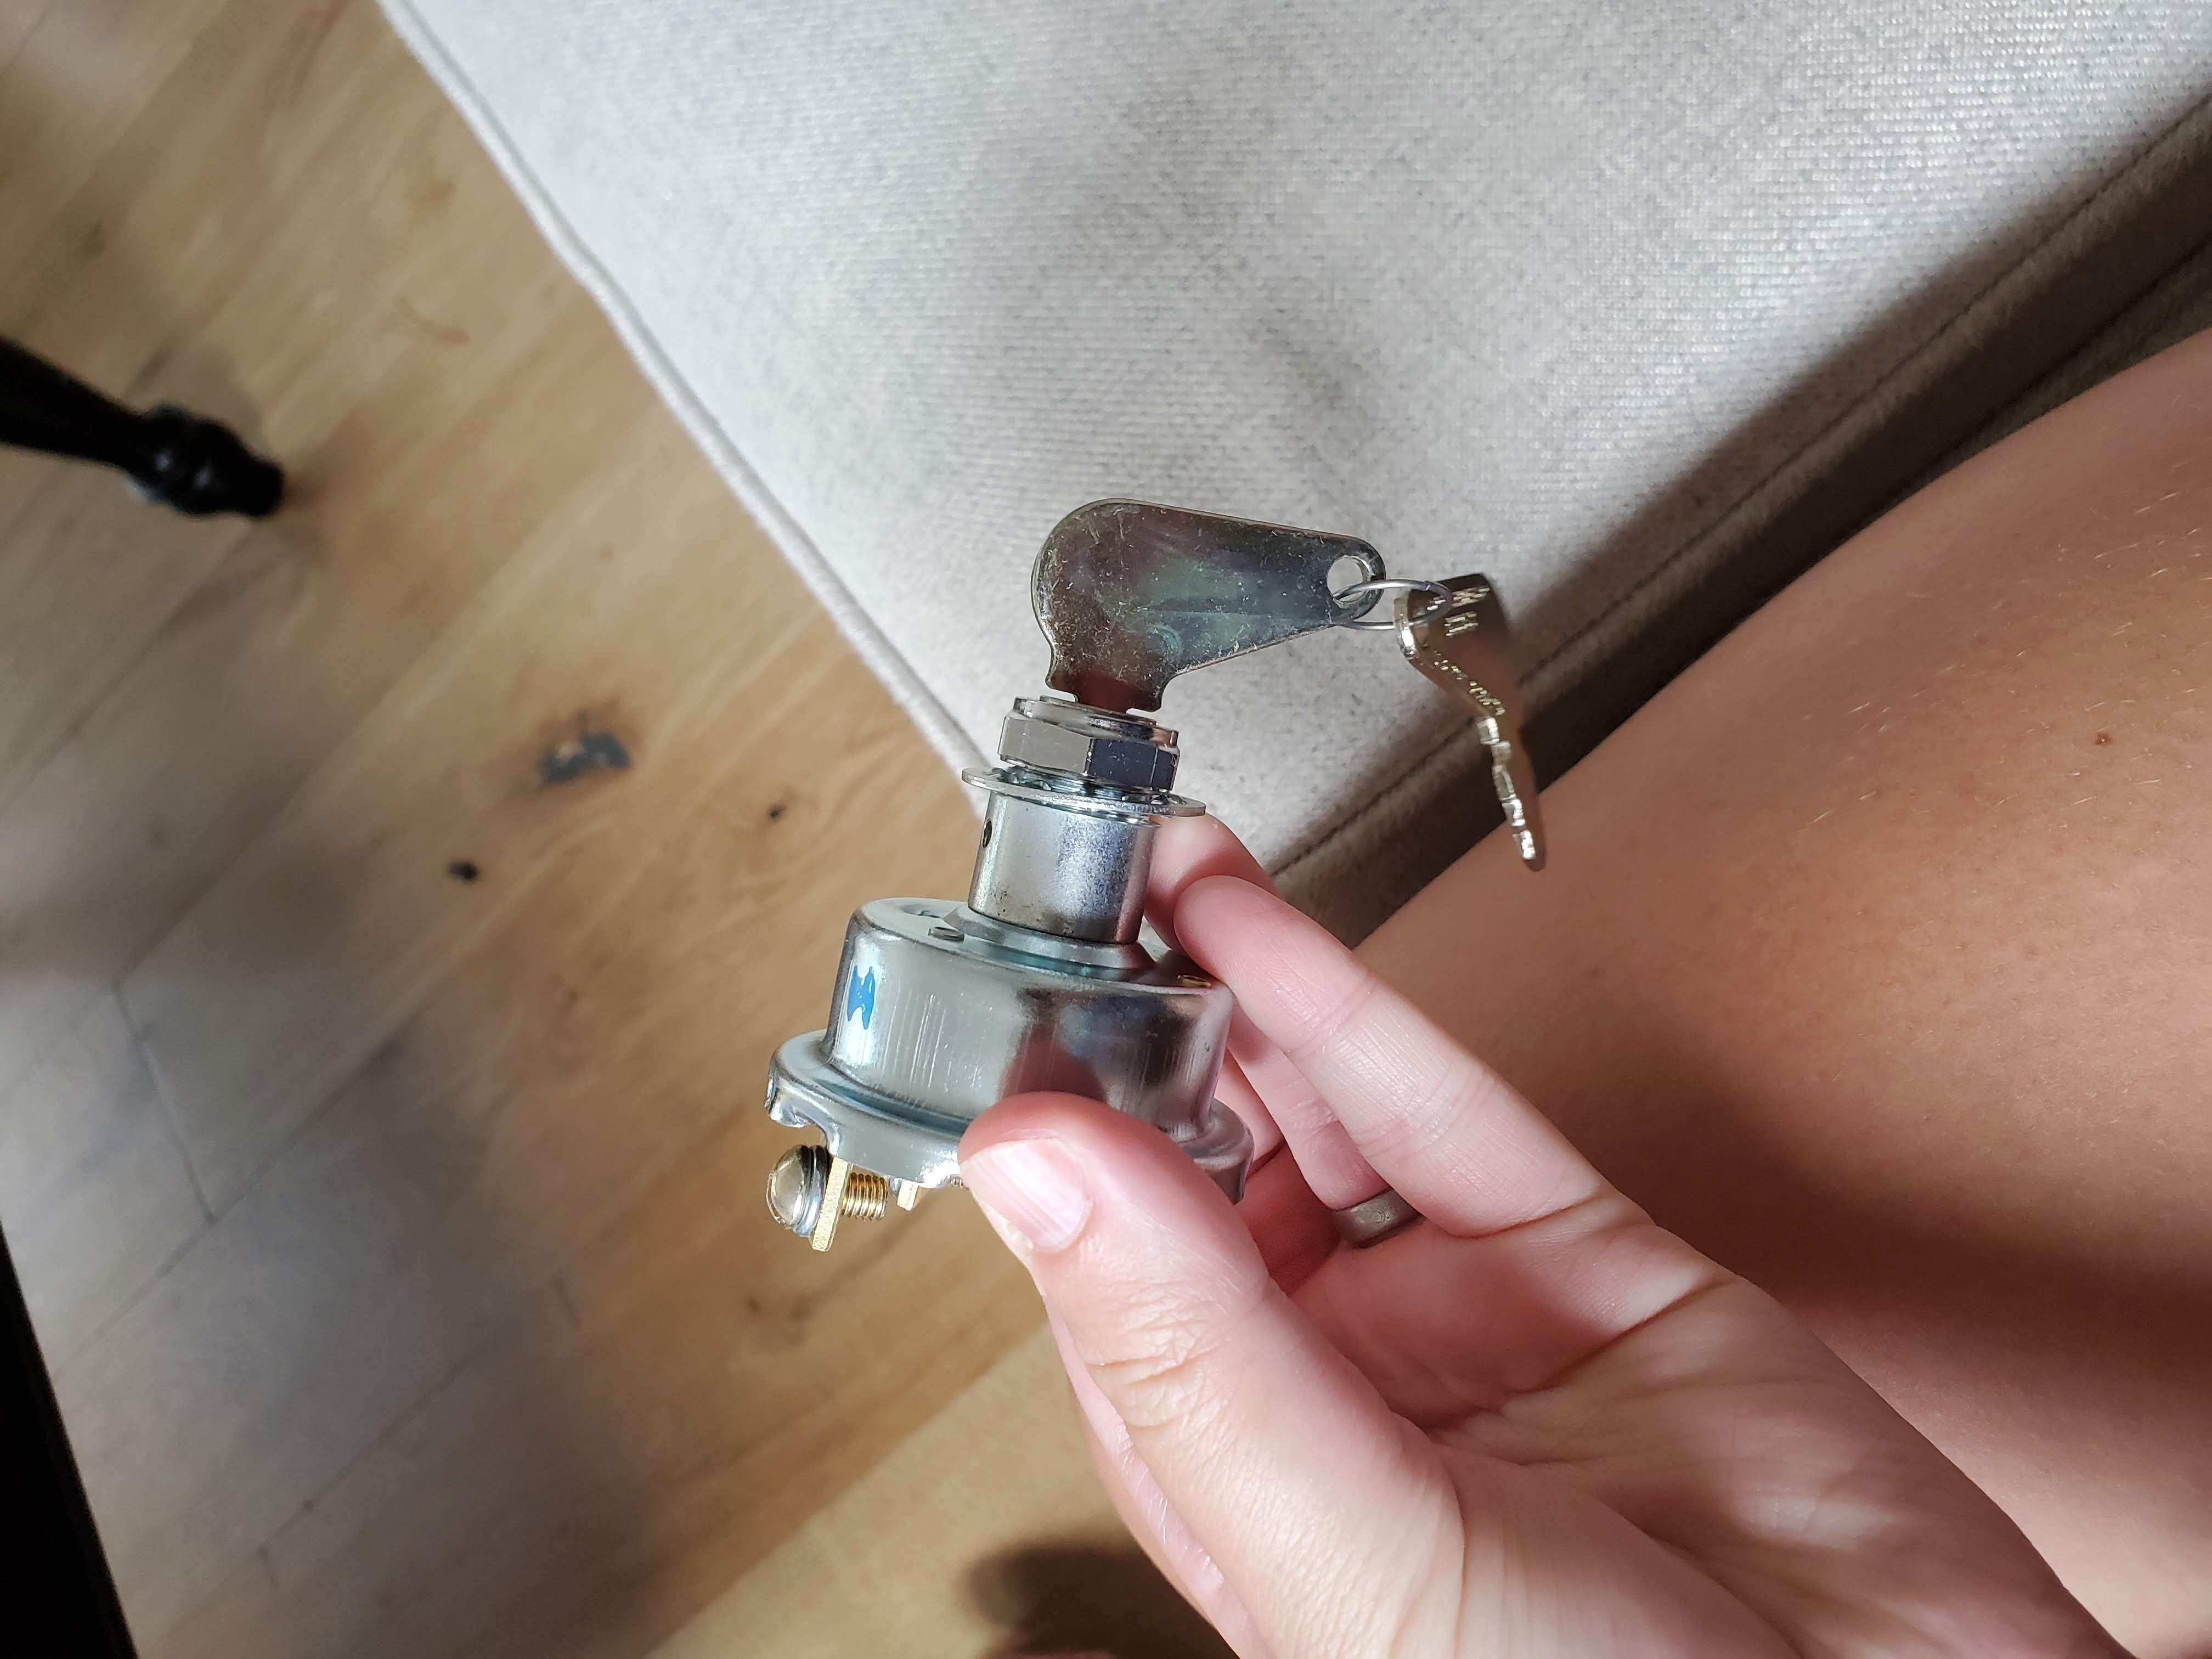
lets us remove master relay.
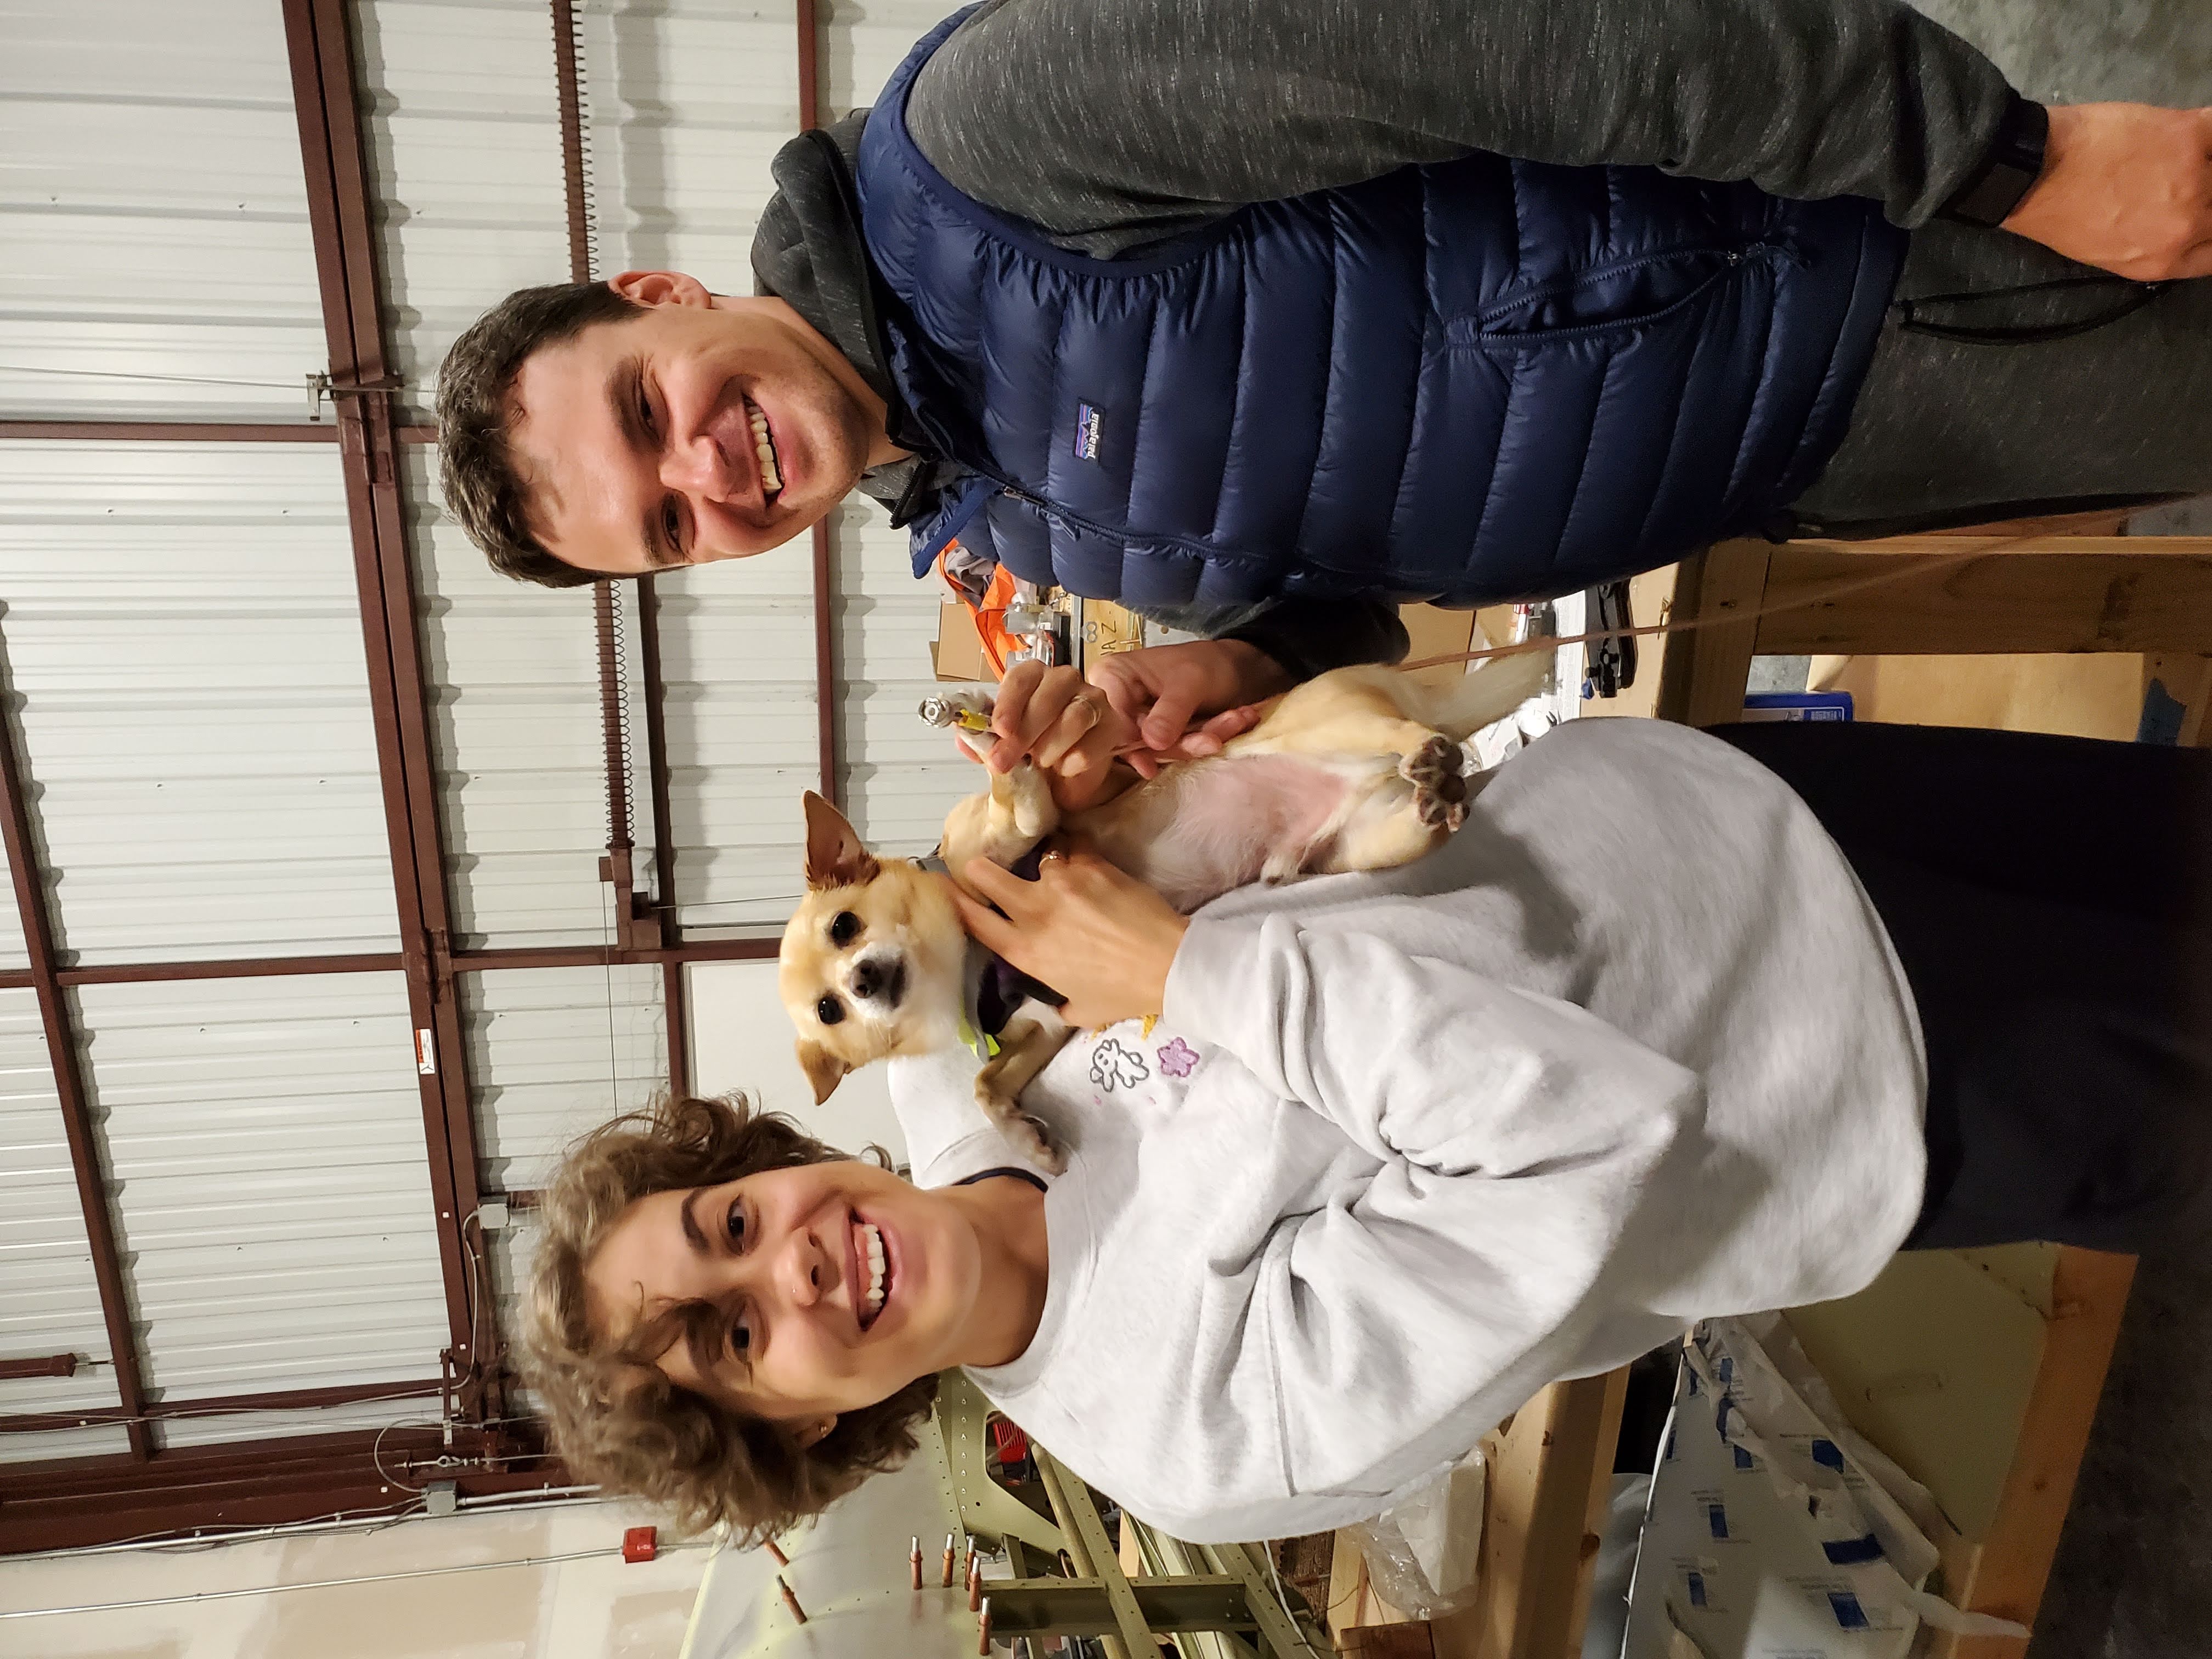
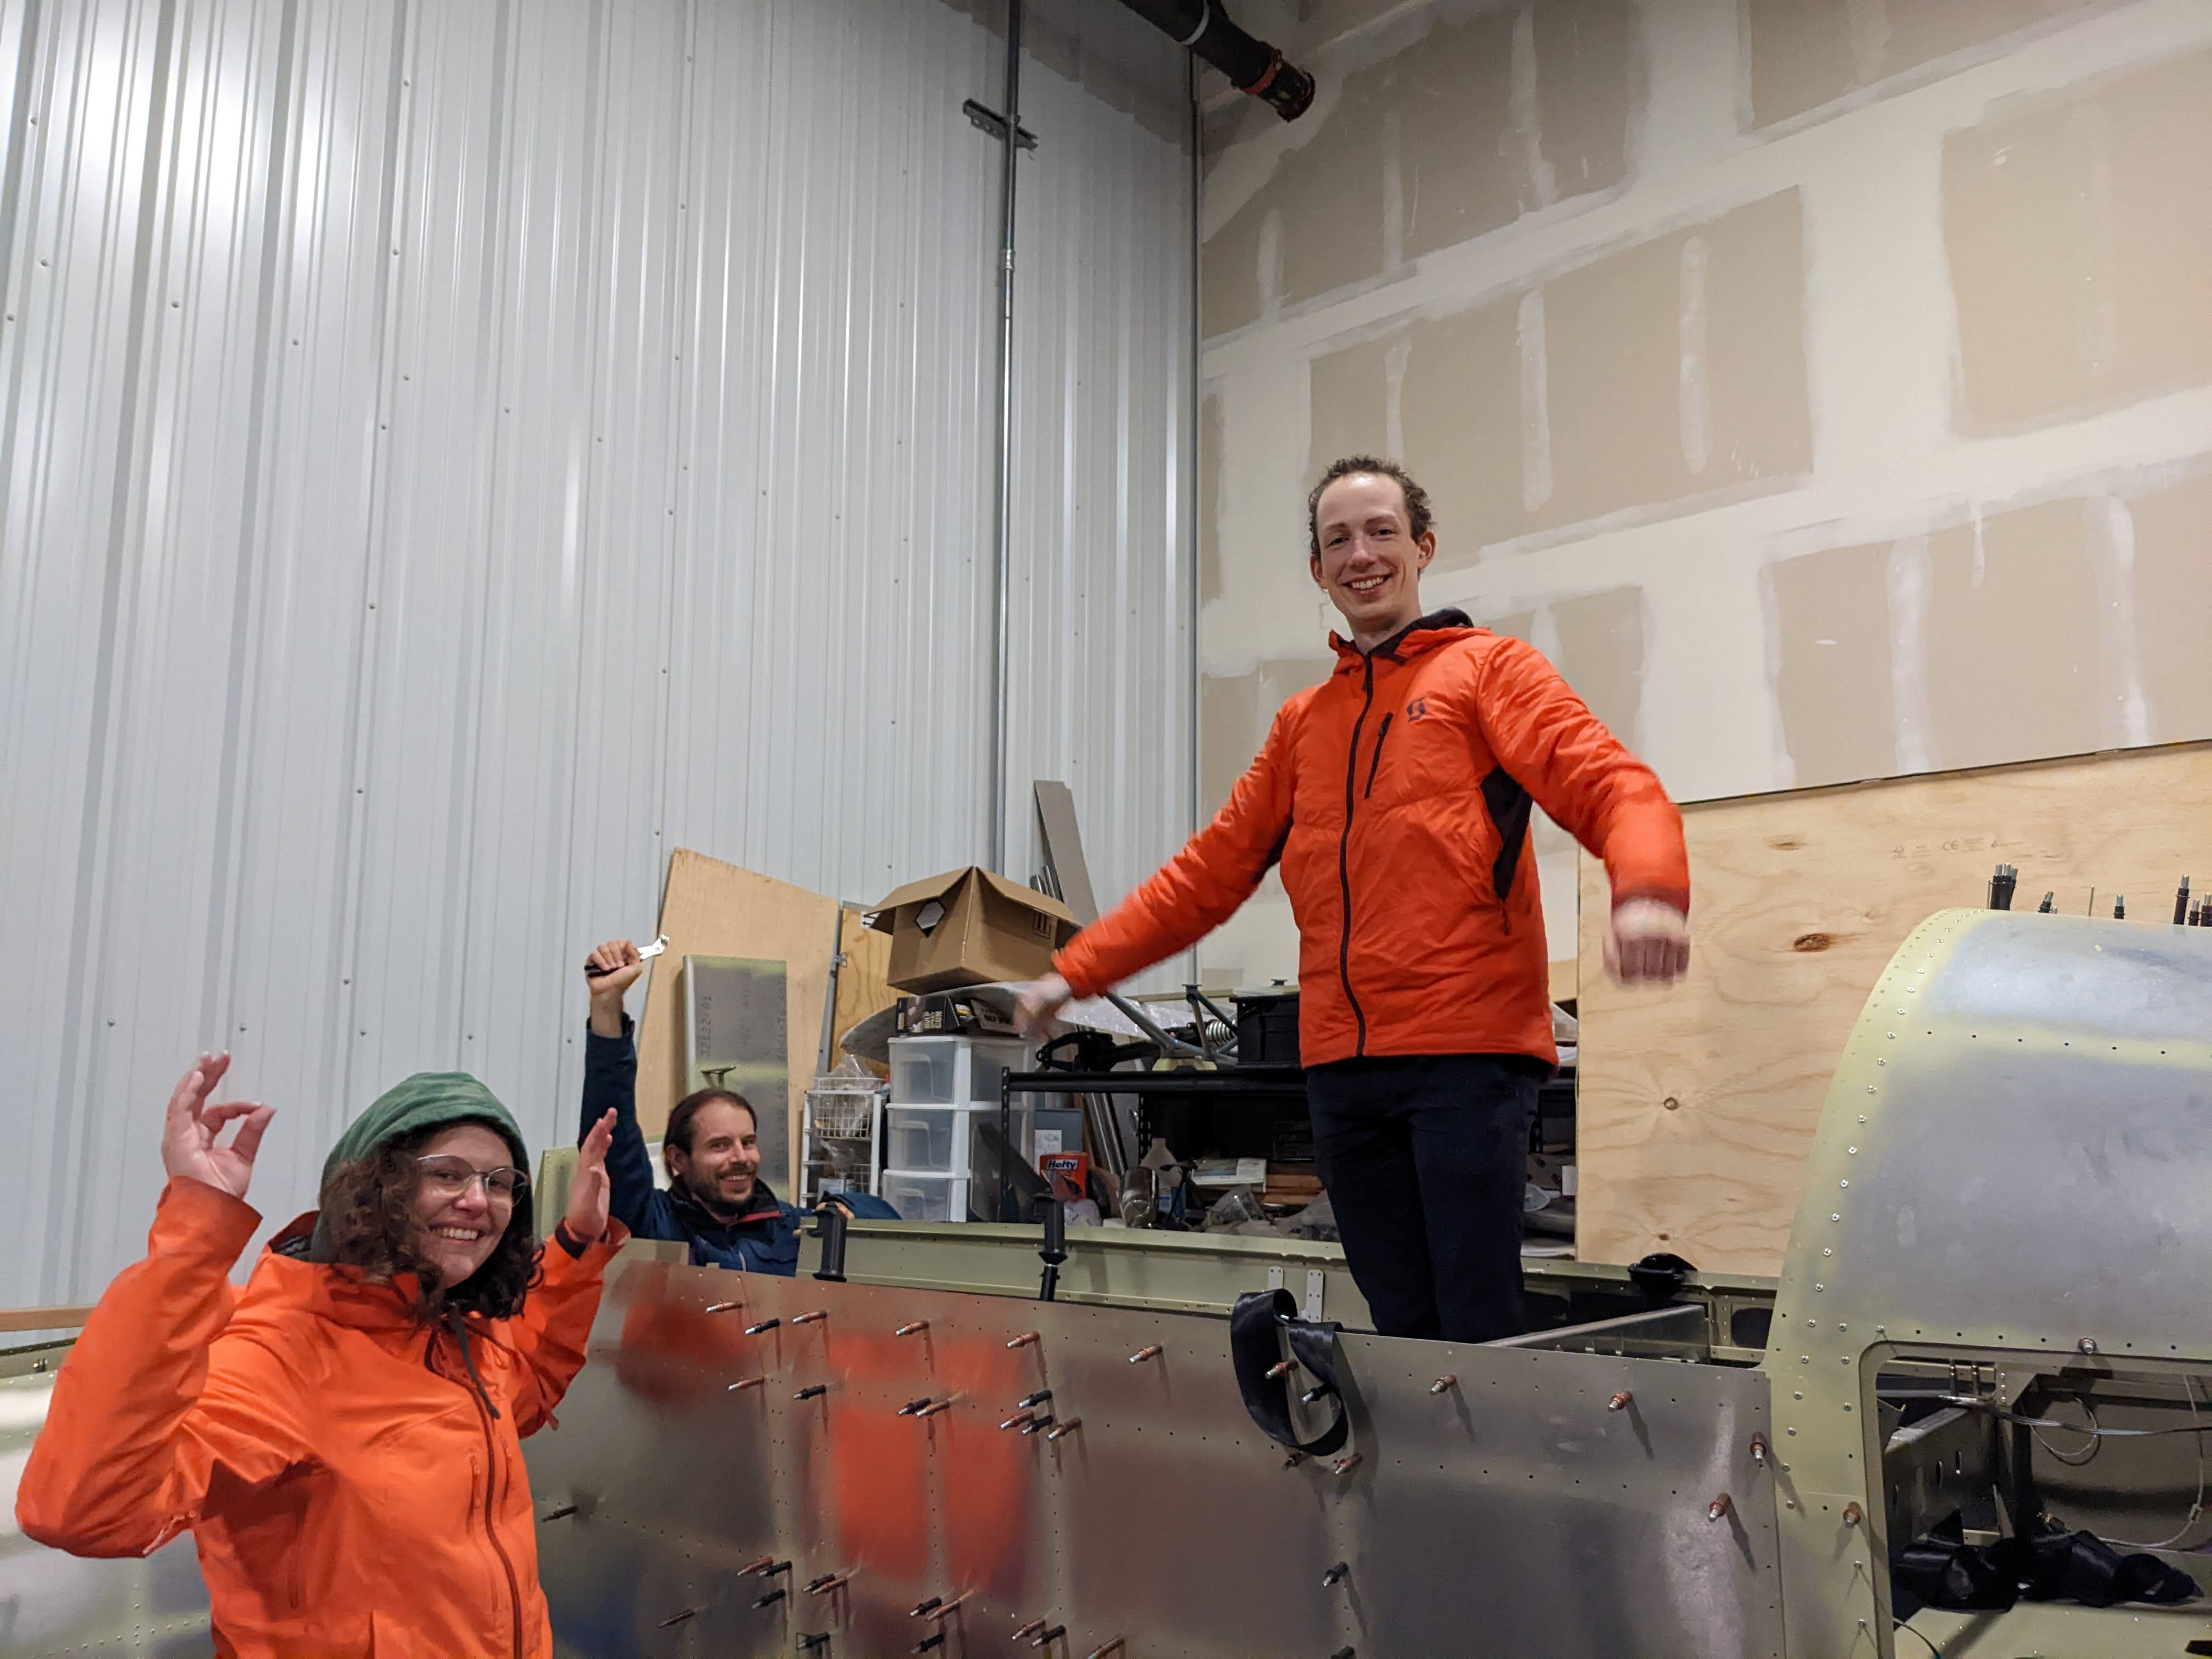
Previously, we were planning to finish the build by the end of the year. Unfortunately, our prop will only be ready to ship in February (and so will be the transponder unit). On the other hand, we probably would not have been ready with the rest of the build anyways. However, increasingly, we are trying to rely more on our secret weapon to build faster. This secret weapon is our friends! Turns out 4 people can do quite a bit more in one night at the hangar than two :)
Eugene, Holly, and His Highness Linus crimped a lot of BNC’s in our build :)
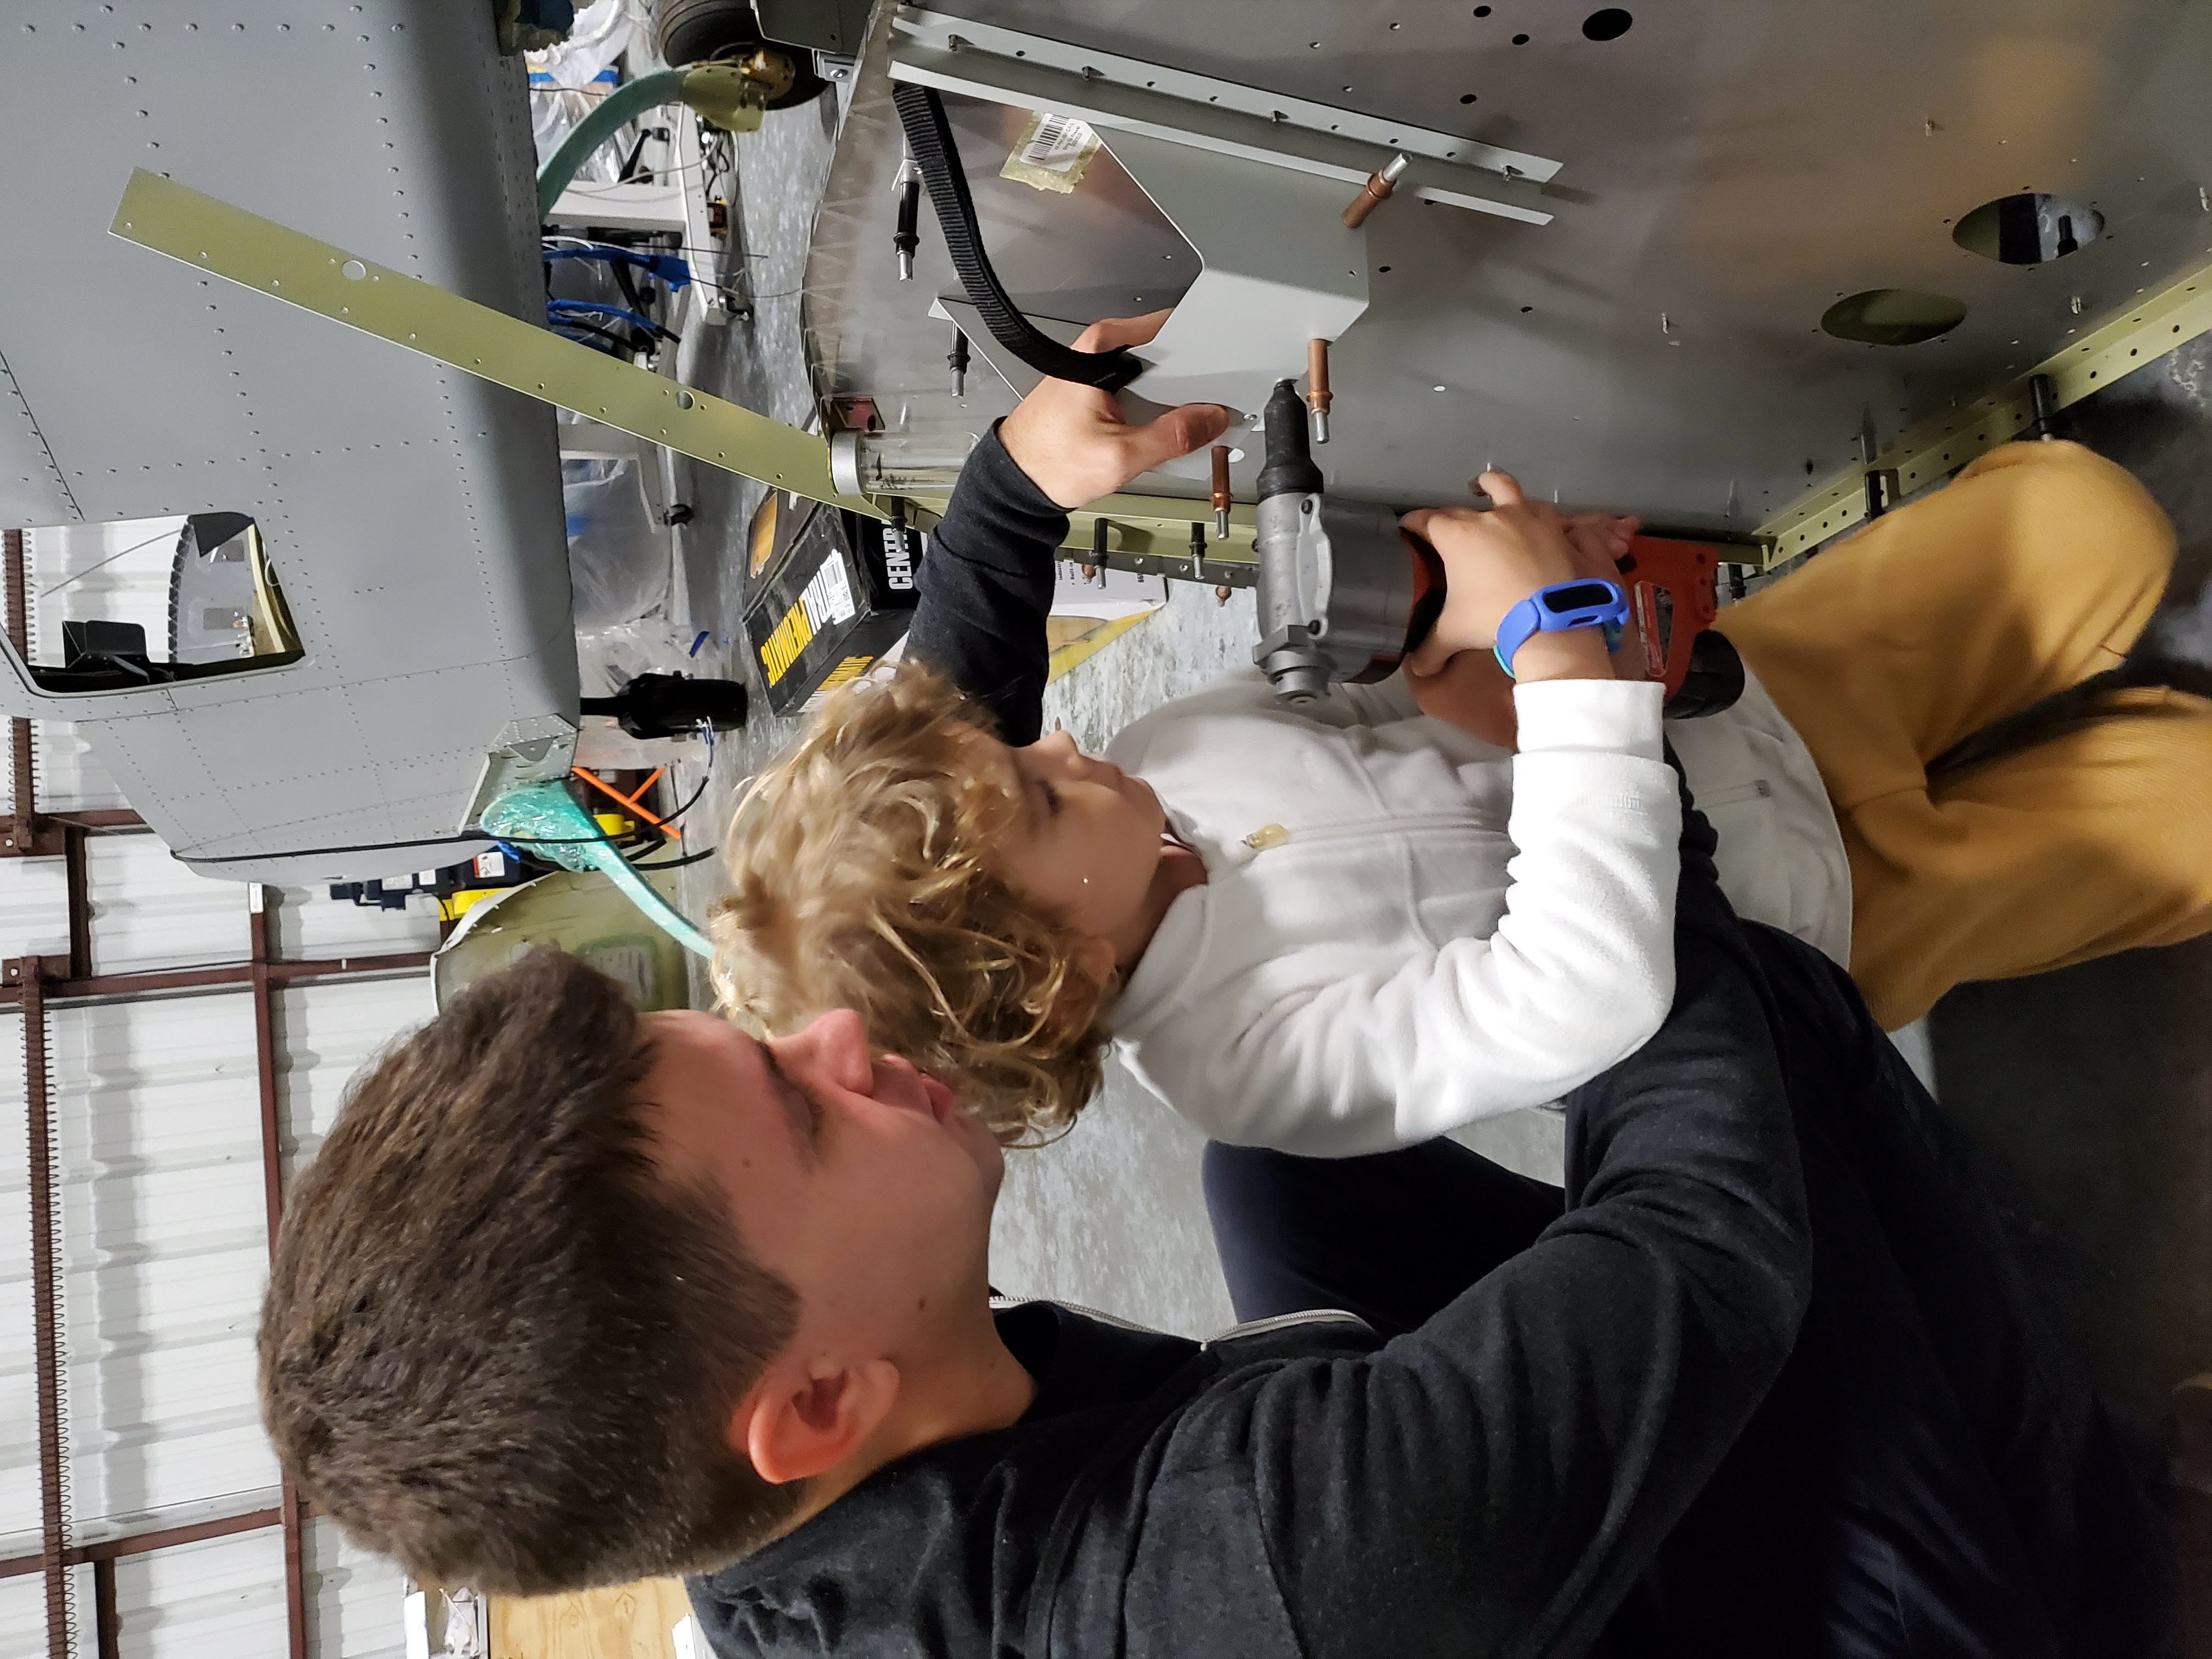
And Dima and Vanya demonstrated that riveting can be fun at any age:
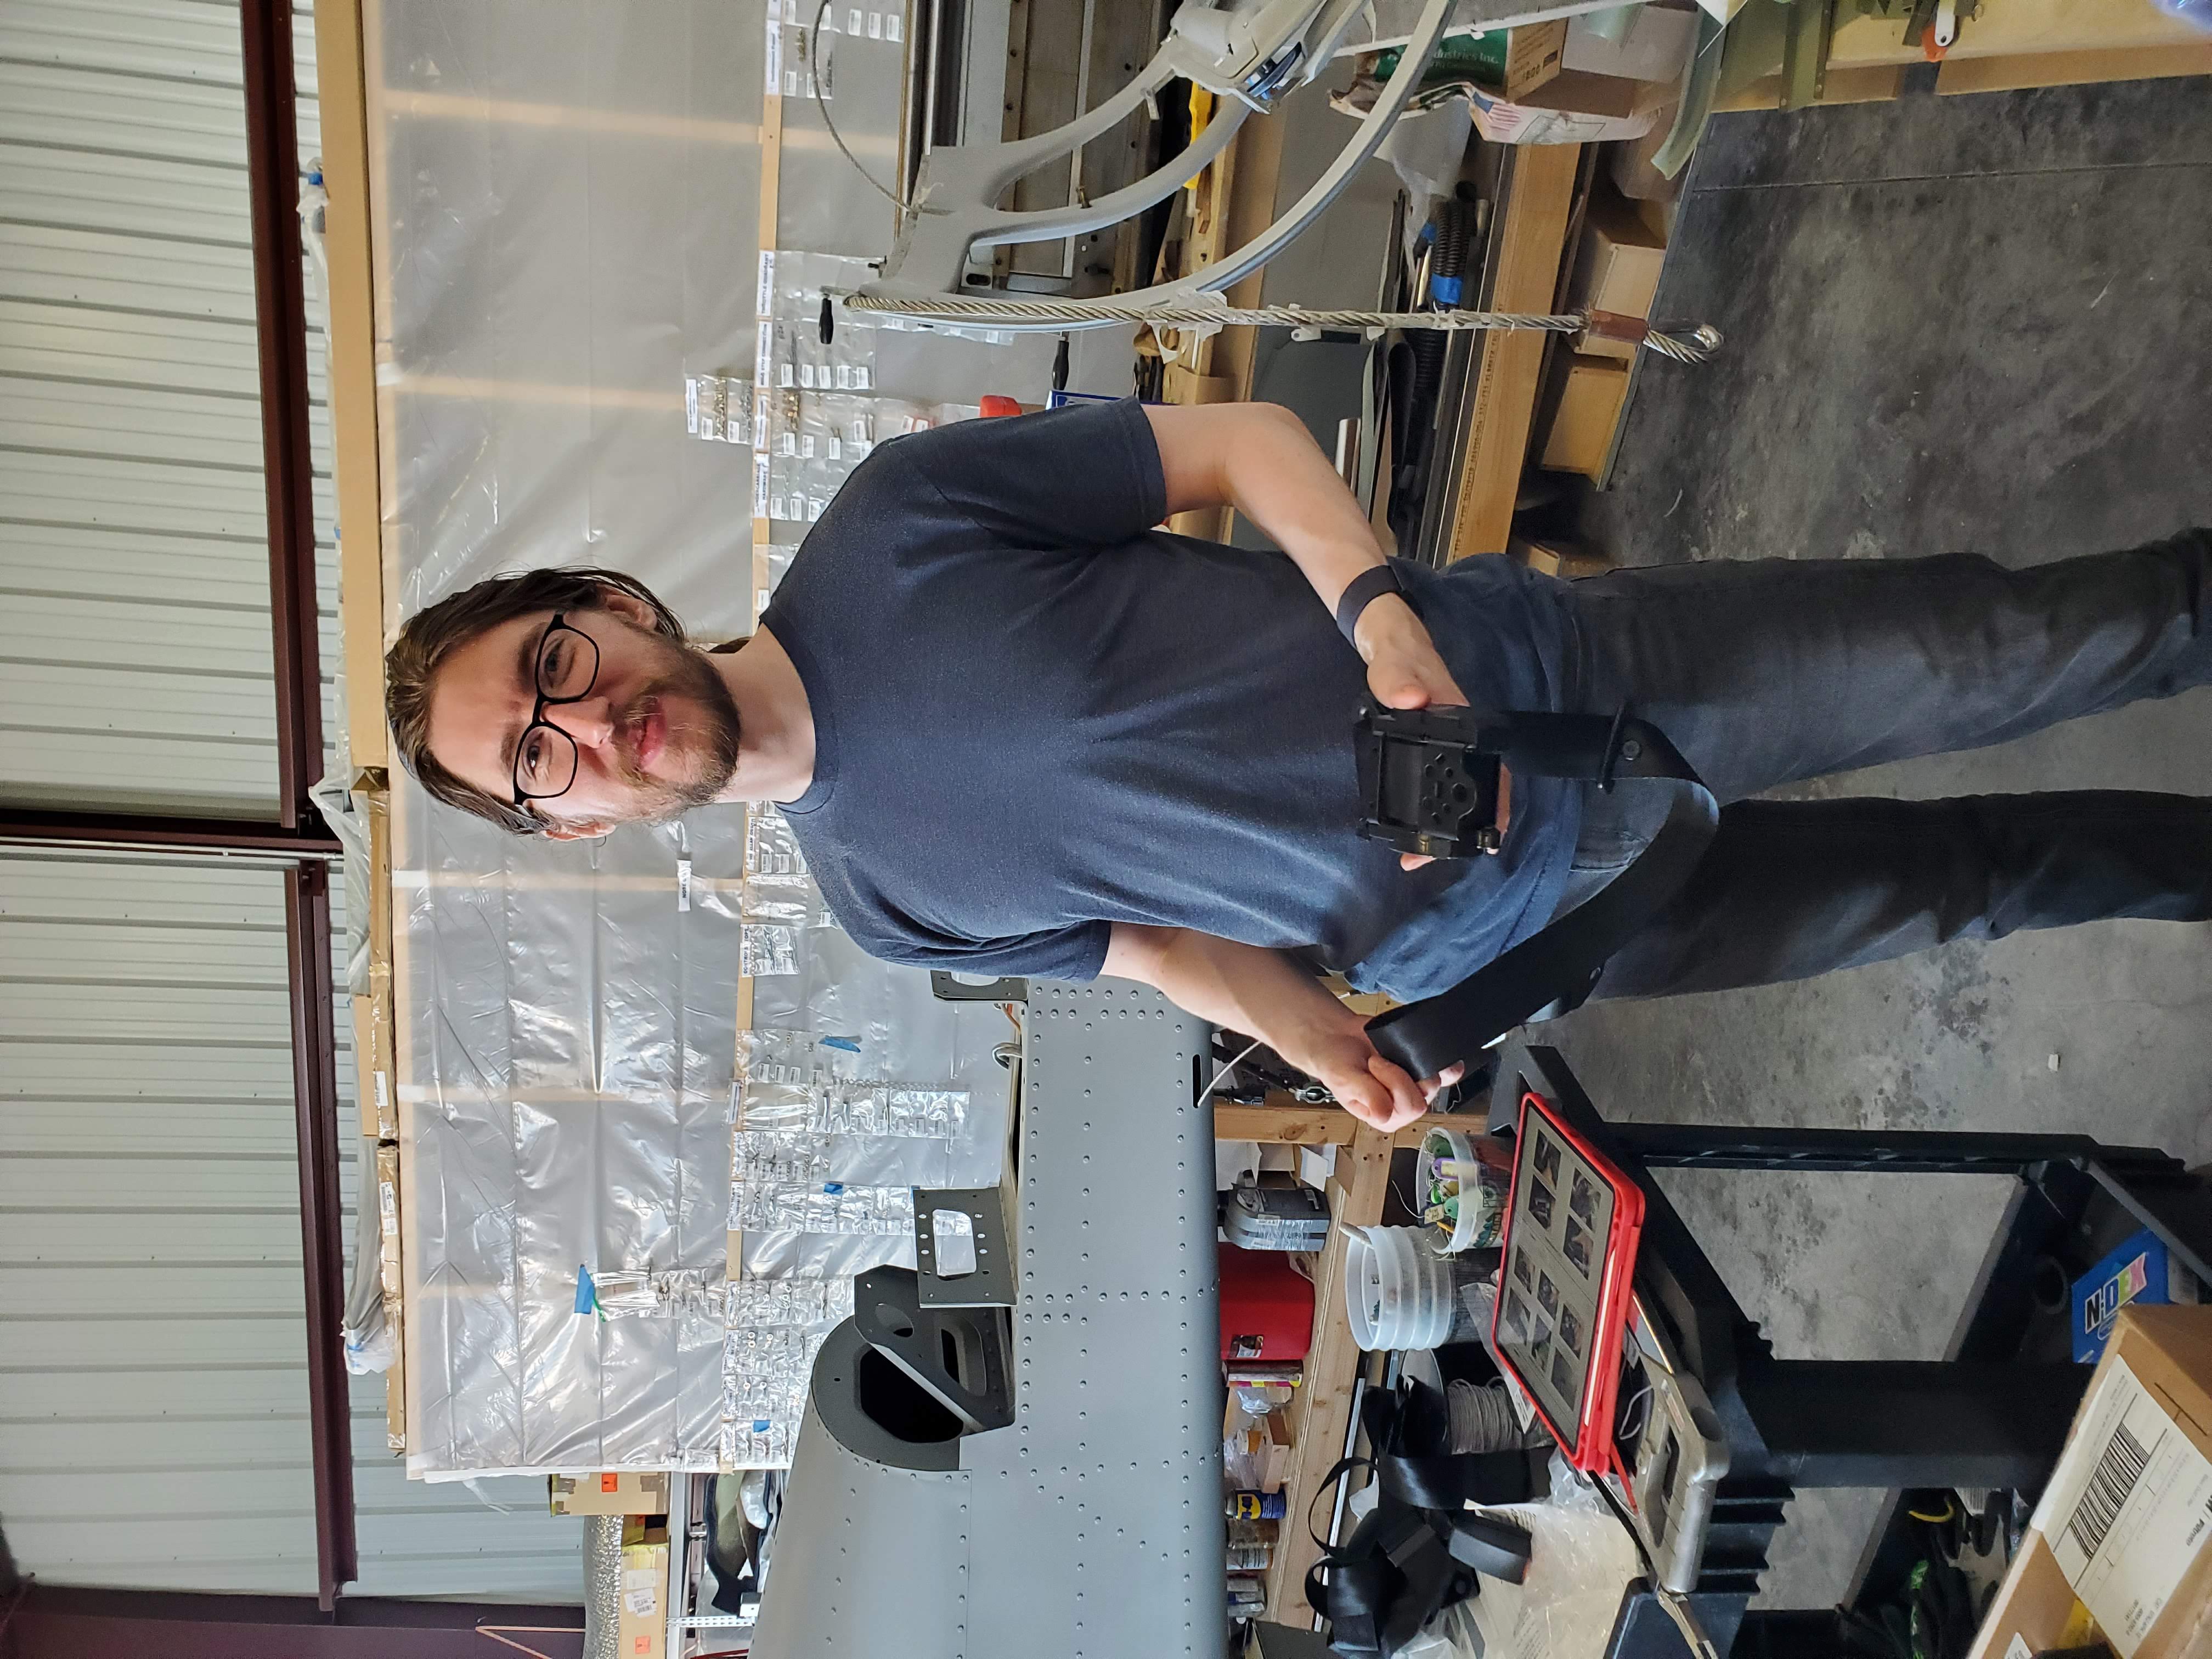
While Sasha was crimping wires, and Peter was routing fuel lines, Nicholay and Brandon helped us install ELT and seat belts:
Brandon even made a weekly habit of coming and helping us at the hangar! Here’s a picture of him fitting the luggage door
Brandon’s enthusiasm for airplane building turned out to be contagious, and another friend and coworker of mine, Joost, joined in our Wednesday airplane nights. Together, we put on both side skins, and riveted the passenger floor such that we can now stand inside our airplane!
Now, dear readers, you are all caught up to our airplane building progress in the last two months! Stay tuned for more progress to come!
#fuselage, #wiring, #undercarriage, #firewall-forward