
Building rear fuselage ribs and receiving remaining kits
In this month’s post, we receive the rest of the kits (finishing and canopy, undercarriage, and firewall forward), and run into the first set of issues with rear fuselage.
Hello dear readers! For the last month, we were mostly focusing on deburring - there are a lot of holes to deburr (duh :)), and most of the longerons have burrs on the inside, which makes deburring trickier.
We were also priming, and building the rear fuselage sub-assemblies. When building the rear fuselage, we were relying heavily on this build video by Evan (as we mentioned in the previous post, it resolved our dispute with the manual over relative order of parts in the ribs). However, we believe there are two small mistakes in it:
- rib 2 actually should be built with the rib jig (and it does fit onto the outermost set of holes on the jig, like this):
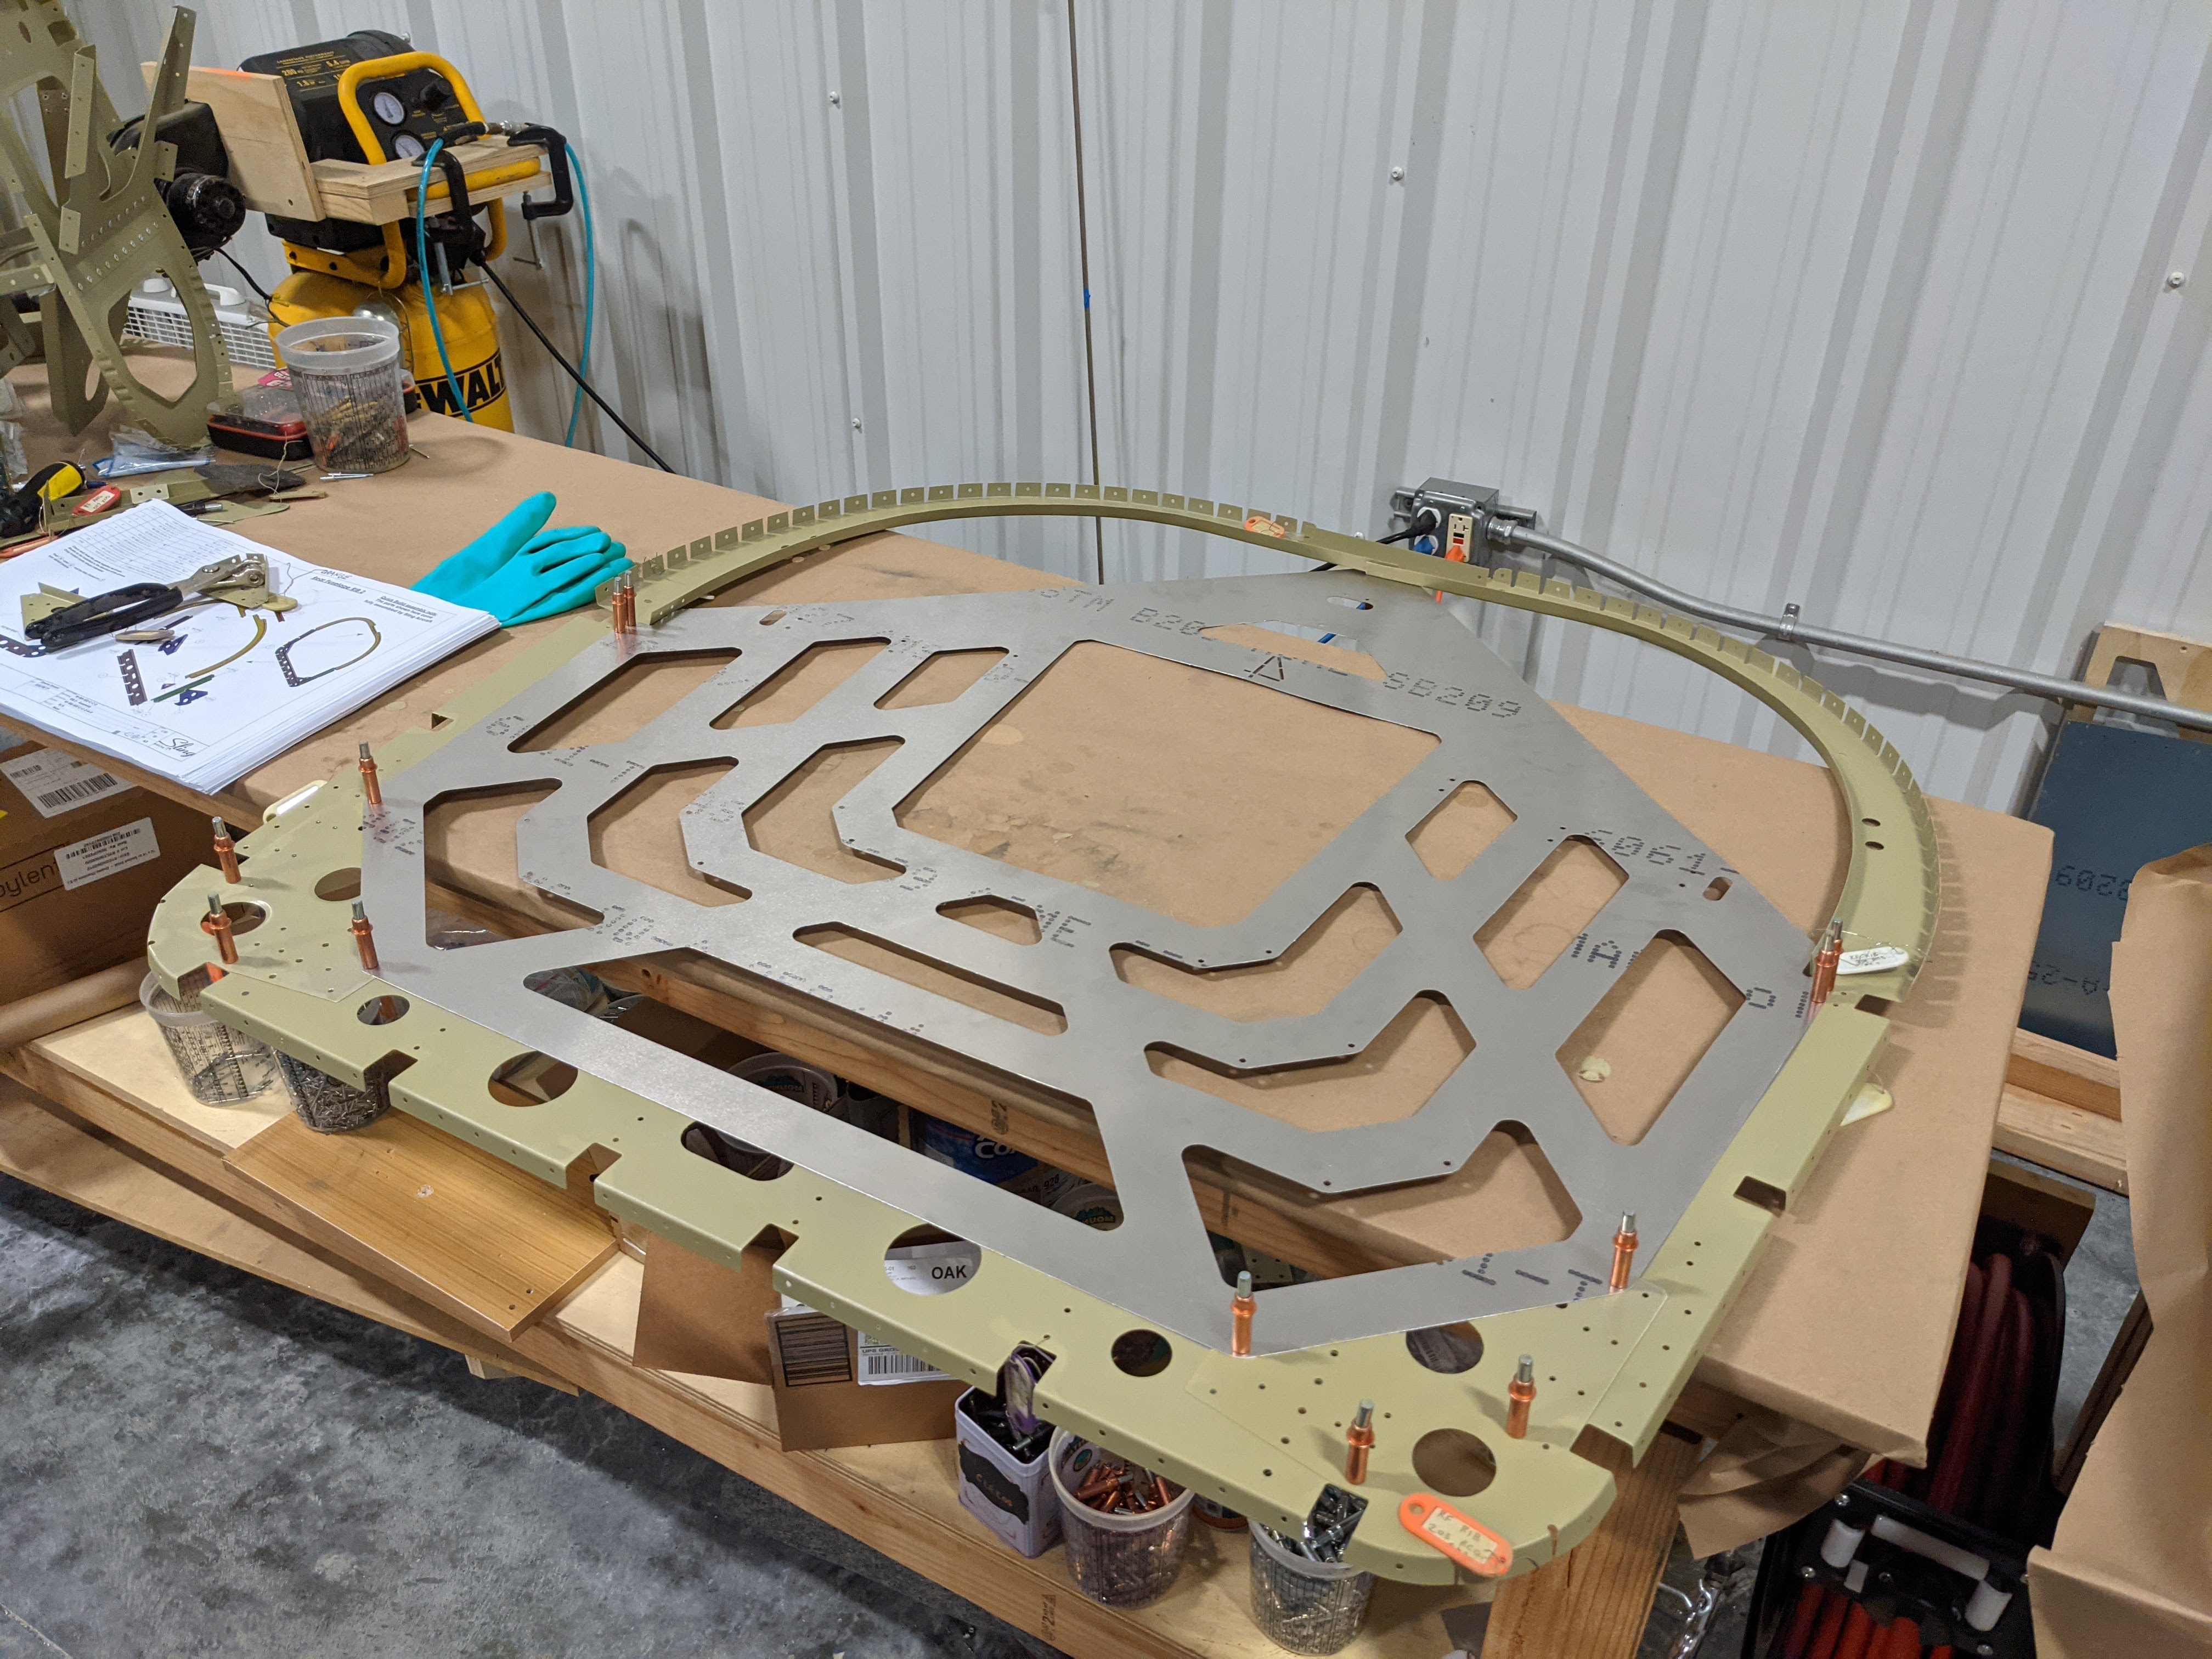
-
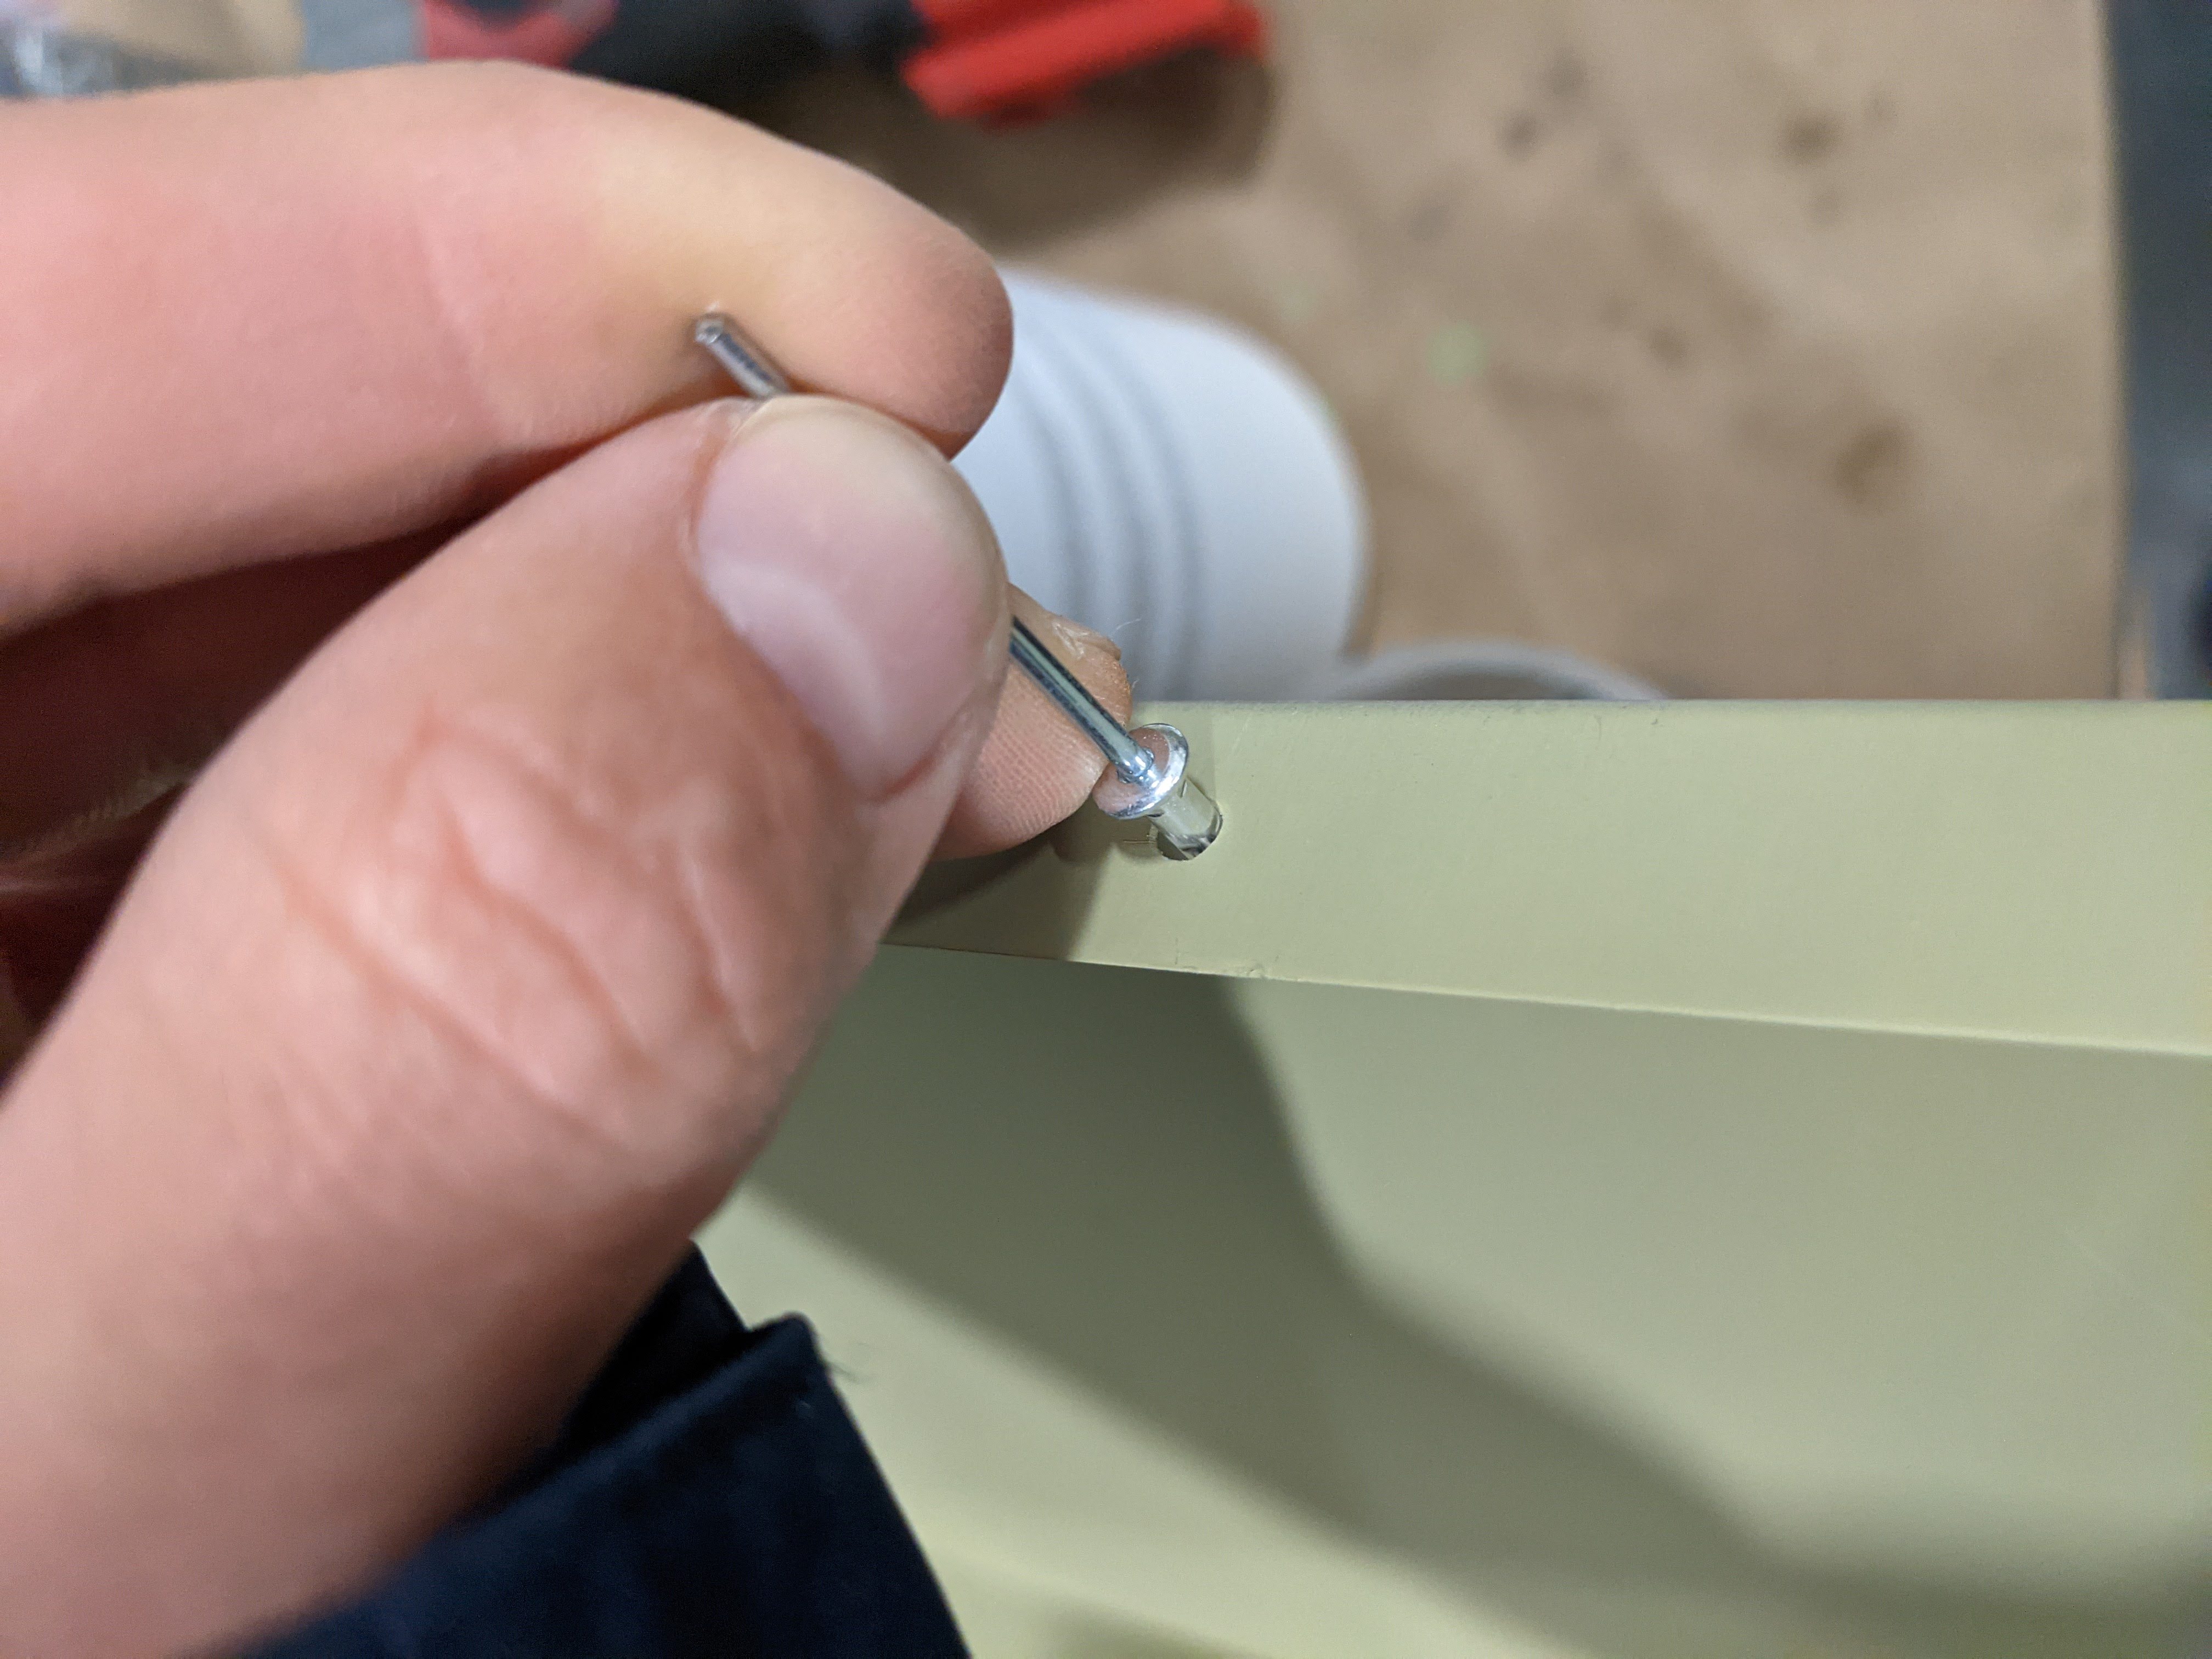
the two holes circled in red
should not be riveted at this stage, because they will be used later to attach the rear end of the luggage extension box (also circled in the following photo):
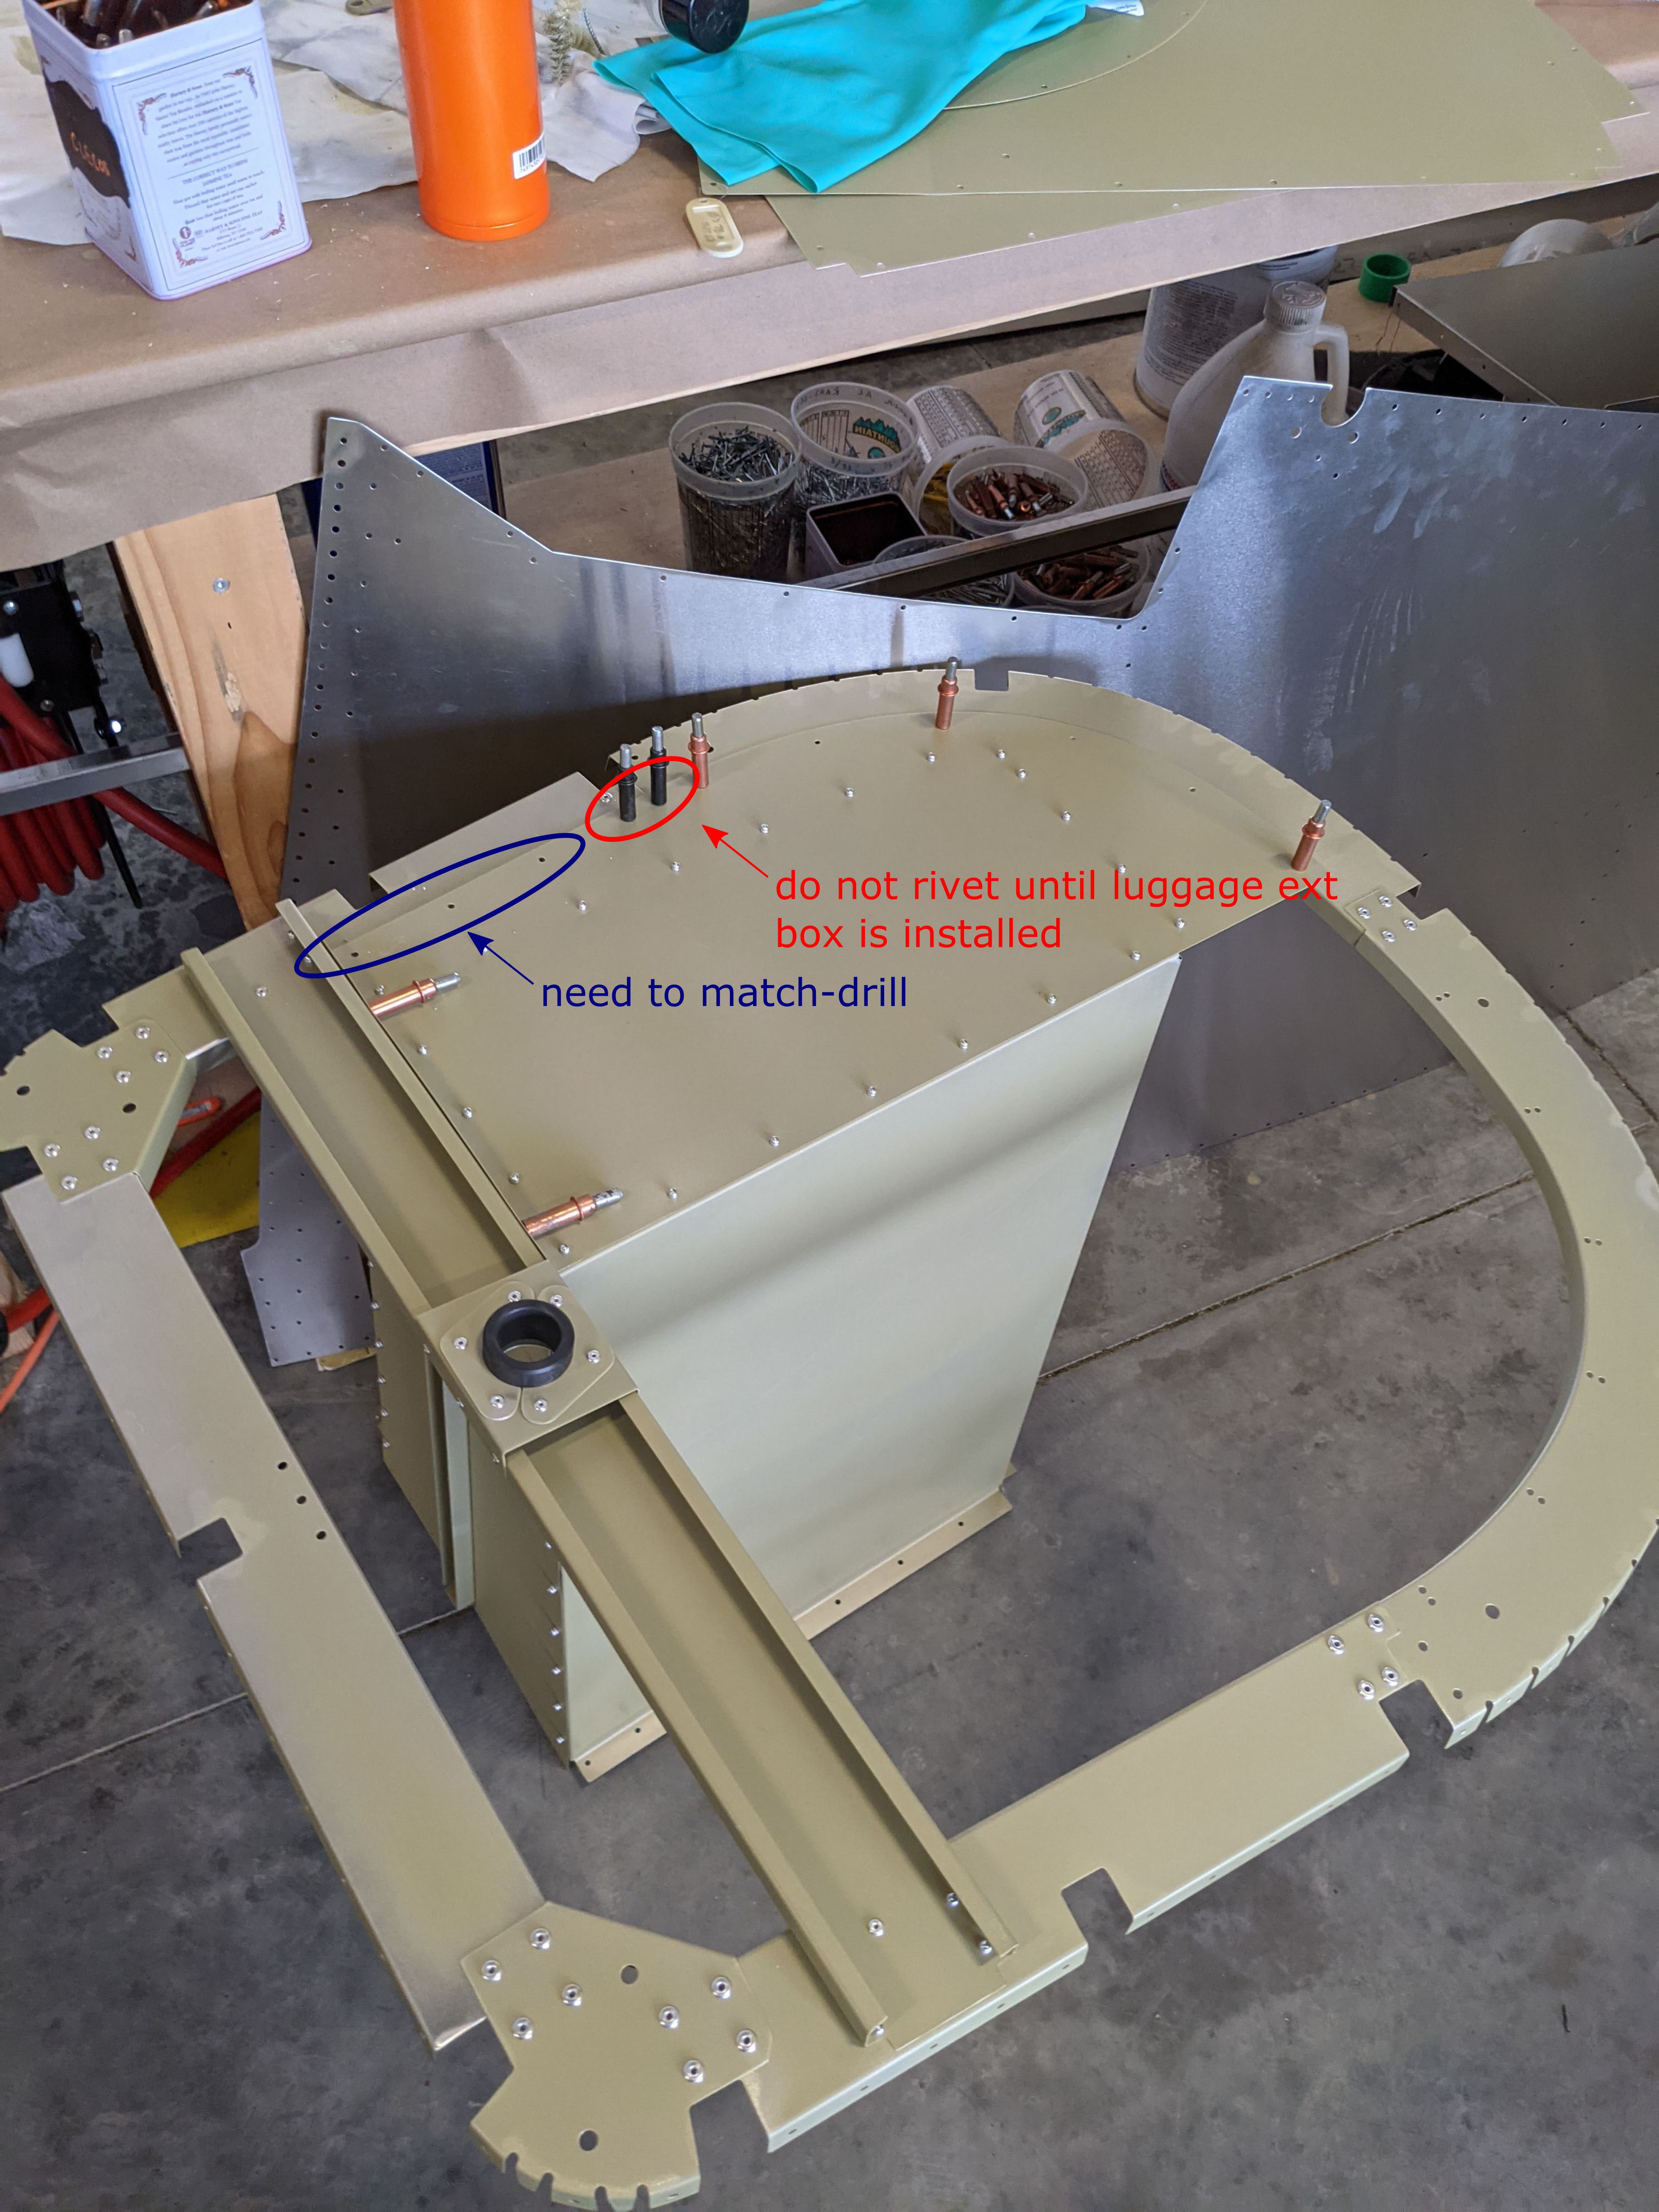
Naturally, we learned about it the hard way and had to unrivet :). Additionally, as shown in the picture above, we had to match-drill more holes in the rib to be able to install luggage extension box. A nother snag in luggage extension box for us was that some of the holes were too large for 3.2x8 mm rivets,
so we instead up-drilled the holes to 4 mm and replaced 3.2 x 8 mm rivets with 4.0 x 10 mm. To echo Evan’s second rear fuselage build video, the rivets have to be installed from inside of the luggage box (so that the rivet butts are outside), even though it is much harder then installing them from outside in. That way, whatever luggage you put inside the box will not catch on rivet butts.
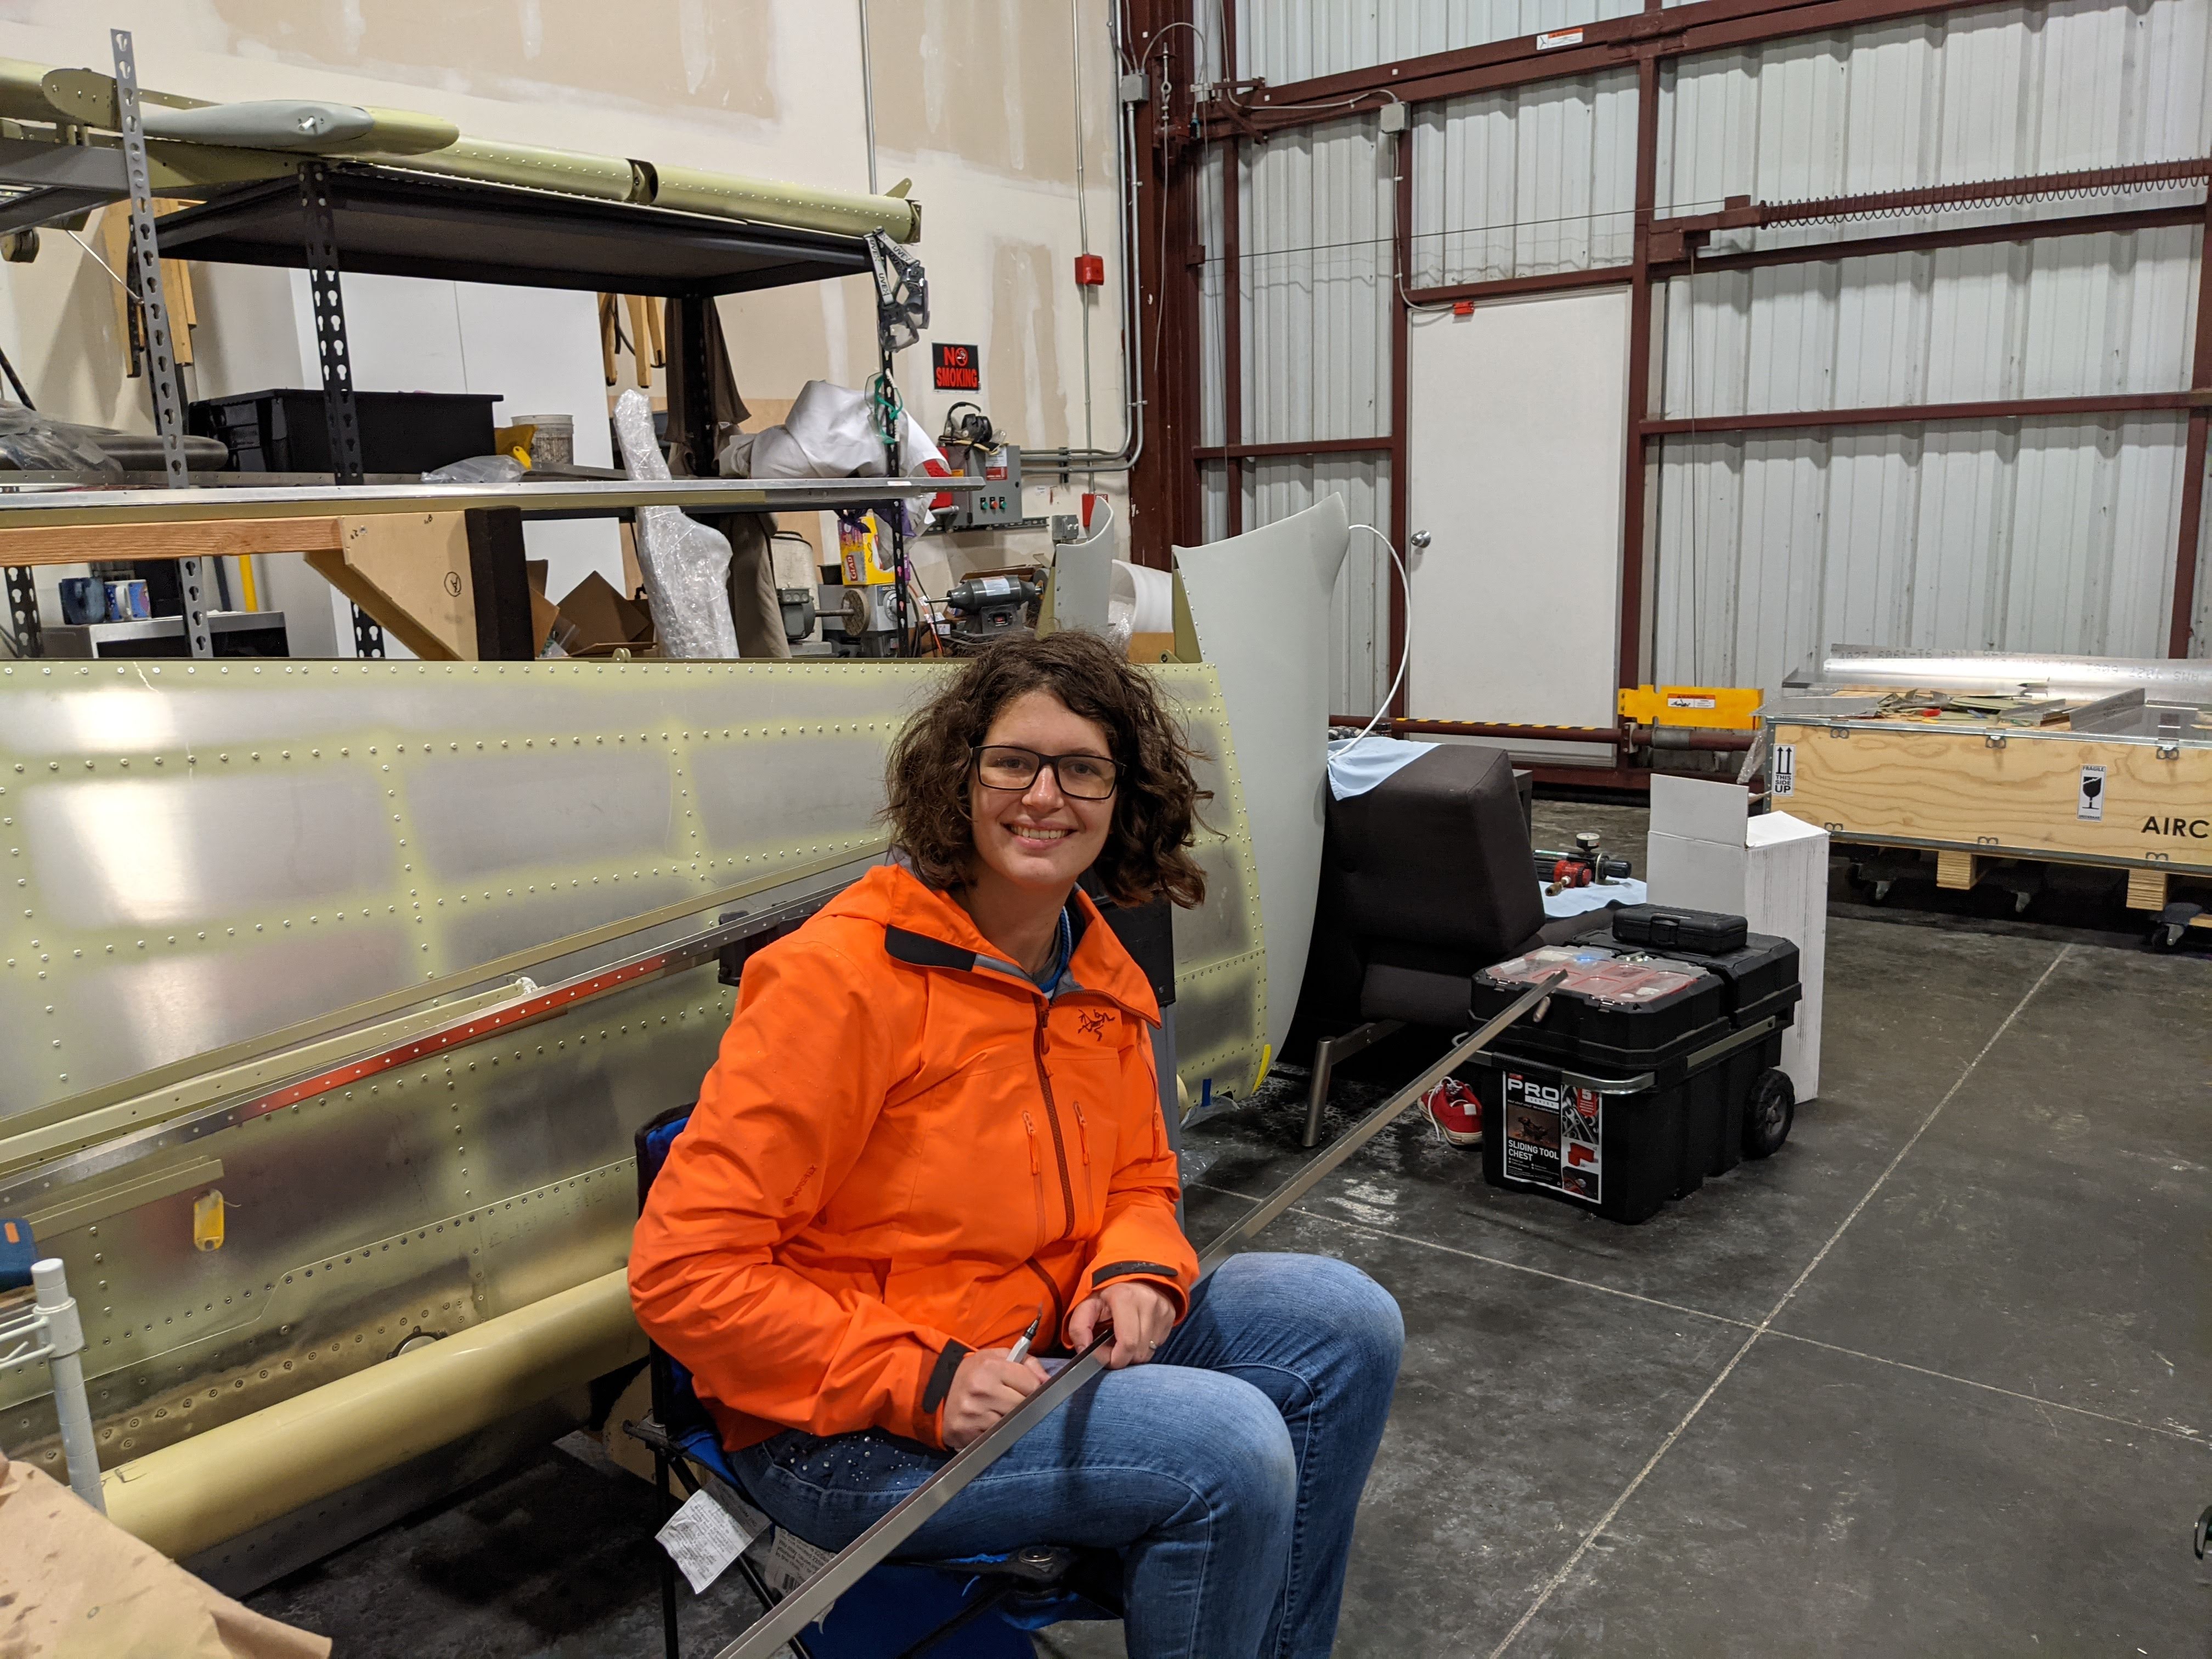
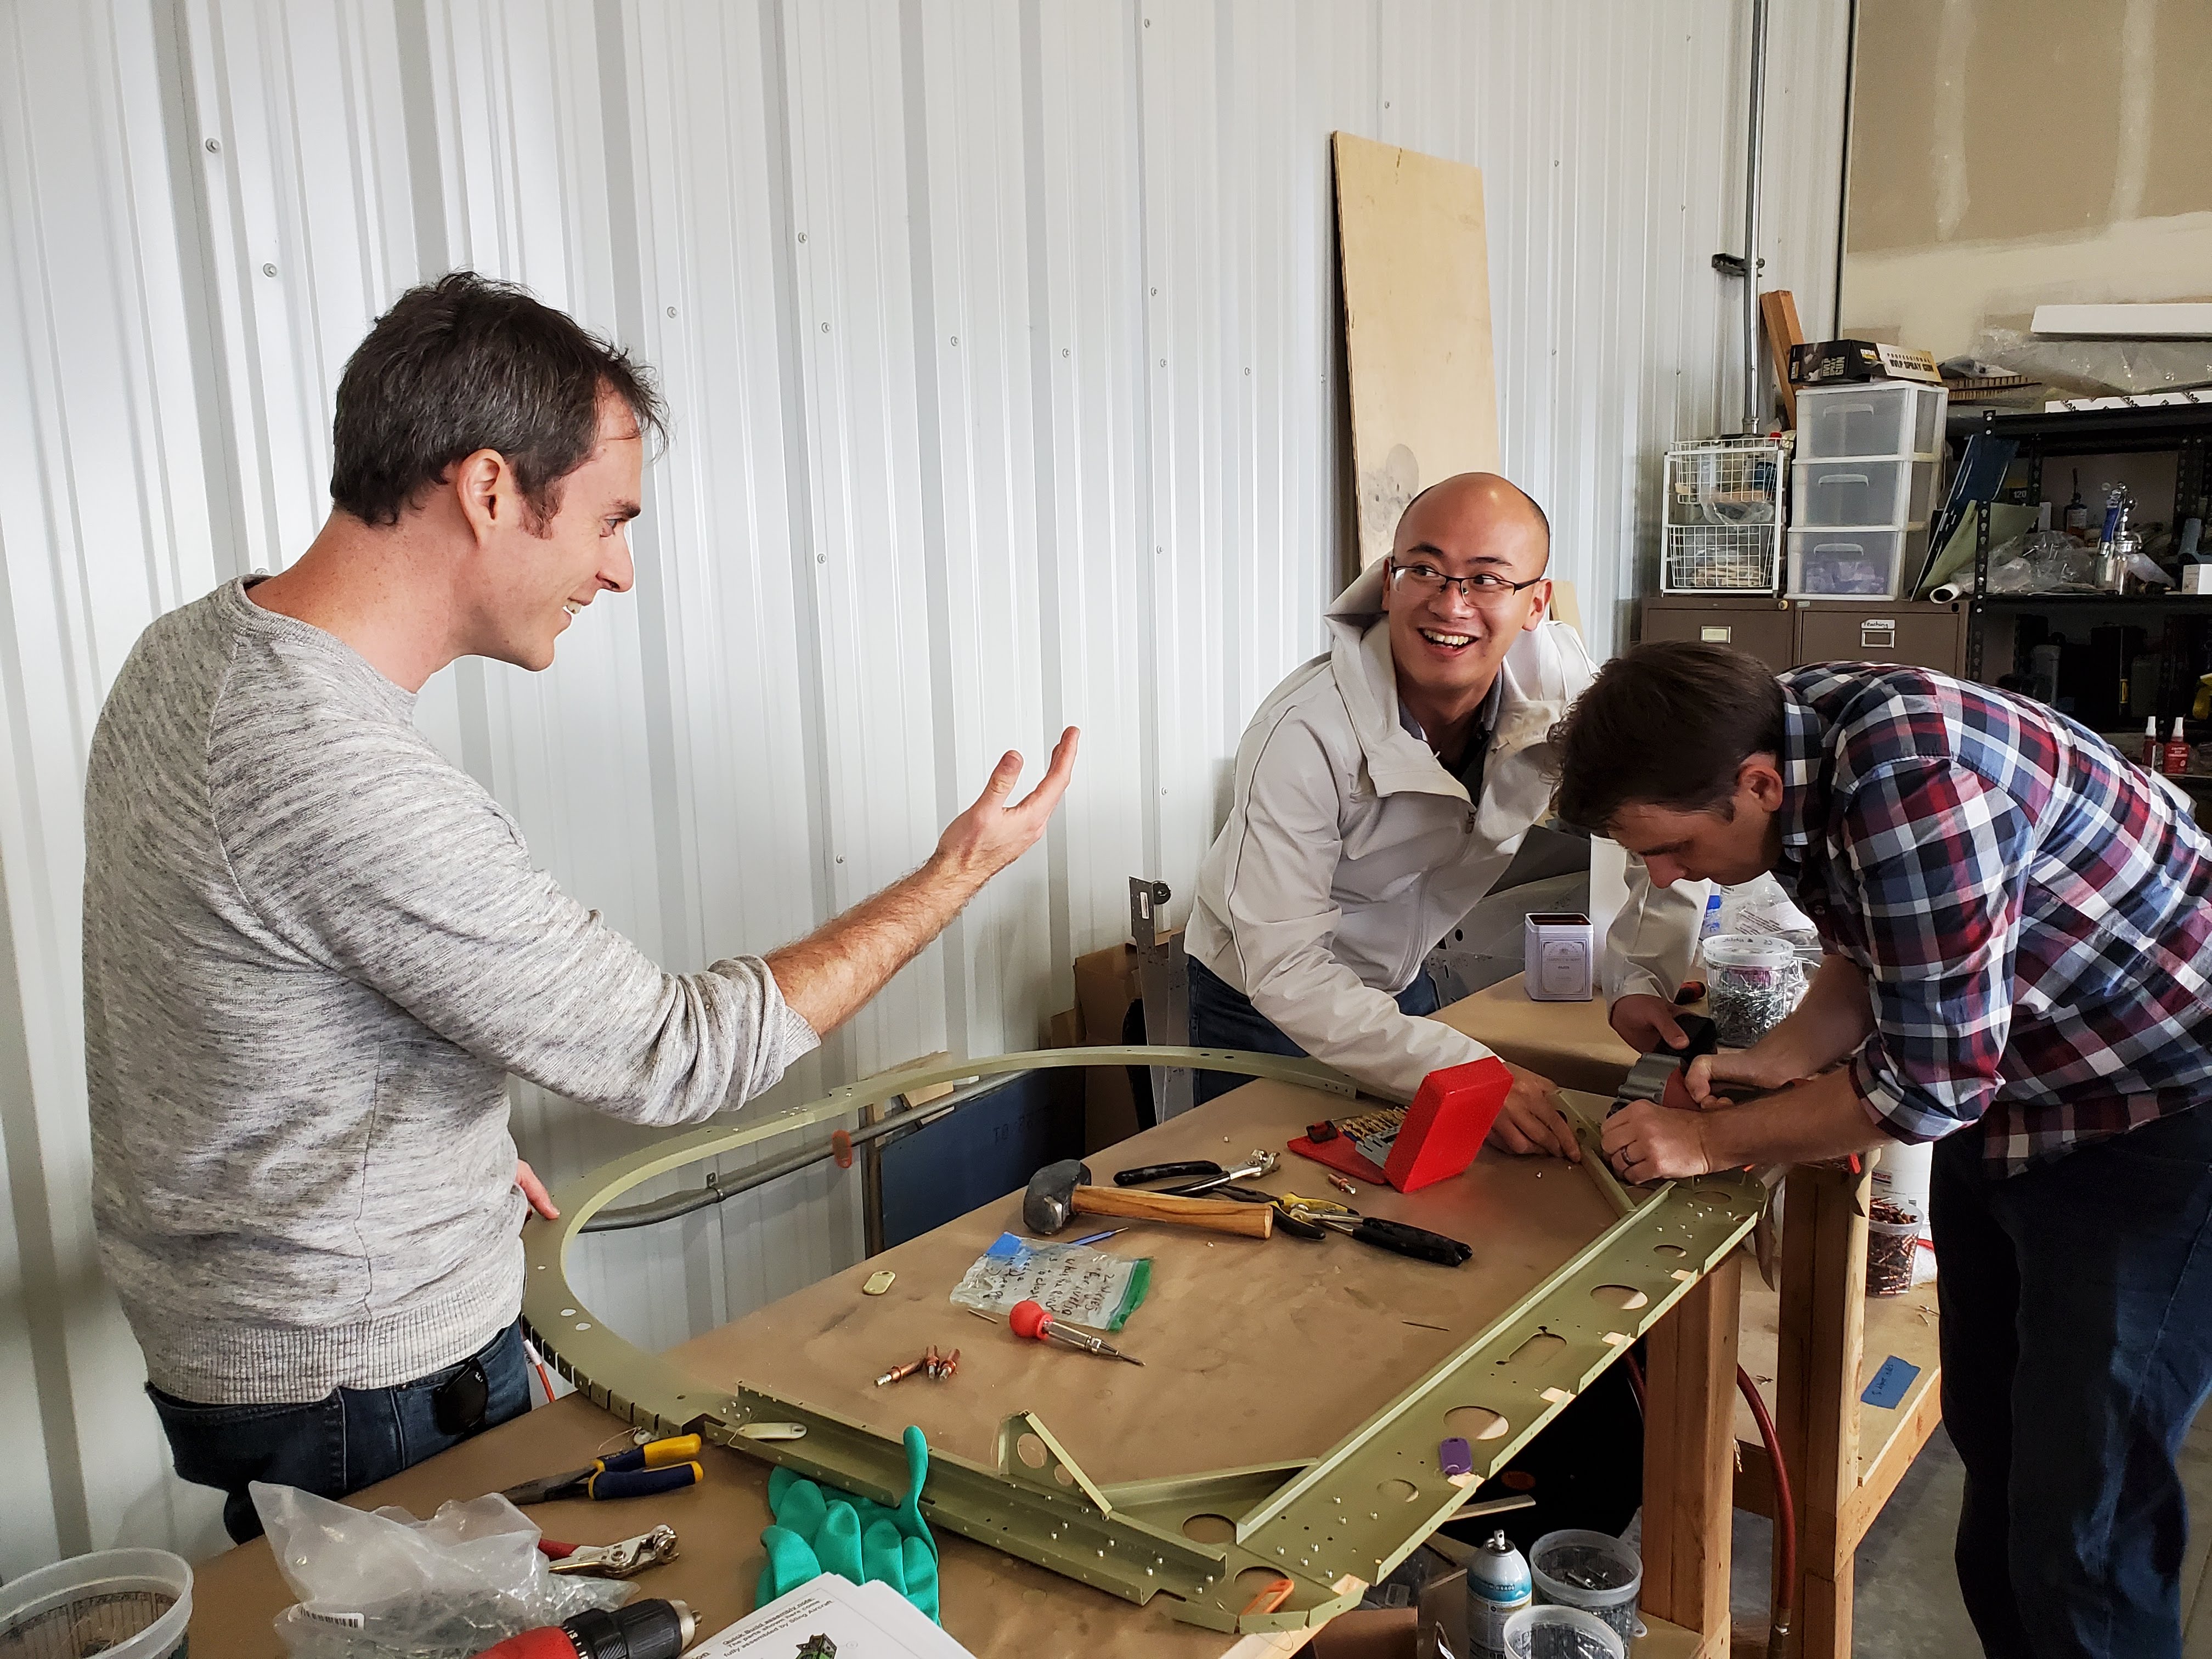
Sasha crowd-sourced her colleagues to help with deburring and building rib 2:
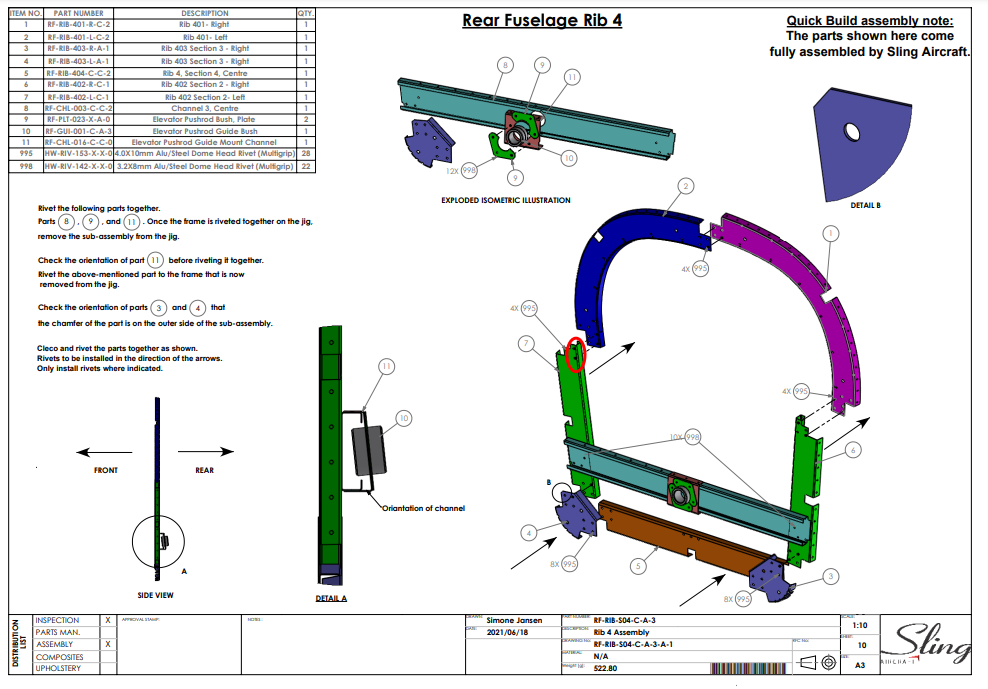
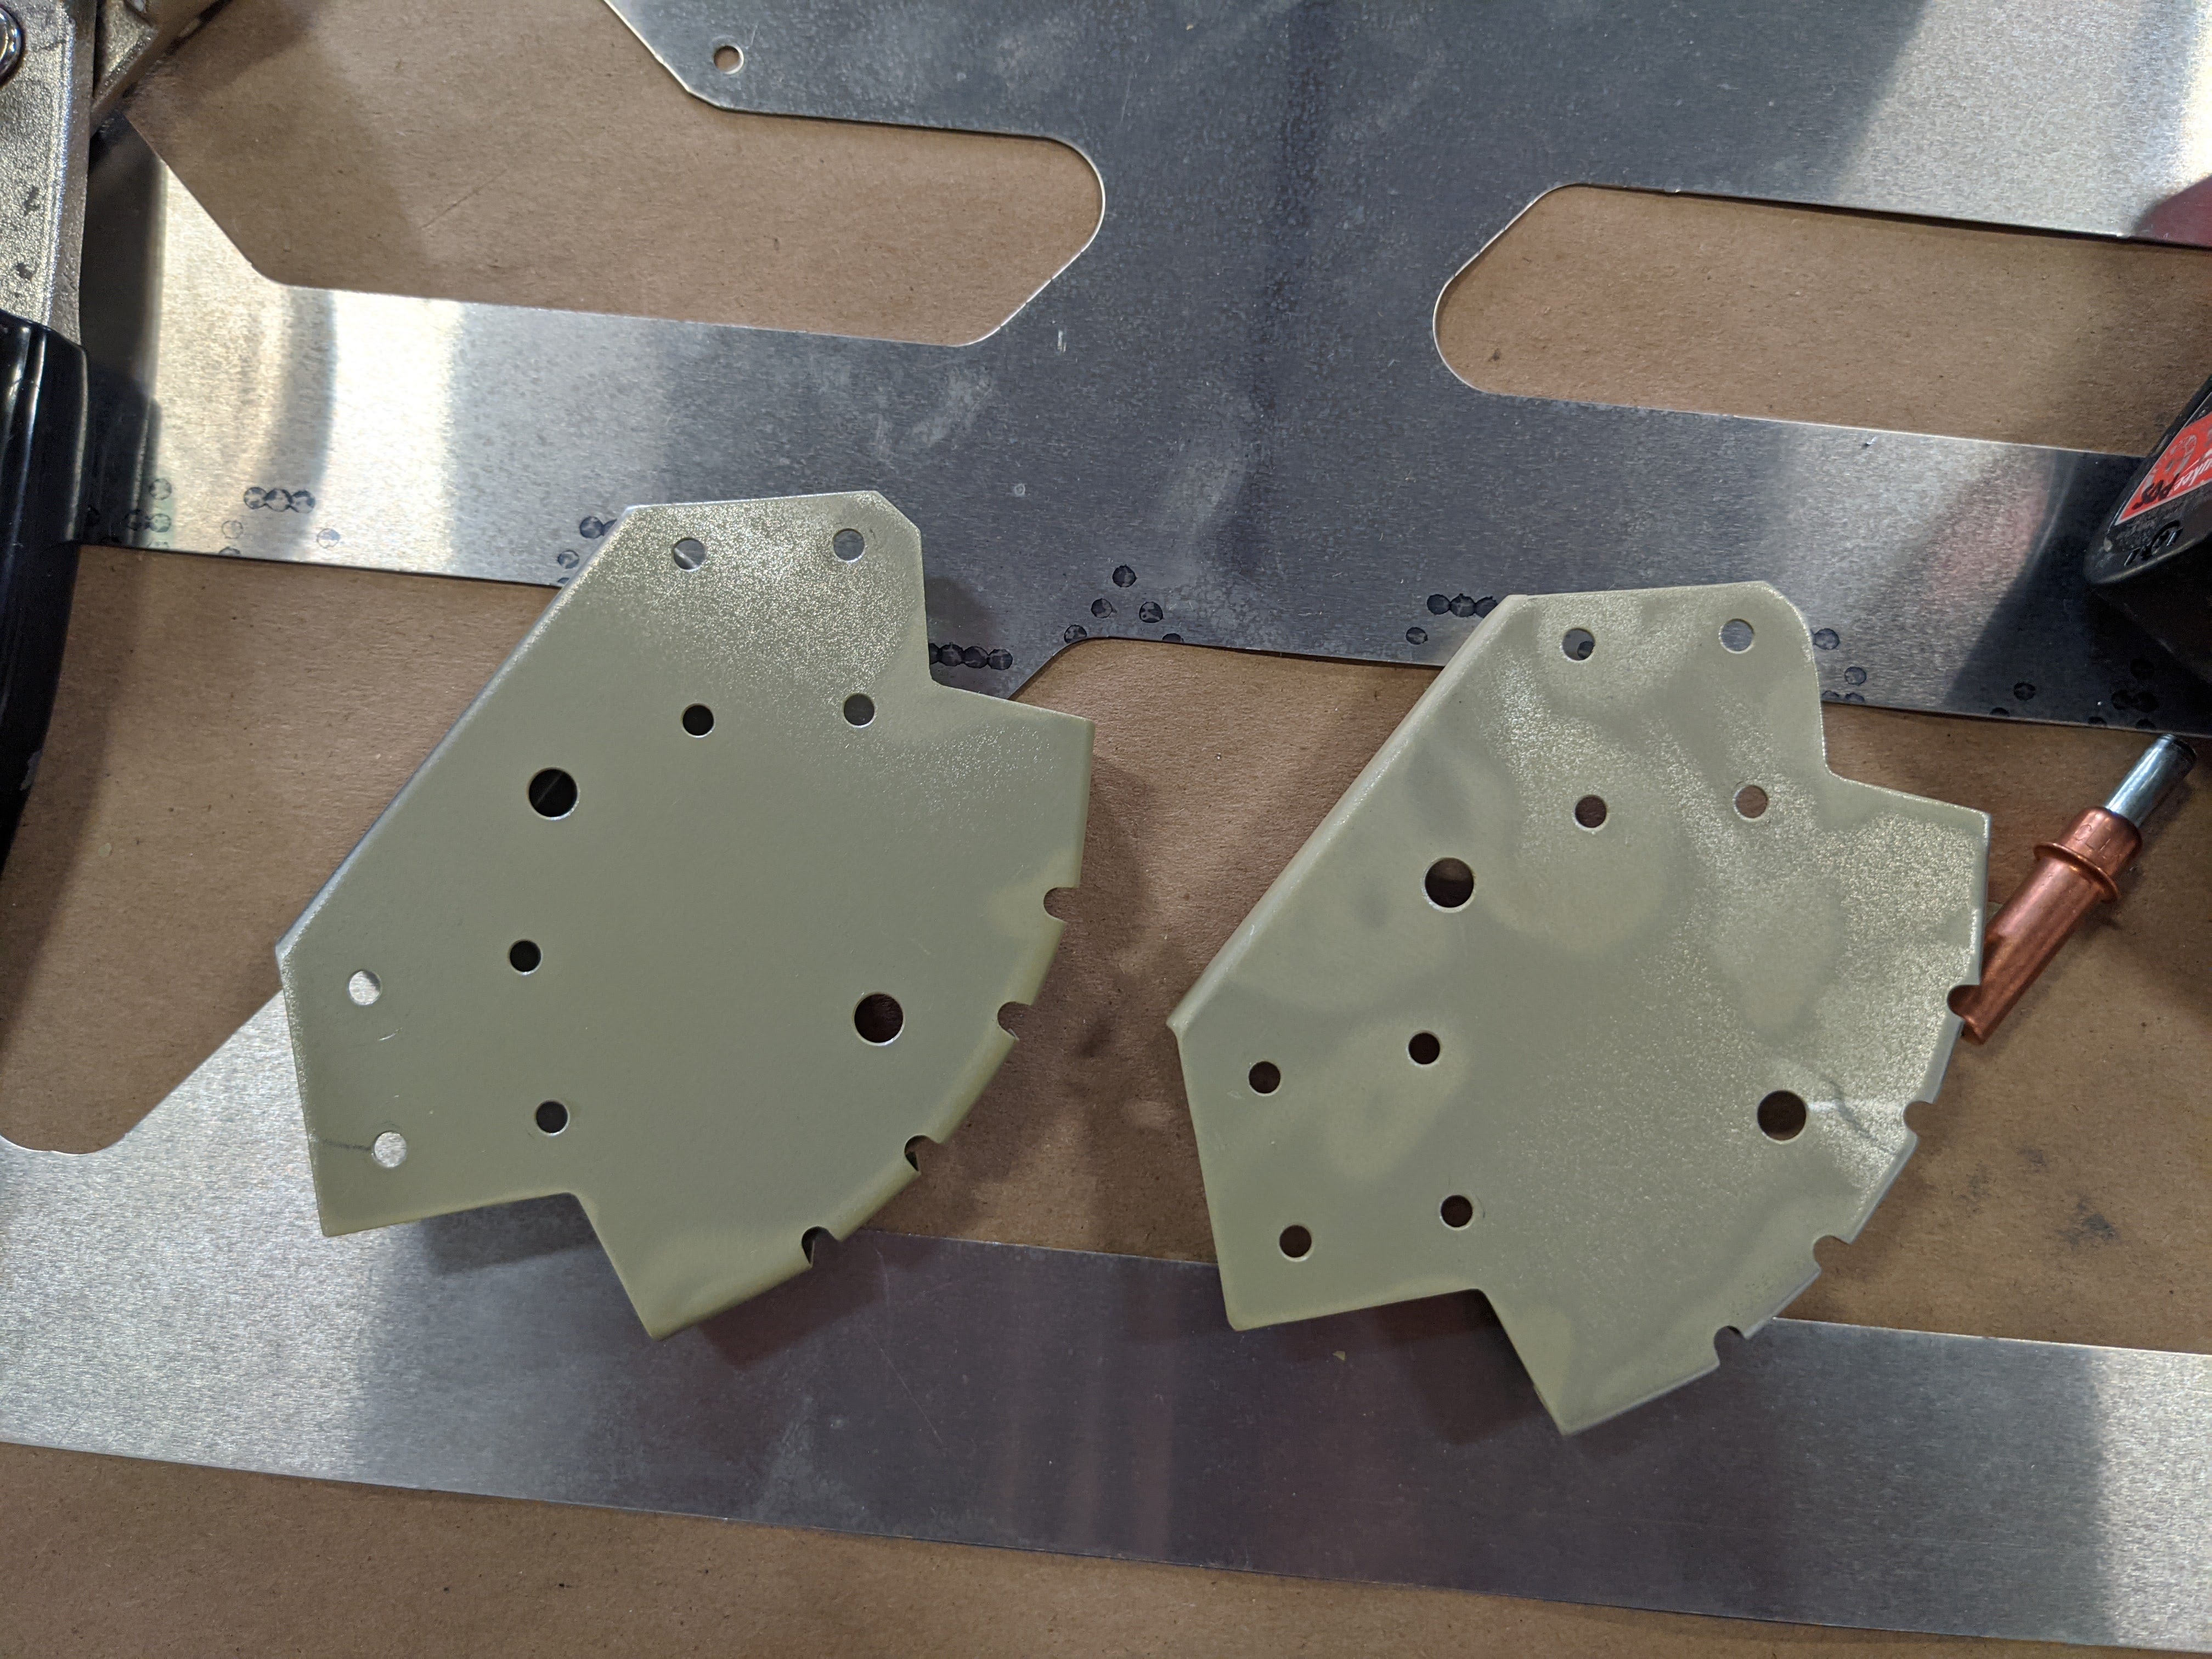
Also, we were blocked on building rib 3 because originally we received two of right part (even though they were labelled as left and right).
The way to tell left part from right is by a chamfer on one of the corners. In our case, as you can see in the following picture, both parts have chamfers on the same side instead of
opposite sides, which means they are the same part :(
To Sling Factory’s credit, they sent us new part very quickly, together with the latest delivery. This allows me to segue into another exciting event - we got the rest of our kits, specifically, firewall forward, undercarriage, canopy and finishing kits. Here’s a picture of Sasha un-bubble-wrapping the undercarriage kit:
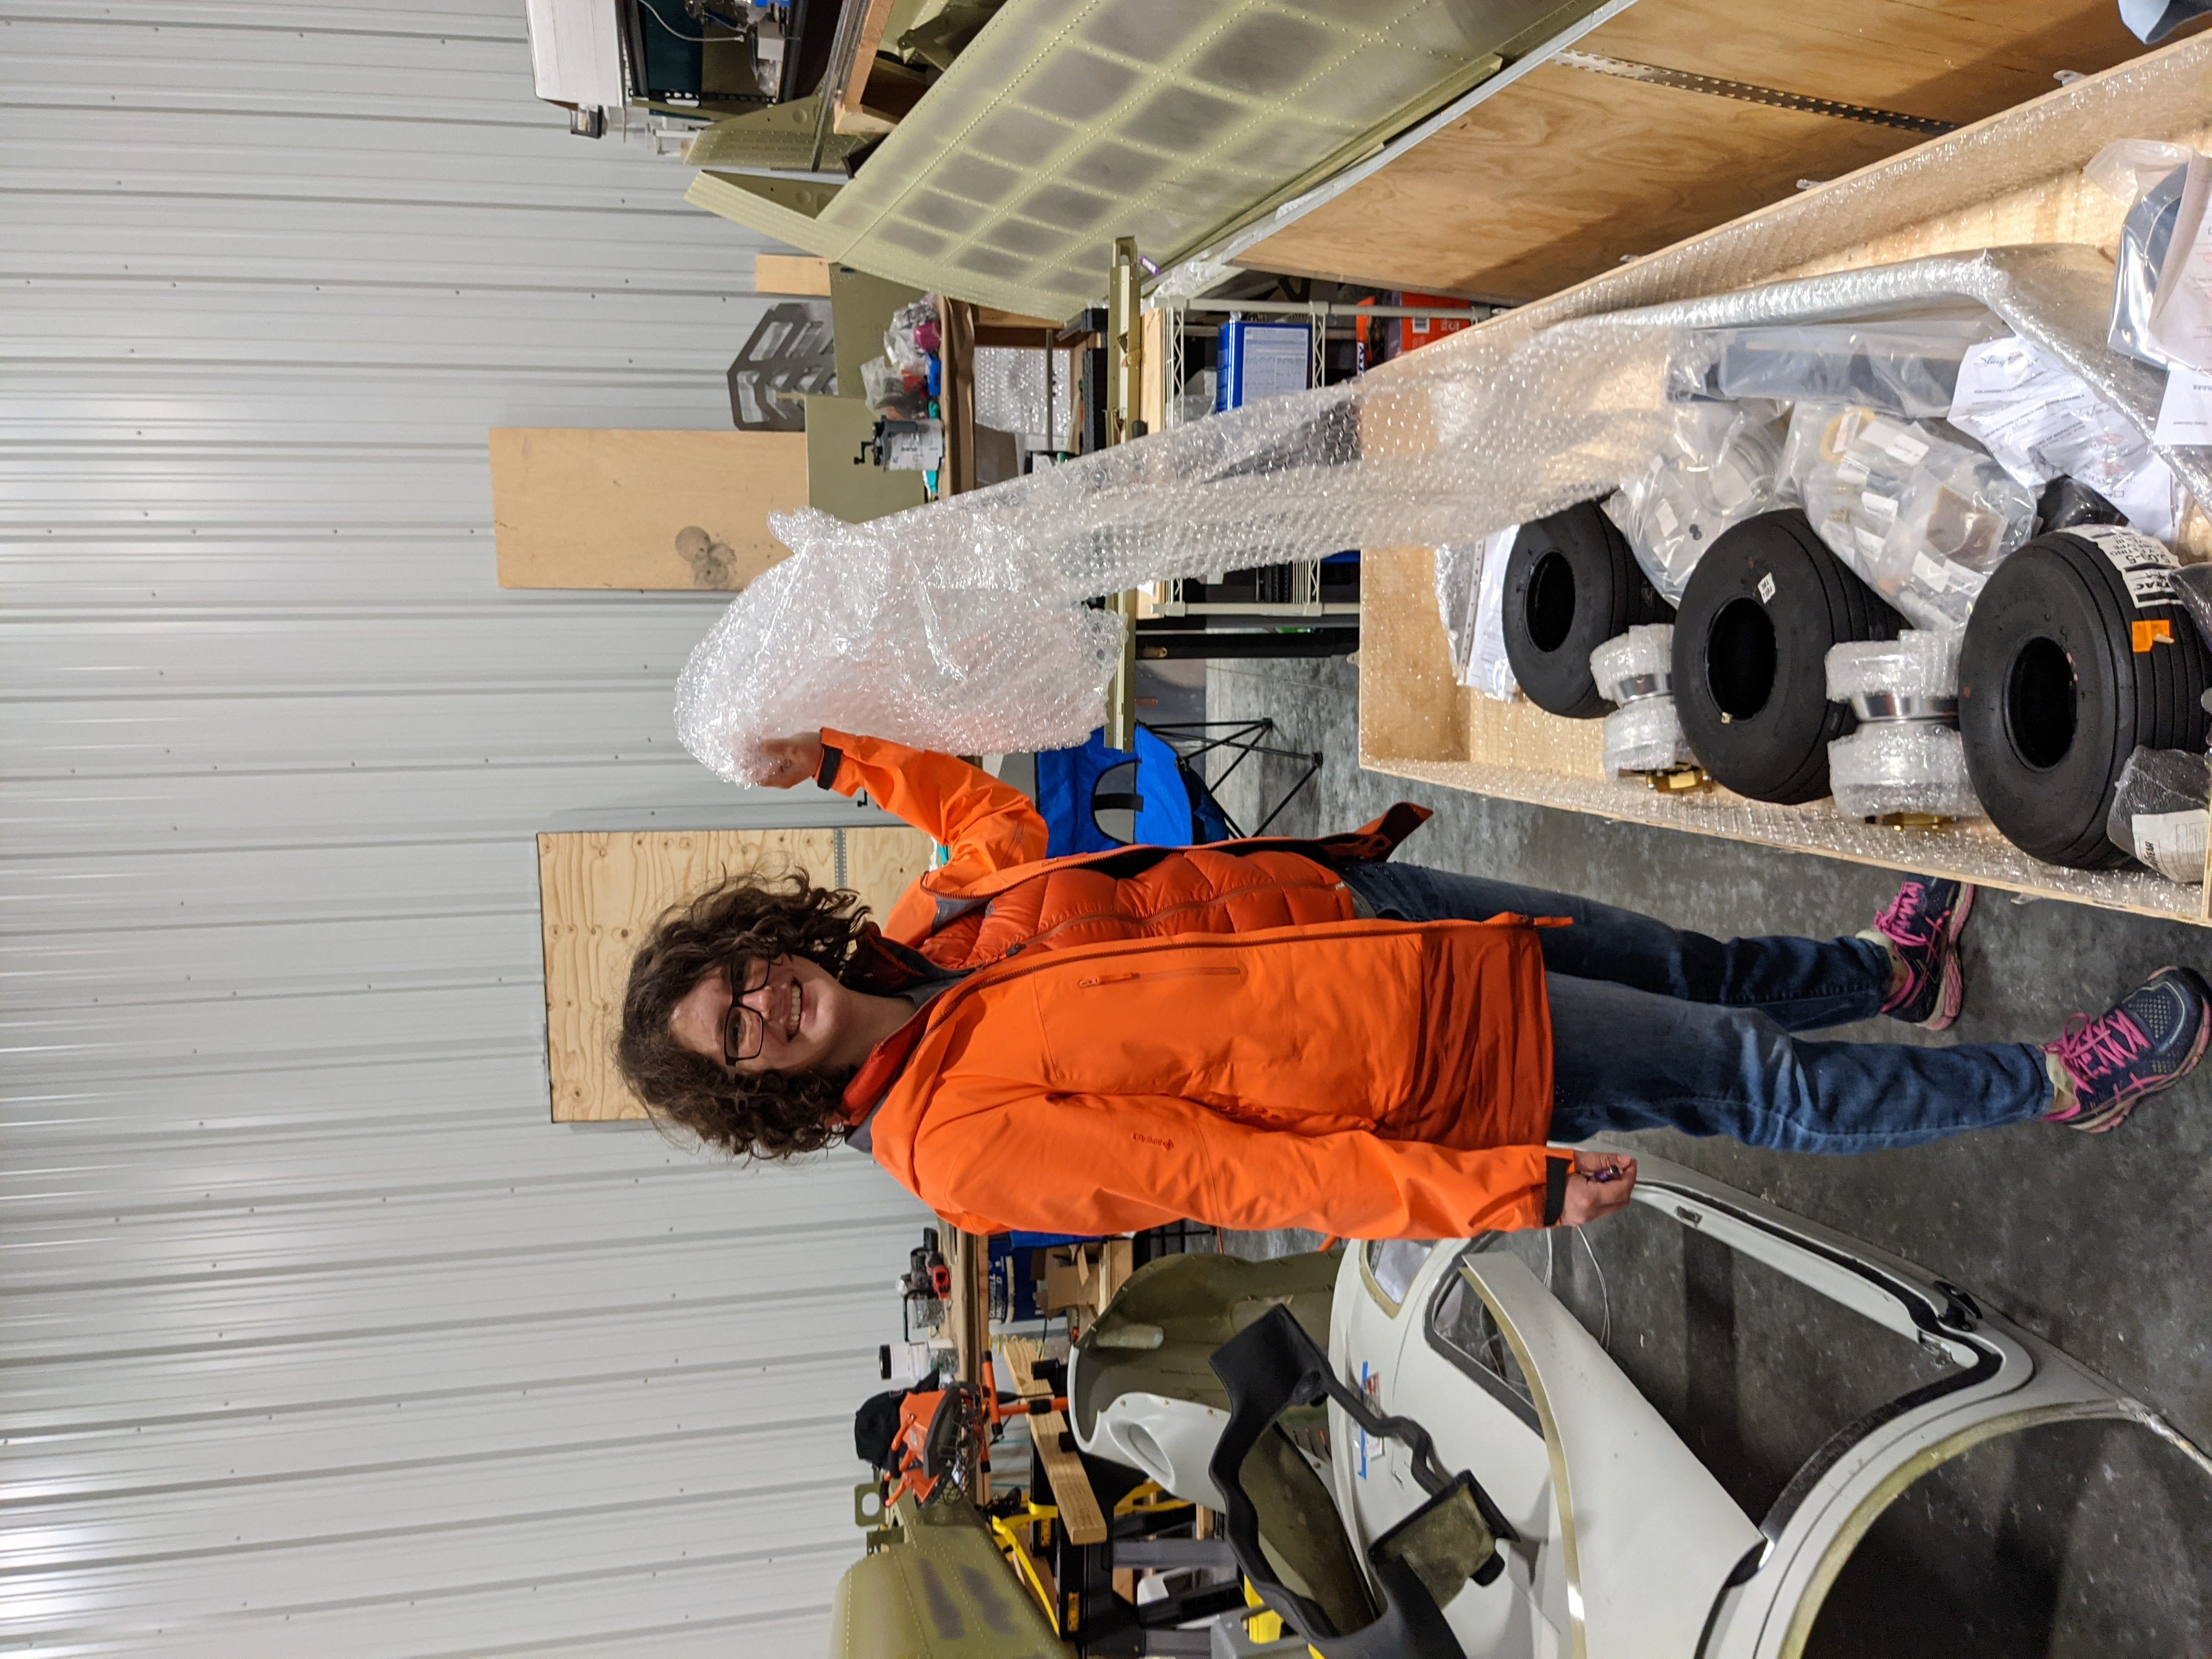
The inventory of all three boxes discovered only one missing part! Go Sling Factory, that is an amazing improvement in both shipping speed and packaging quality control.
As the new boxes arrived, we had to make some space for them; as such, our fuselage box had to go. That day, Sasha had a lot of energy (anger?), so she decided to go about it in SASHA SMASH! kind of way:
How about you, dear readers? What are you building these days? Have you prepared for the pumpkin spice latte season? Leave a comment below!
#fuselage