
Spray priming like rebels
We sprayed primer! Some of our parts are primed! Excitement and merriment was had!
Tool list:
- Hose
- Garden spray thing attached to hose
- Borrowed Home Depot cart
- Bought Husky cart
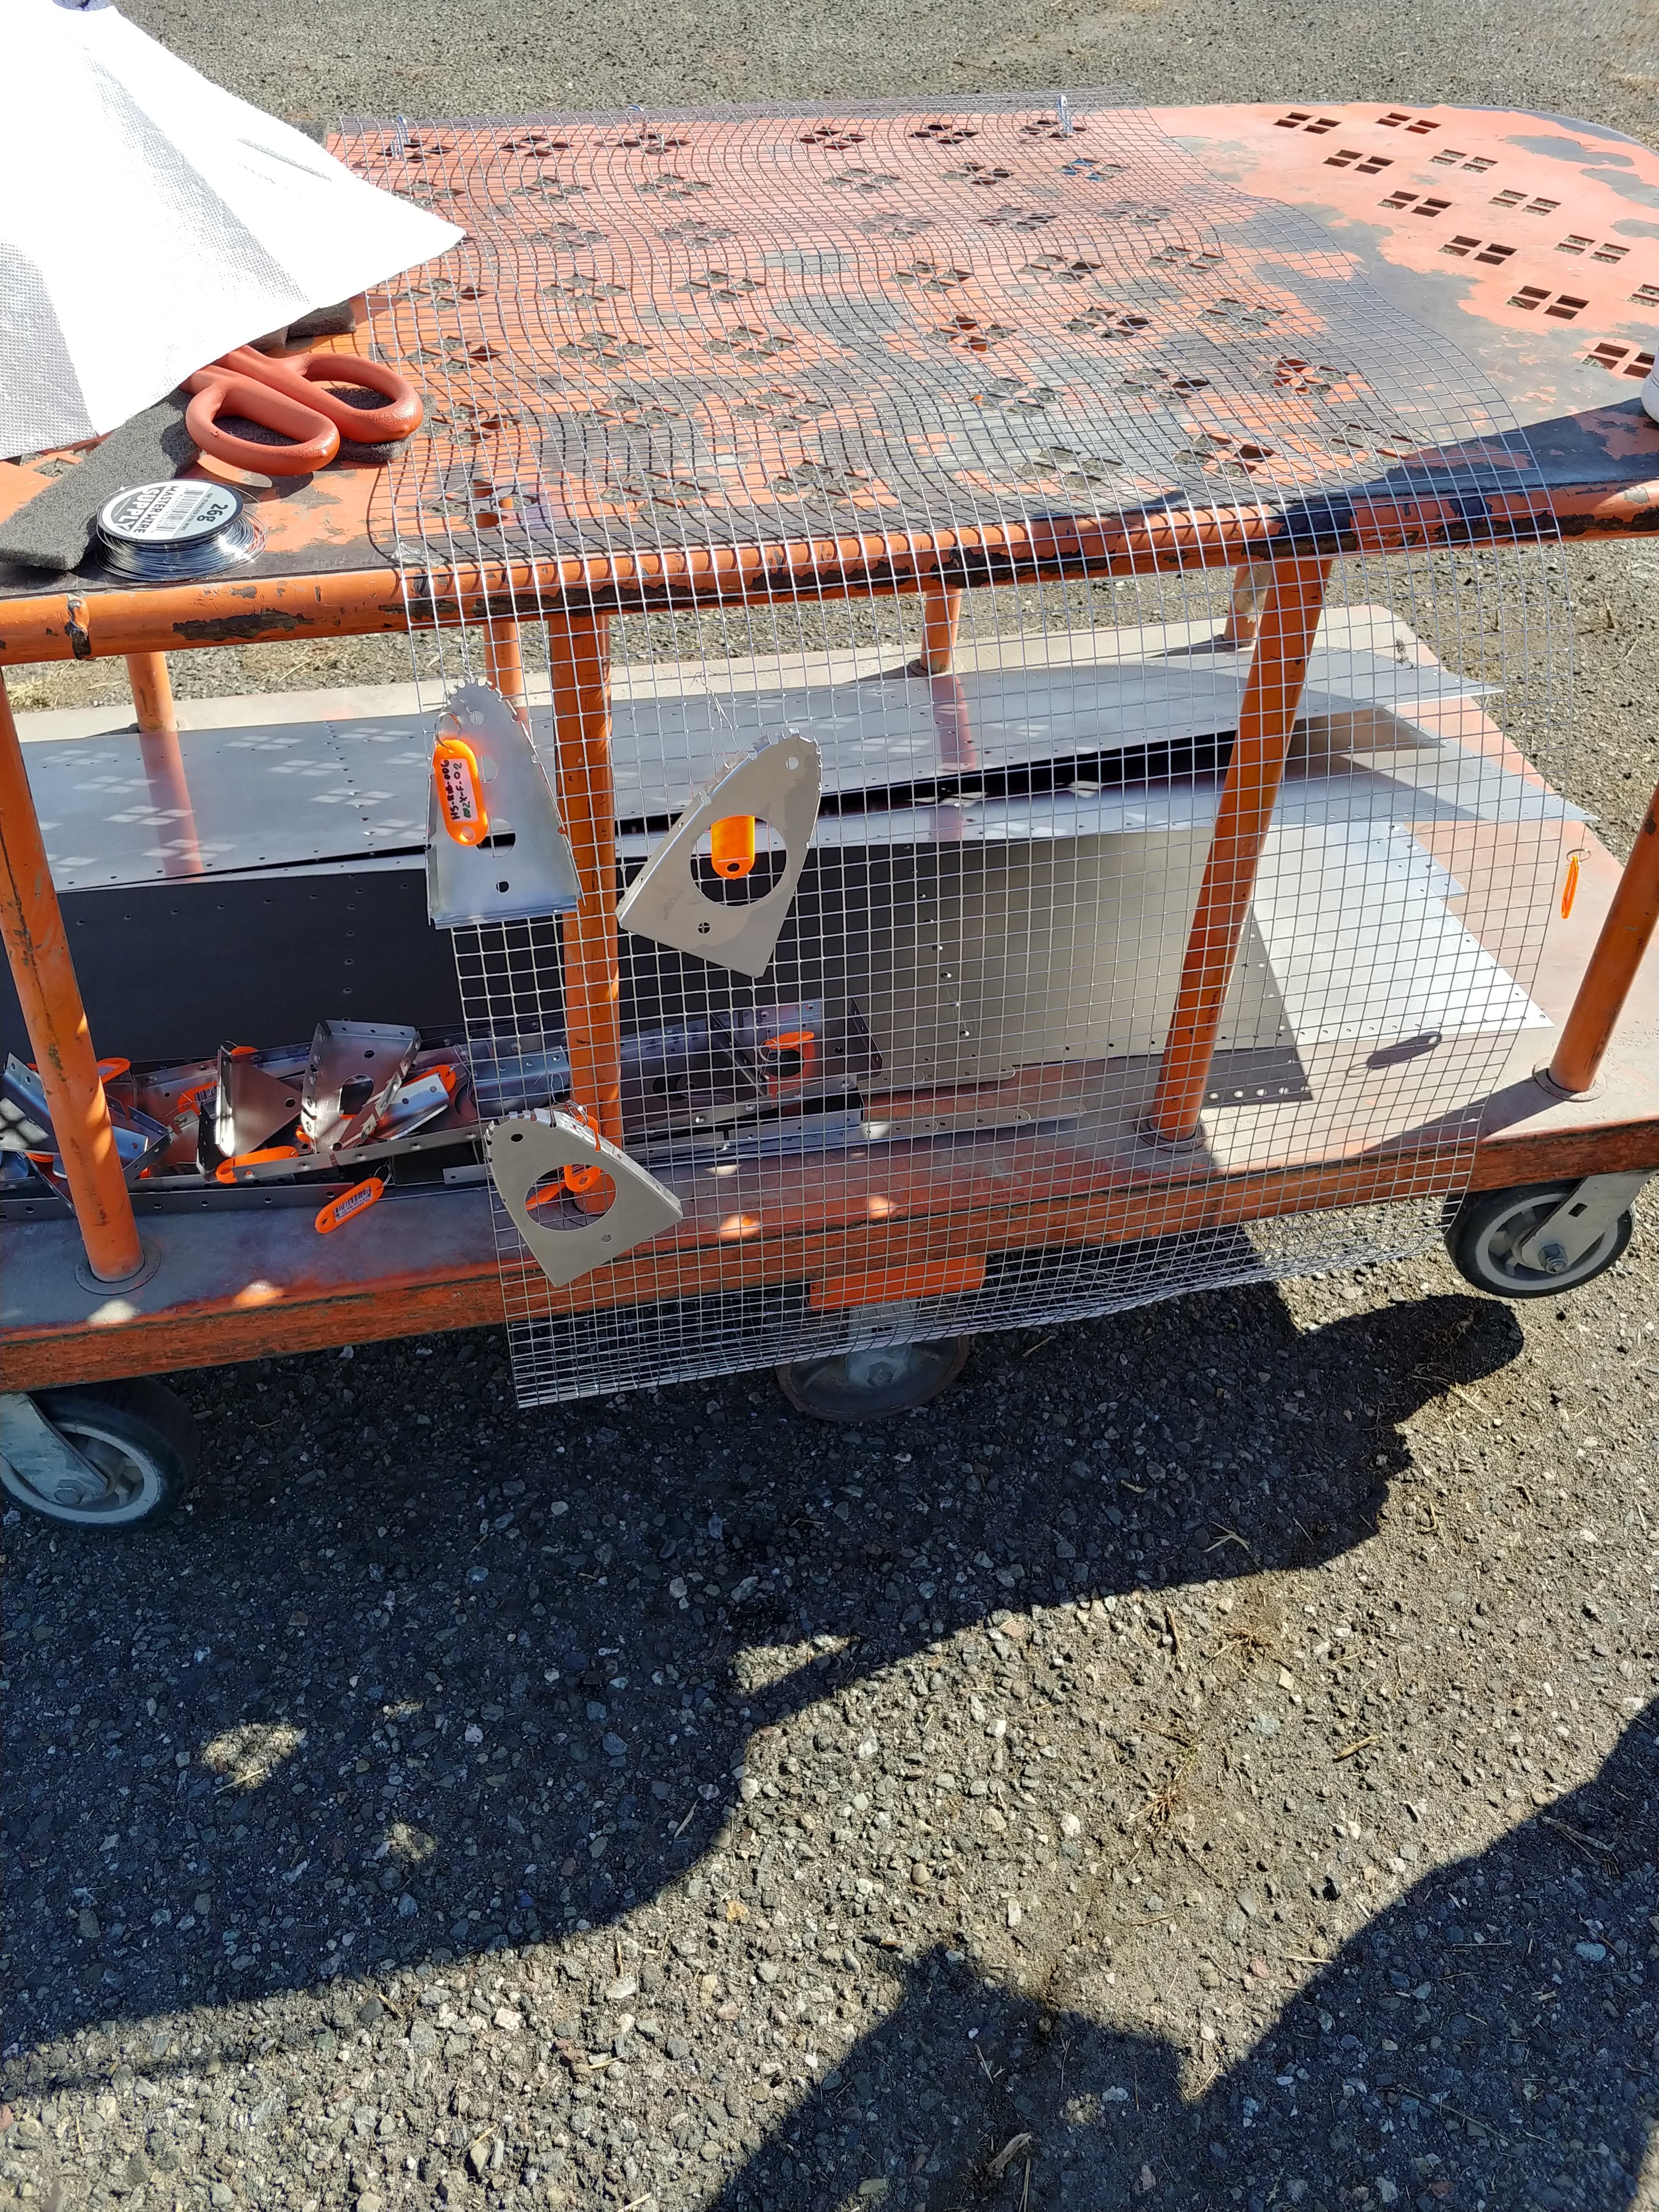
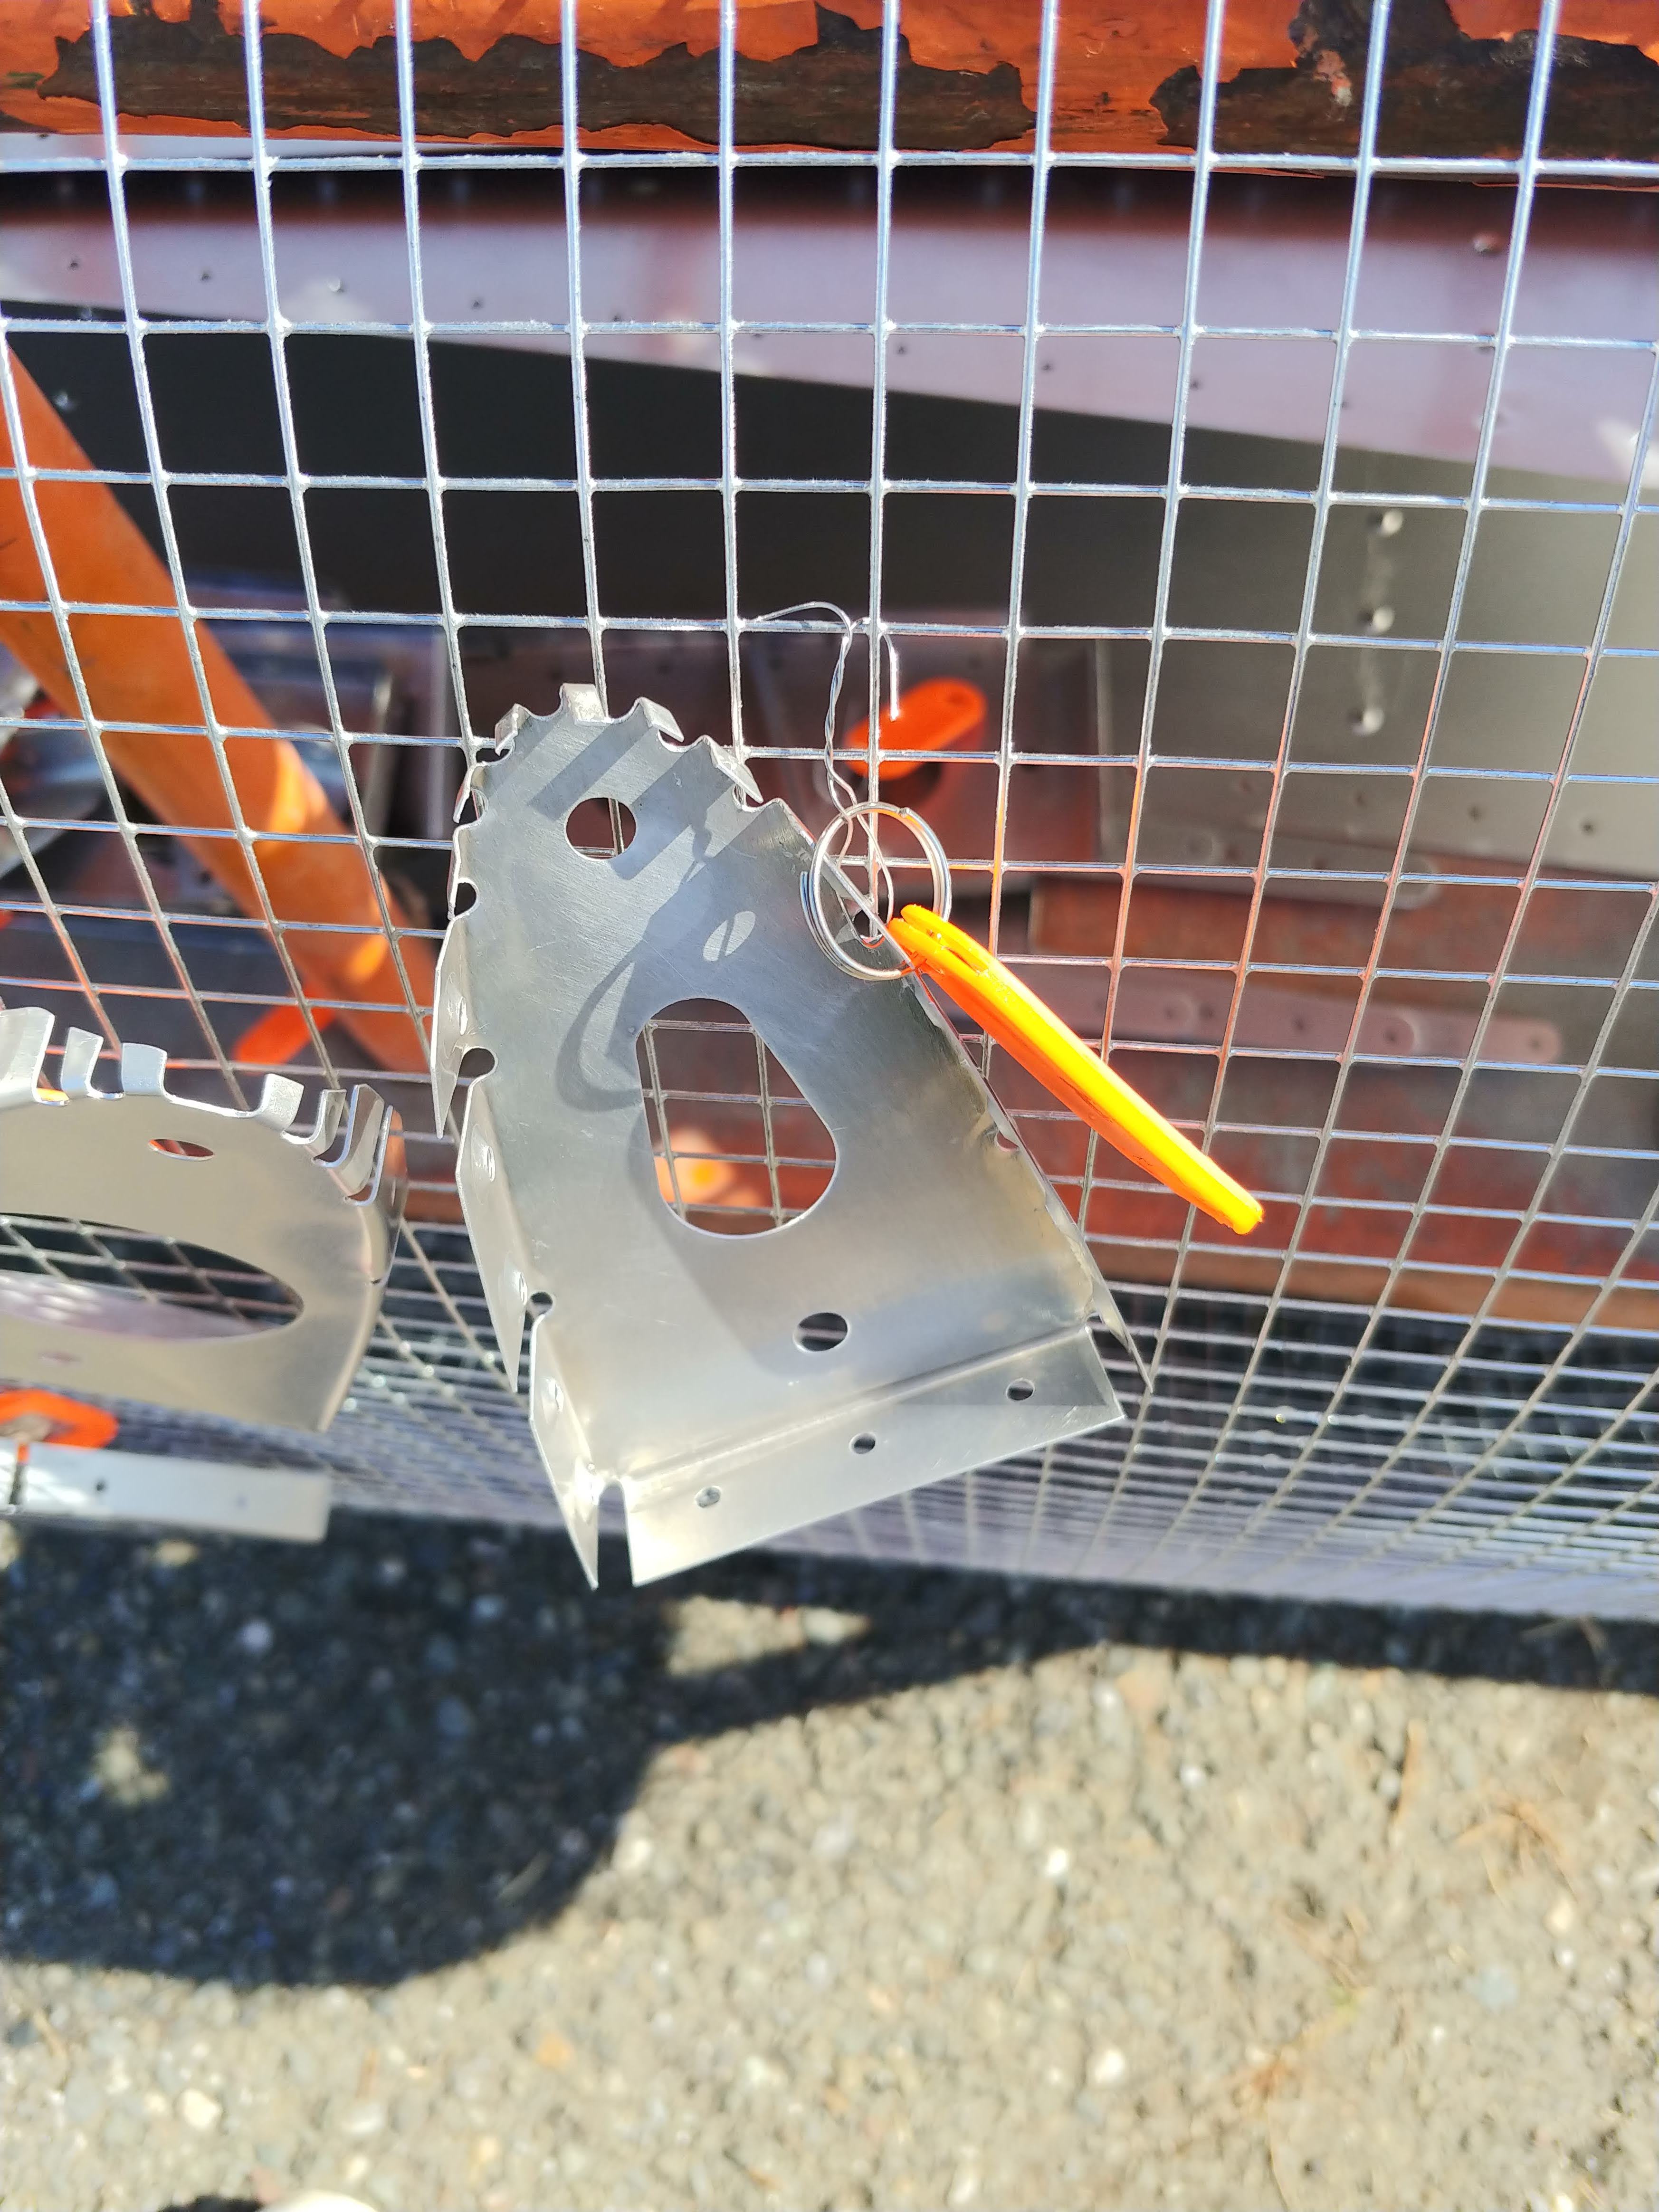
- S-Hooks
- Chicken Wire
- 75$ Central Pneumatic HVLP spray gun
- Claude’s Modded and Totally Awesome DeWalt Air Compressor
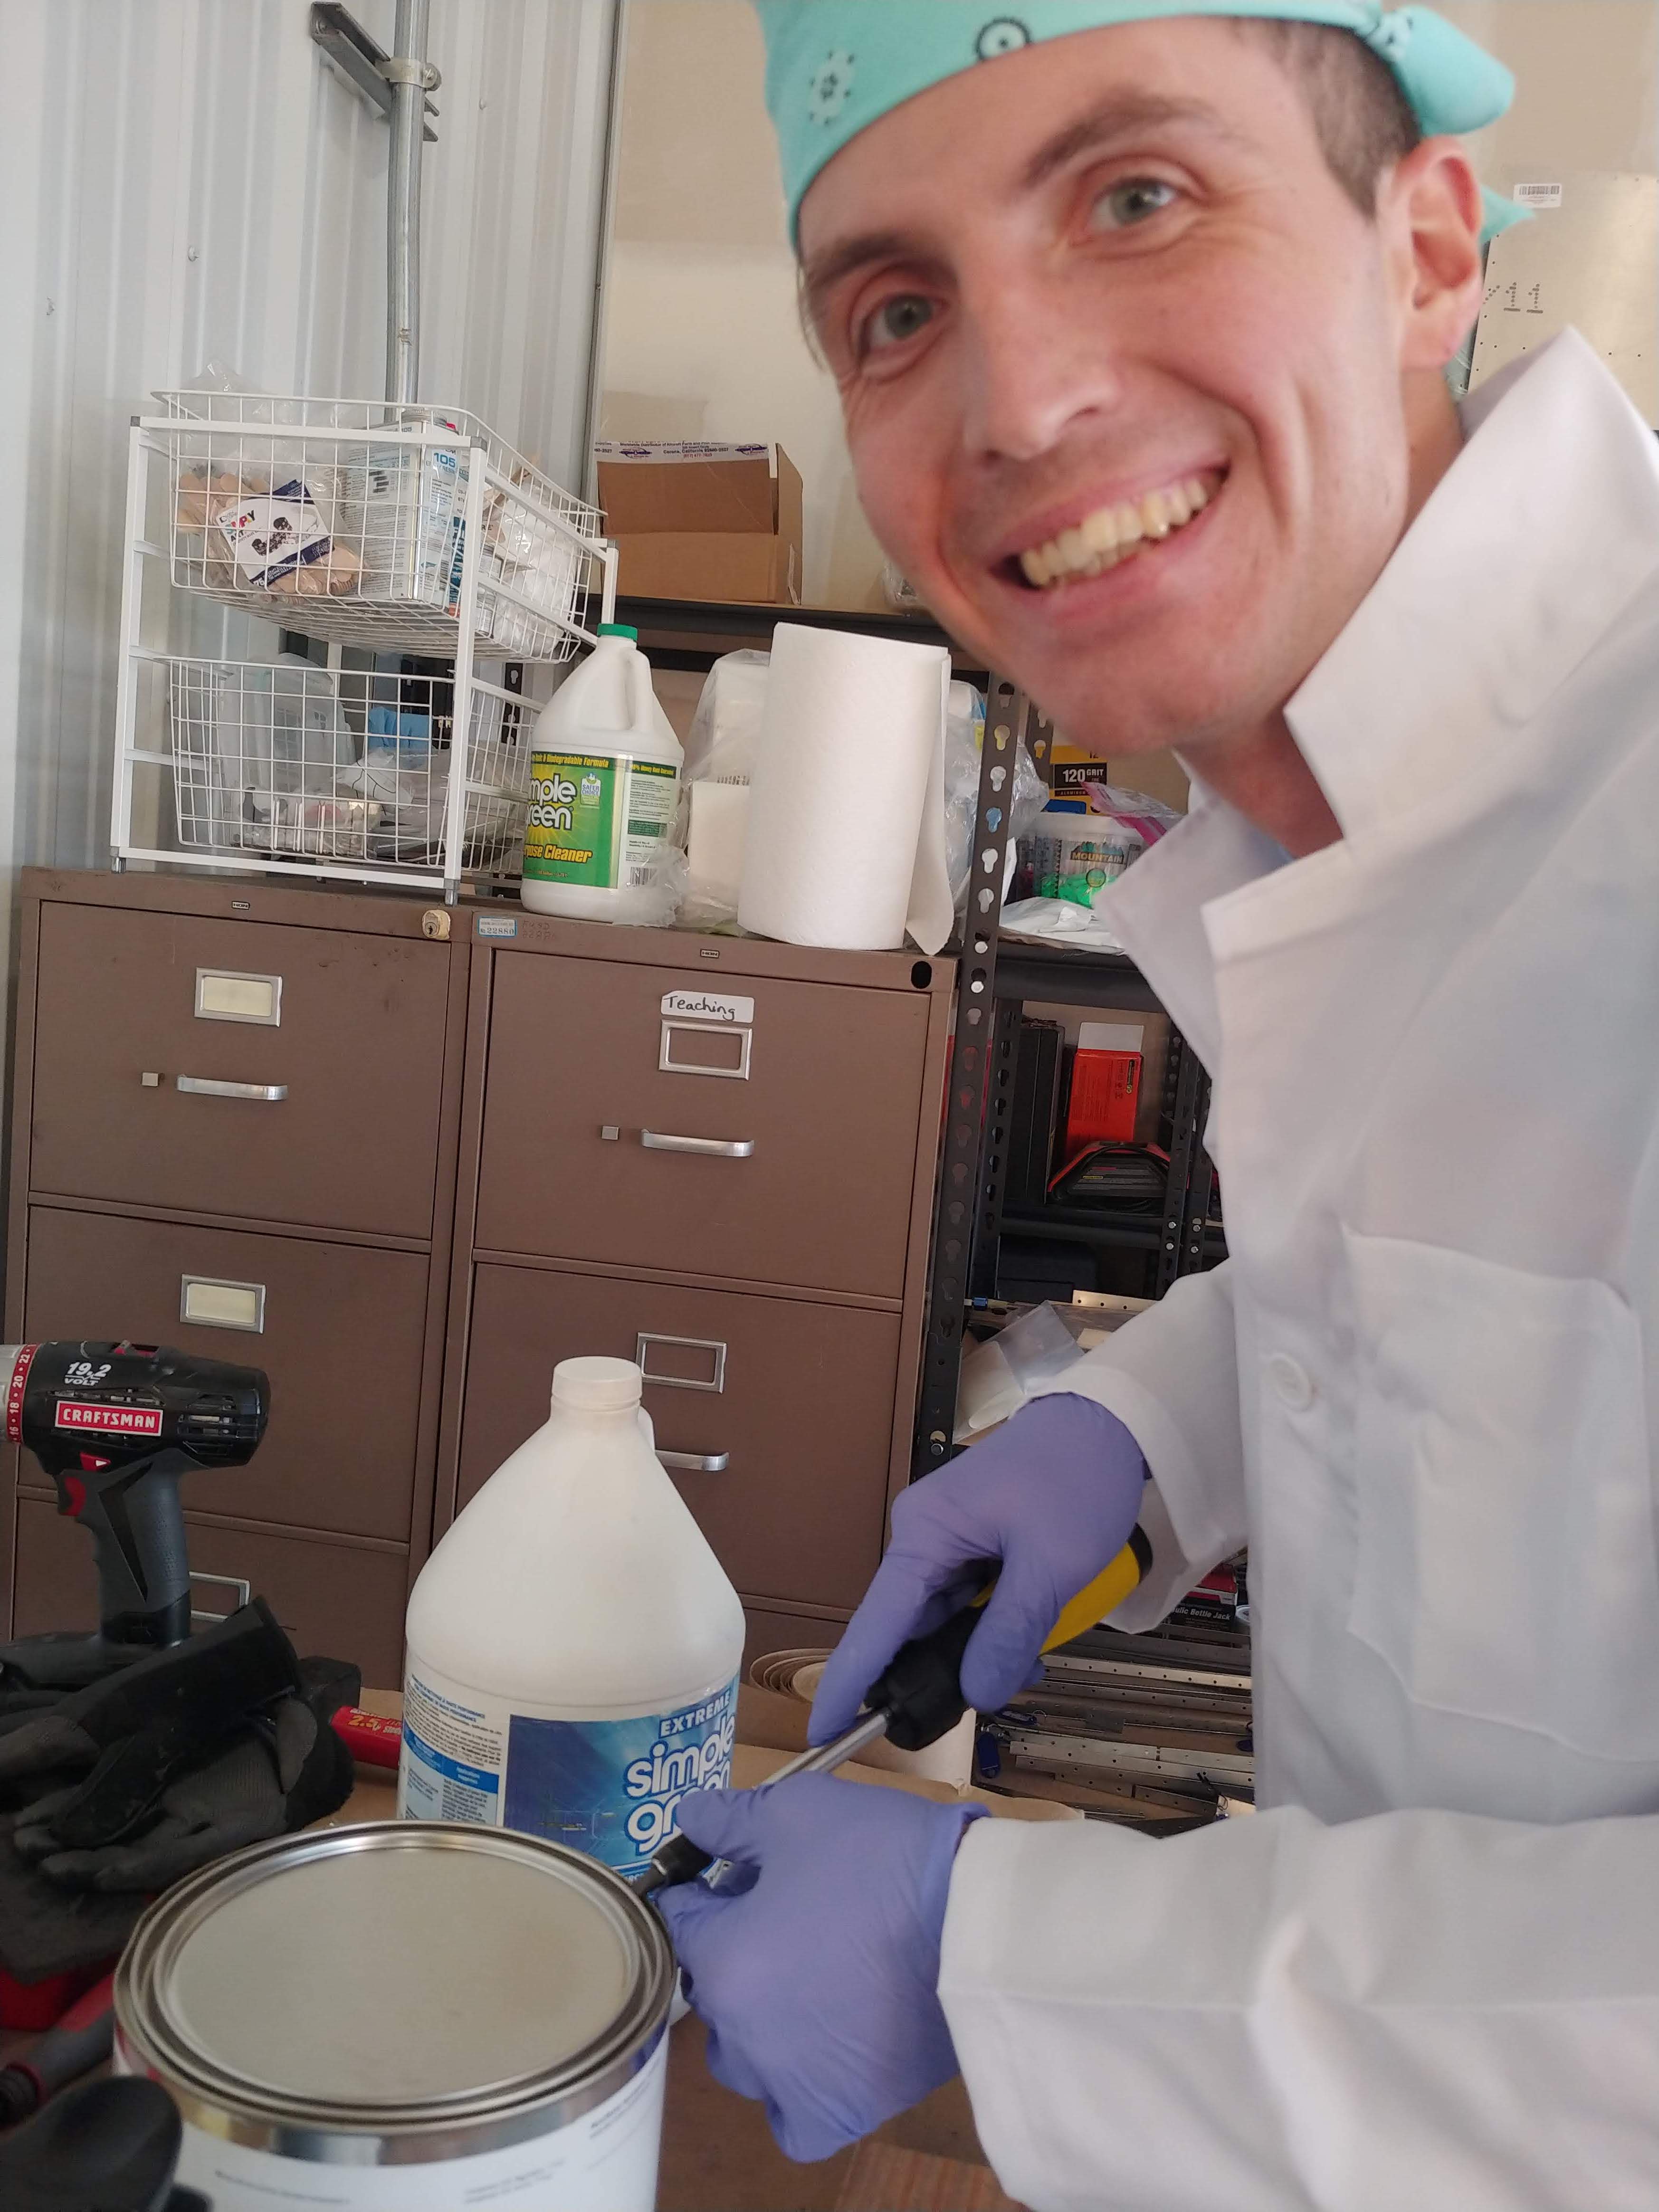
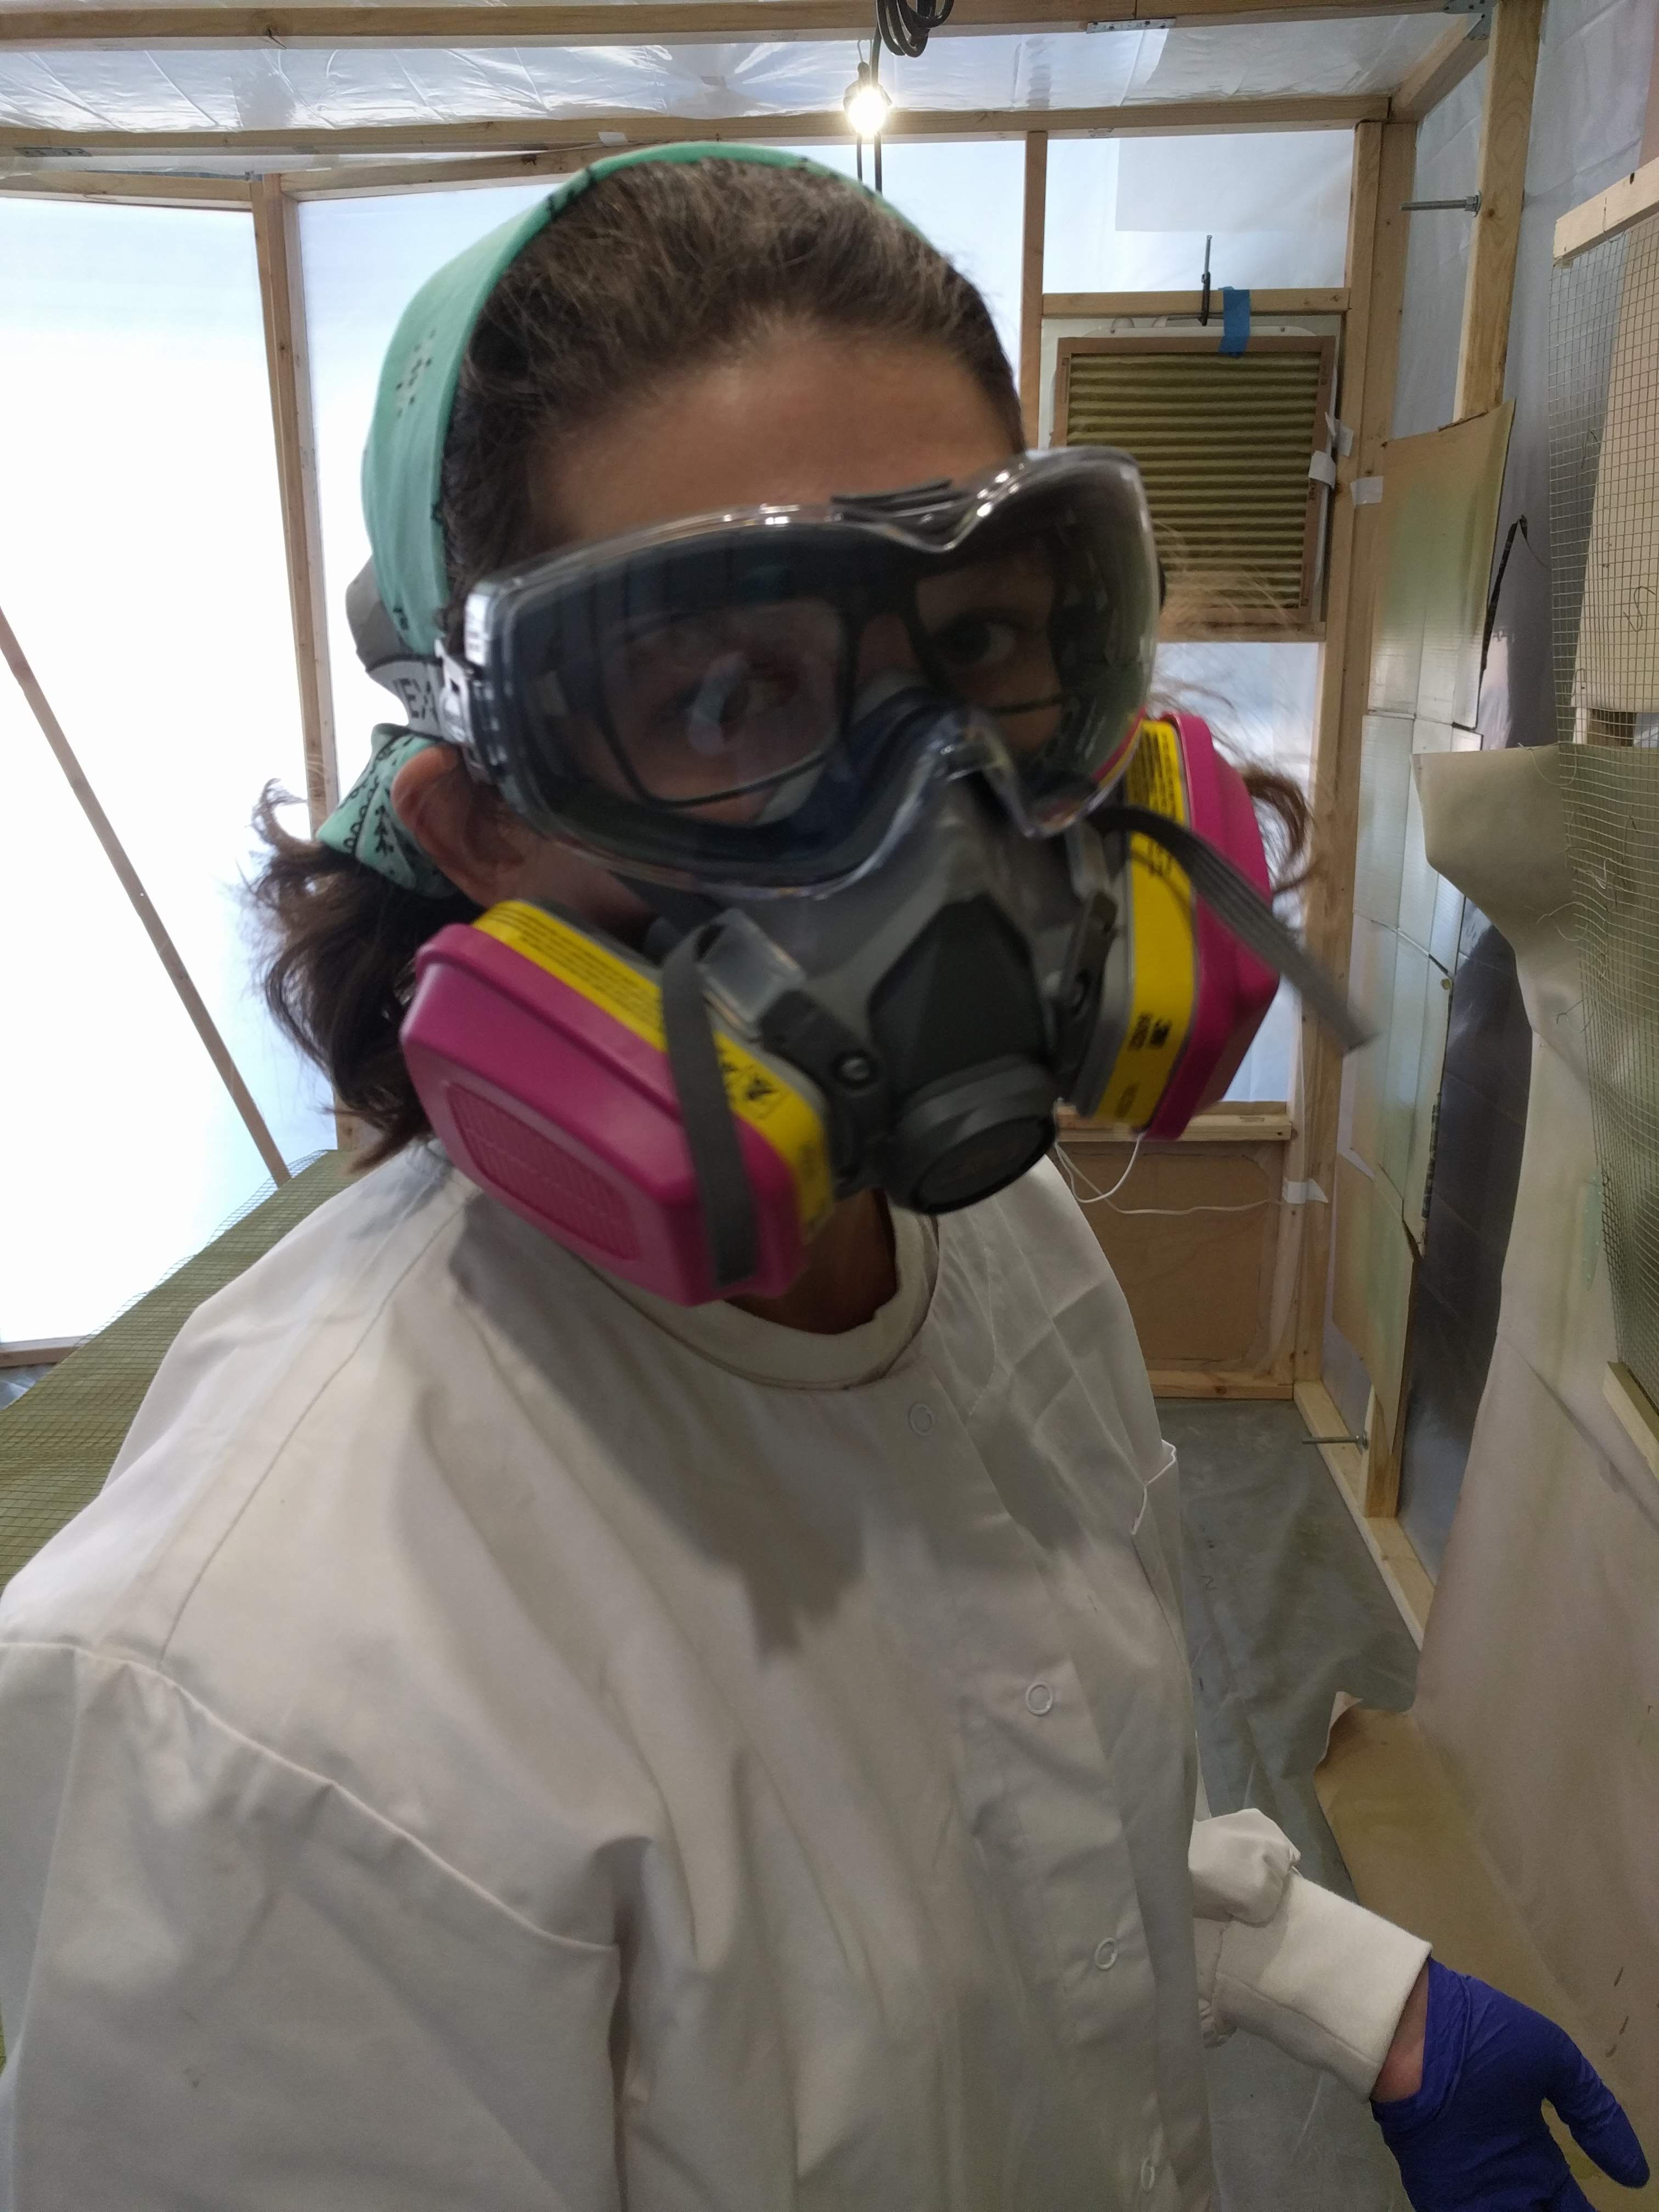
- PPE - hardcore OSHA-certified respirators, lab coats, goggles, bandanas, gloves
- Craftsman electric sander
- Many scotch-brite pads
- Paper towels + acetone + pseudo-MEK
- Flathead screwdriver to open the acetone
- Liquid PreKote
- Akzo fast-drying interior 2 part epoxy
- Mixer Mates for the 2 parts of the epoxy
- Plastic paint cups with ratios marked on the side (handy!)
- Wooden sticks for mixing, paint strainers for straining Akzo into spray gun
Adored blog readers, we got down to some real business on Saturday. Spraying happened! As you come to this blog for our celebrated detailed descriptions of meticulously (and not so meticulously) planned building sessions, let us describe the process in some detail.
As we wrote in our last post (see #primer), the plan was to prepare our aluminum with PreKote prior to priming. In order to do this, we had to leave the peace and quiet of our hangar and cart our parts 100 ft over to an airport hose.
Considering PreKote to be biodegradeable (and hence equivalent to water-soluble and thence to harmless), we did not wear PPE for this part. This was kind of a mistake - I (Sasha) got some in my eye and its been swollen for the last two days, so do wear PPE, gentle readers.
In any case, you’re supposed to cover your parts in the Pre-Kote, lather it up with some Scotch-Brite (we found our battery operated sander to work really well for this part - 19 V battery are not scary to use close to water / lather), cover some more, lather again, and then rinse well with water. The faster you do those steps, the better this stuff is supposed to work.

Once this was finished, we hung our parts on chicken wire attached to the cart in order to dry. Super thankful for plastic tags during this part, cause they took the water really well! Never had to worry about the text washing out.
We then carted everything back to the hangar, donned our PPE, and mixed some Akzo!
Claude kindly let us use his air compressor for priming, and we invested in a $75 HVLP Harbor Freight (nee Central Pneumatic) gun with a 1.4 mm nozzle. We poured our prepped Akzo through the strainer and into the gun and successfully managed to spray! The video below is our first two minutes with the paint gun, so don’t judge too harshly :)
Some parts not so much…There were several issues we had to work through:
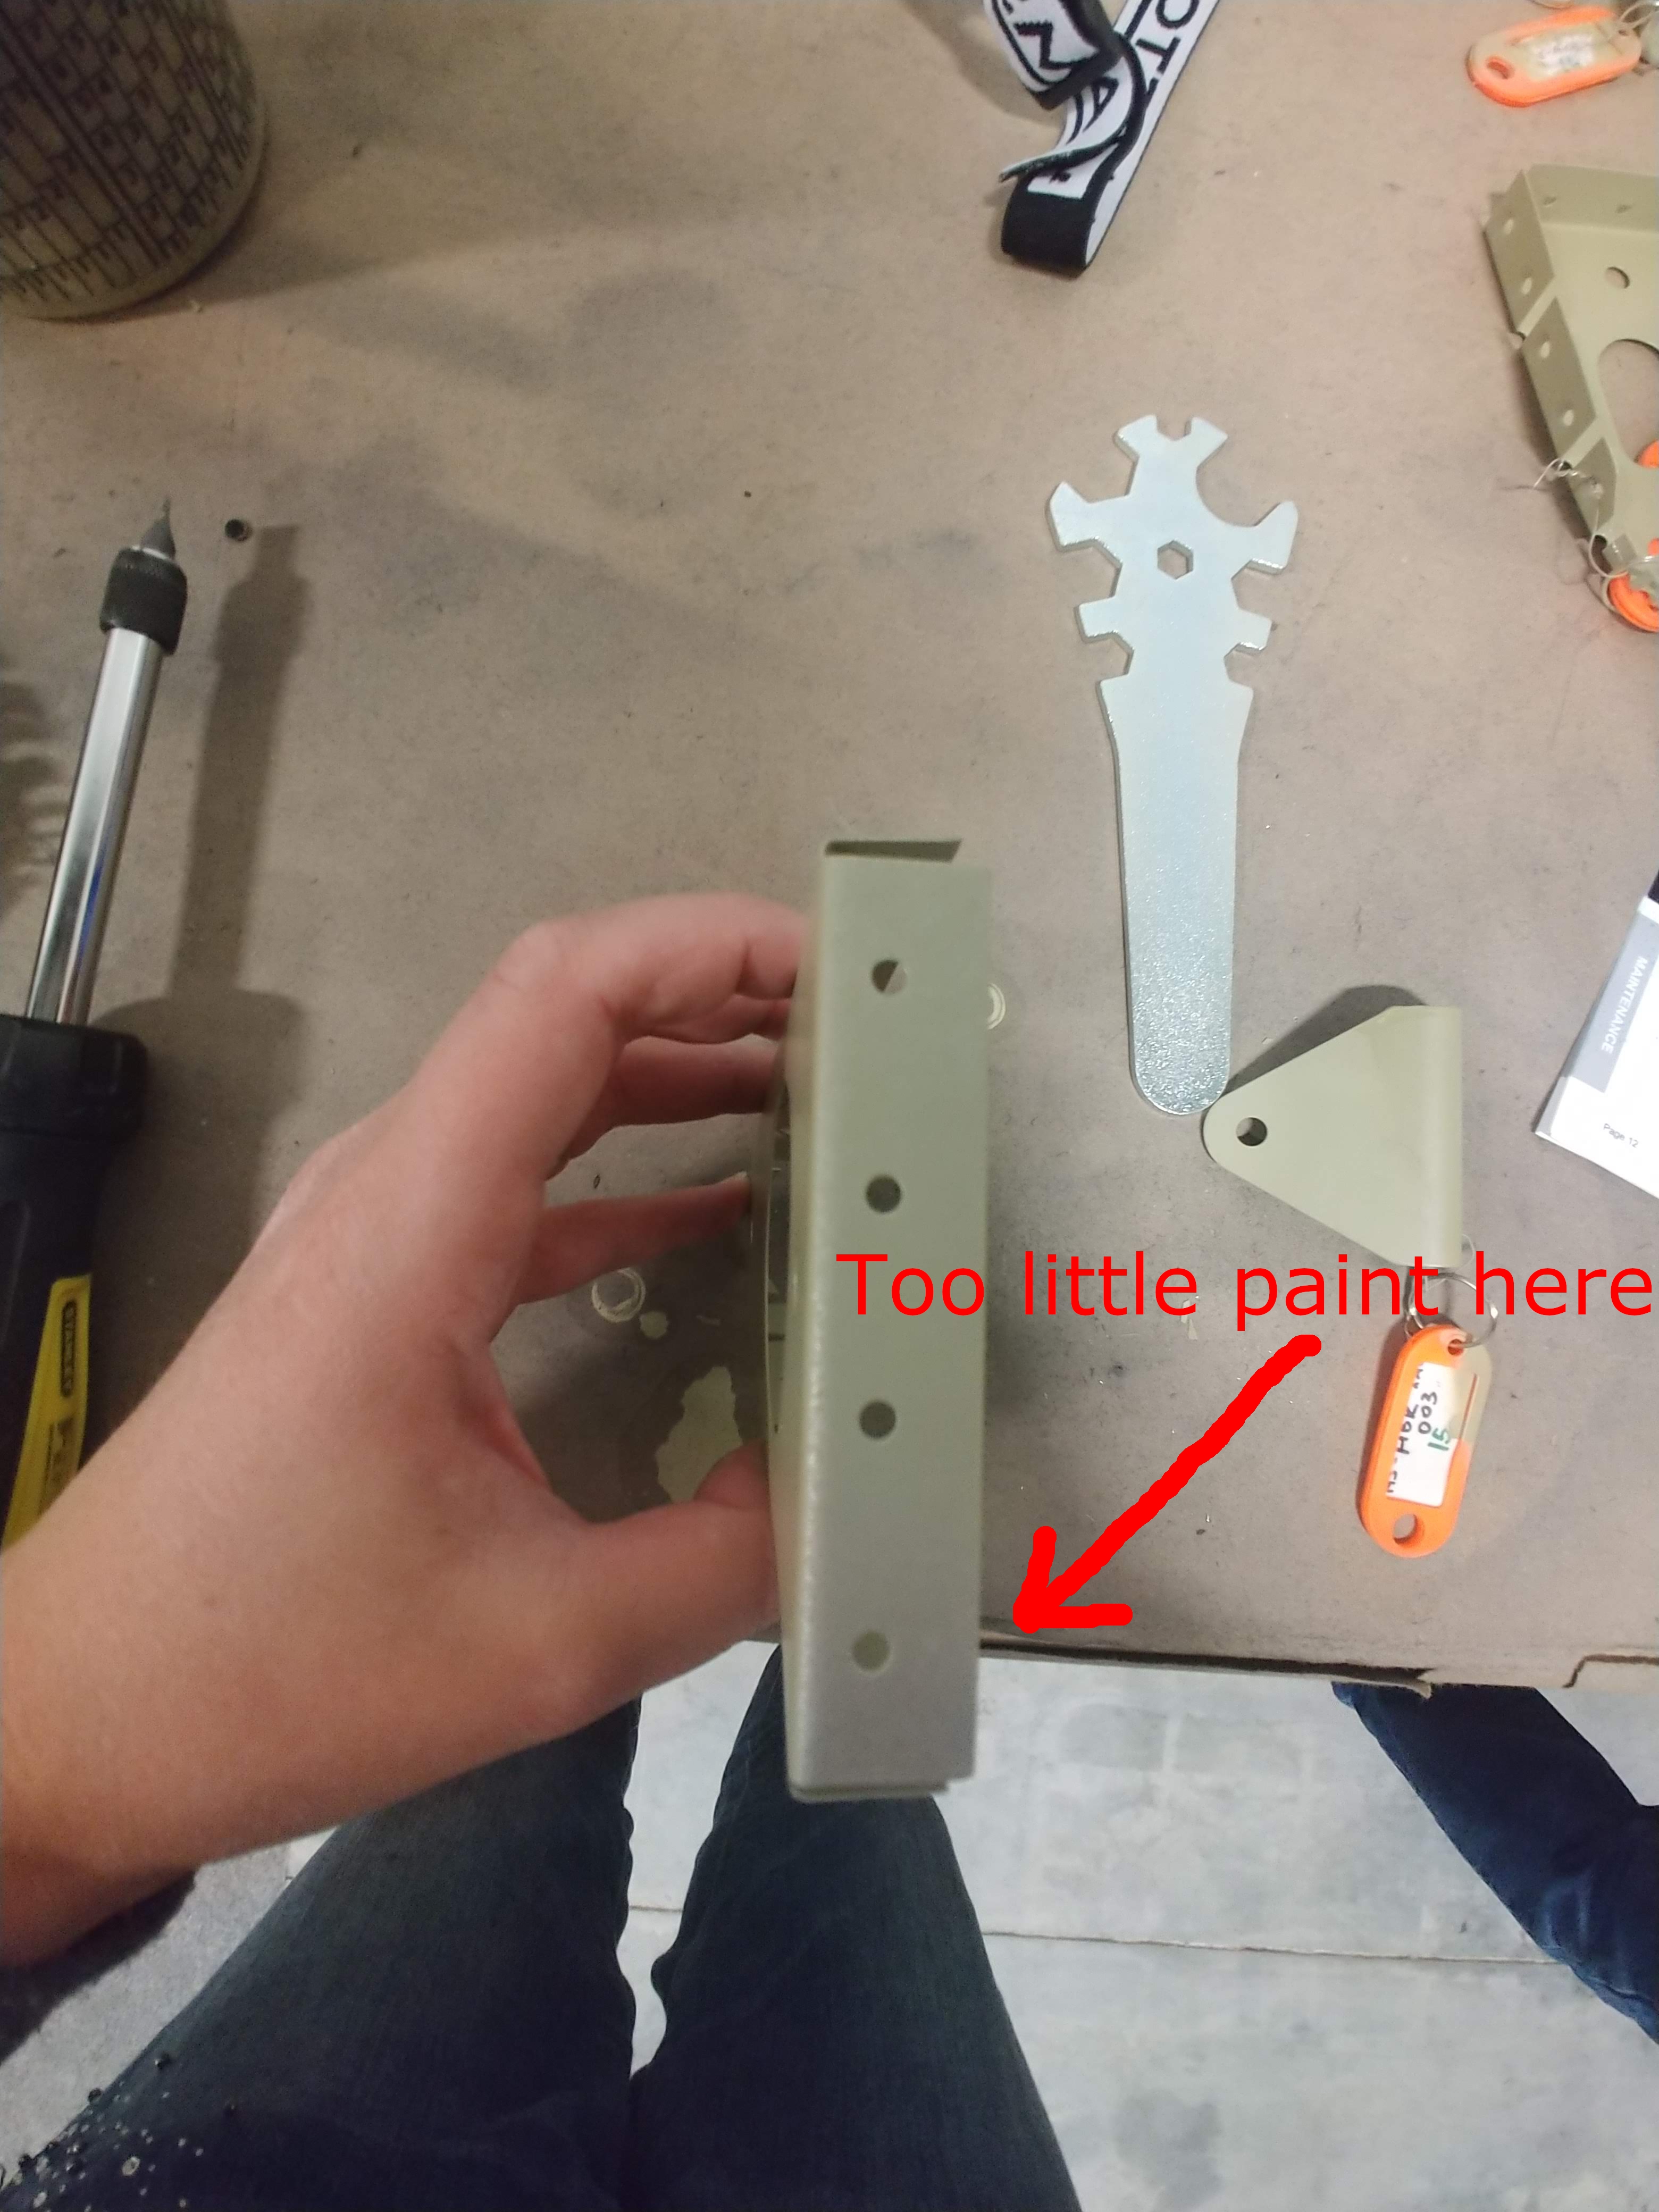
- Not enough paint. This would happen if we quickly ran the gun over the parts without slowing down.
- Too much paint. Often would happen if I (Sasha) was spraying.
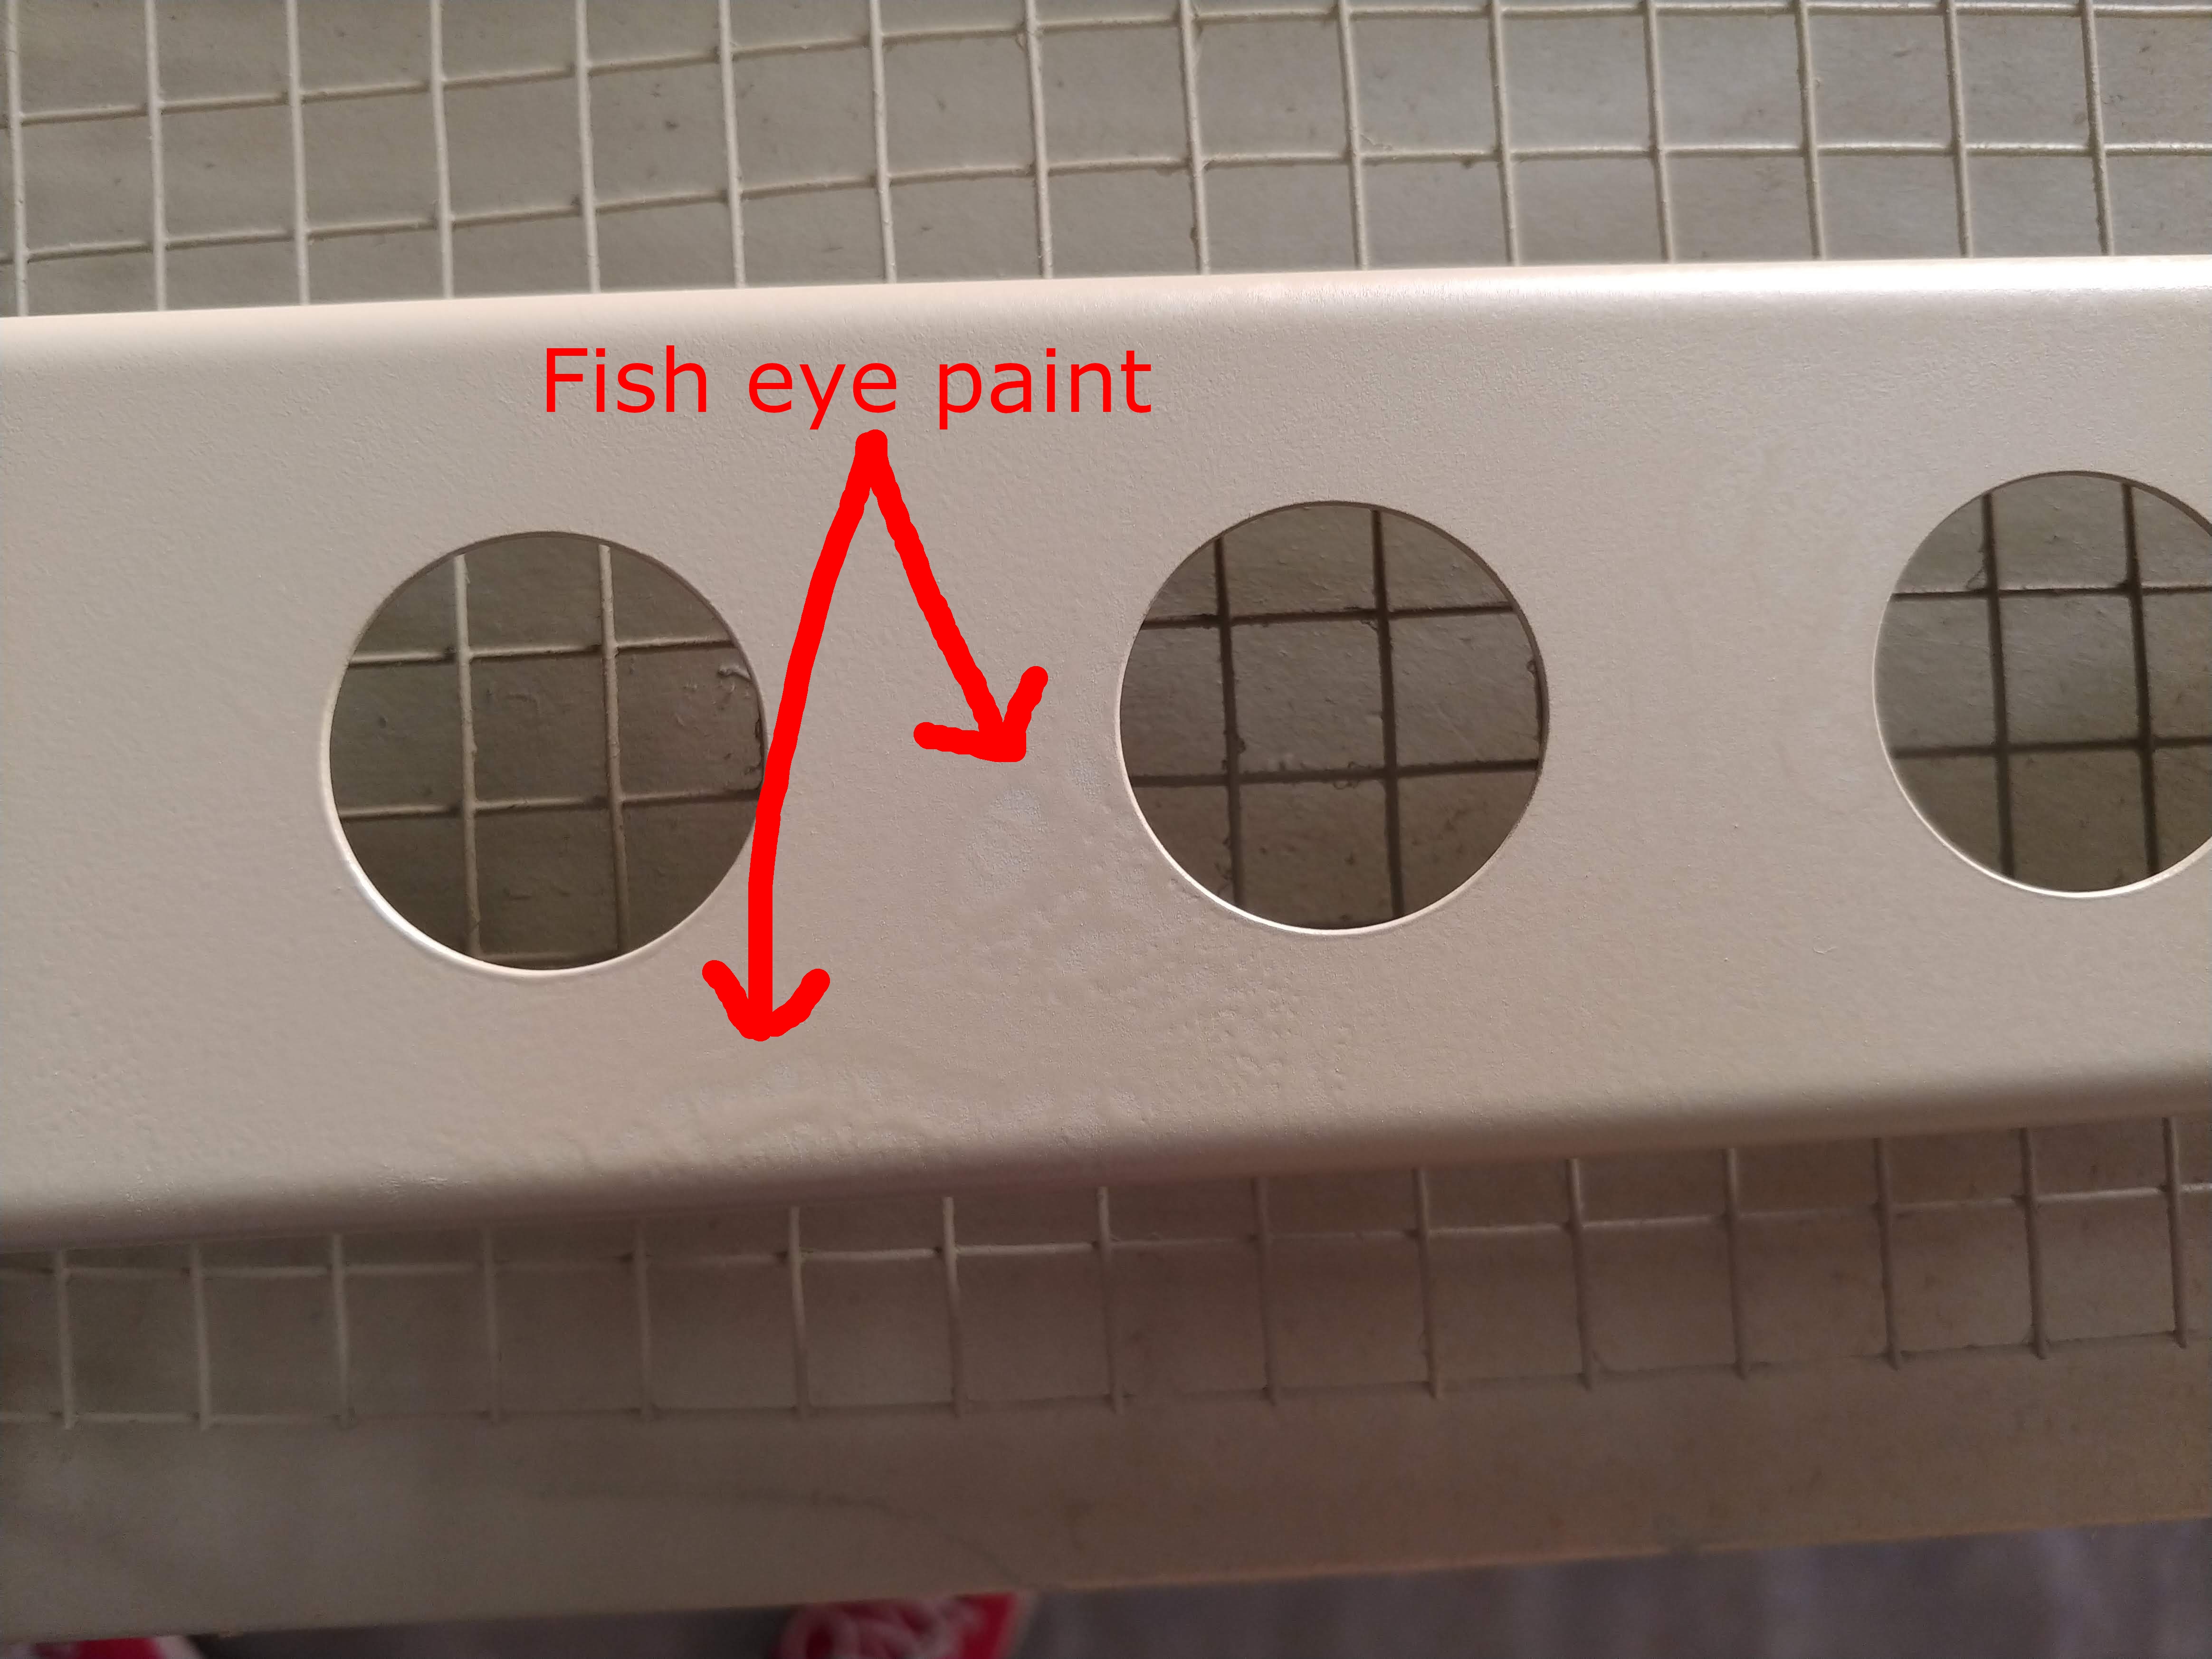
- Fish-eyes - apparently happens if there’s some grease on the parts?? Which somehow survived one round of acetone, another of Scotchbrite, and two of PreKote? Not sure how this happens.
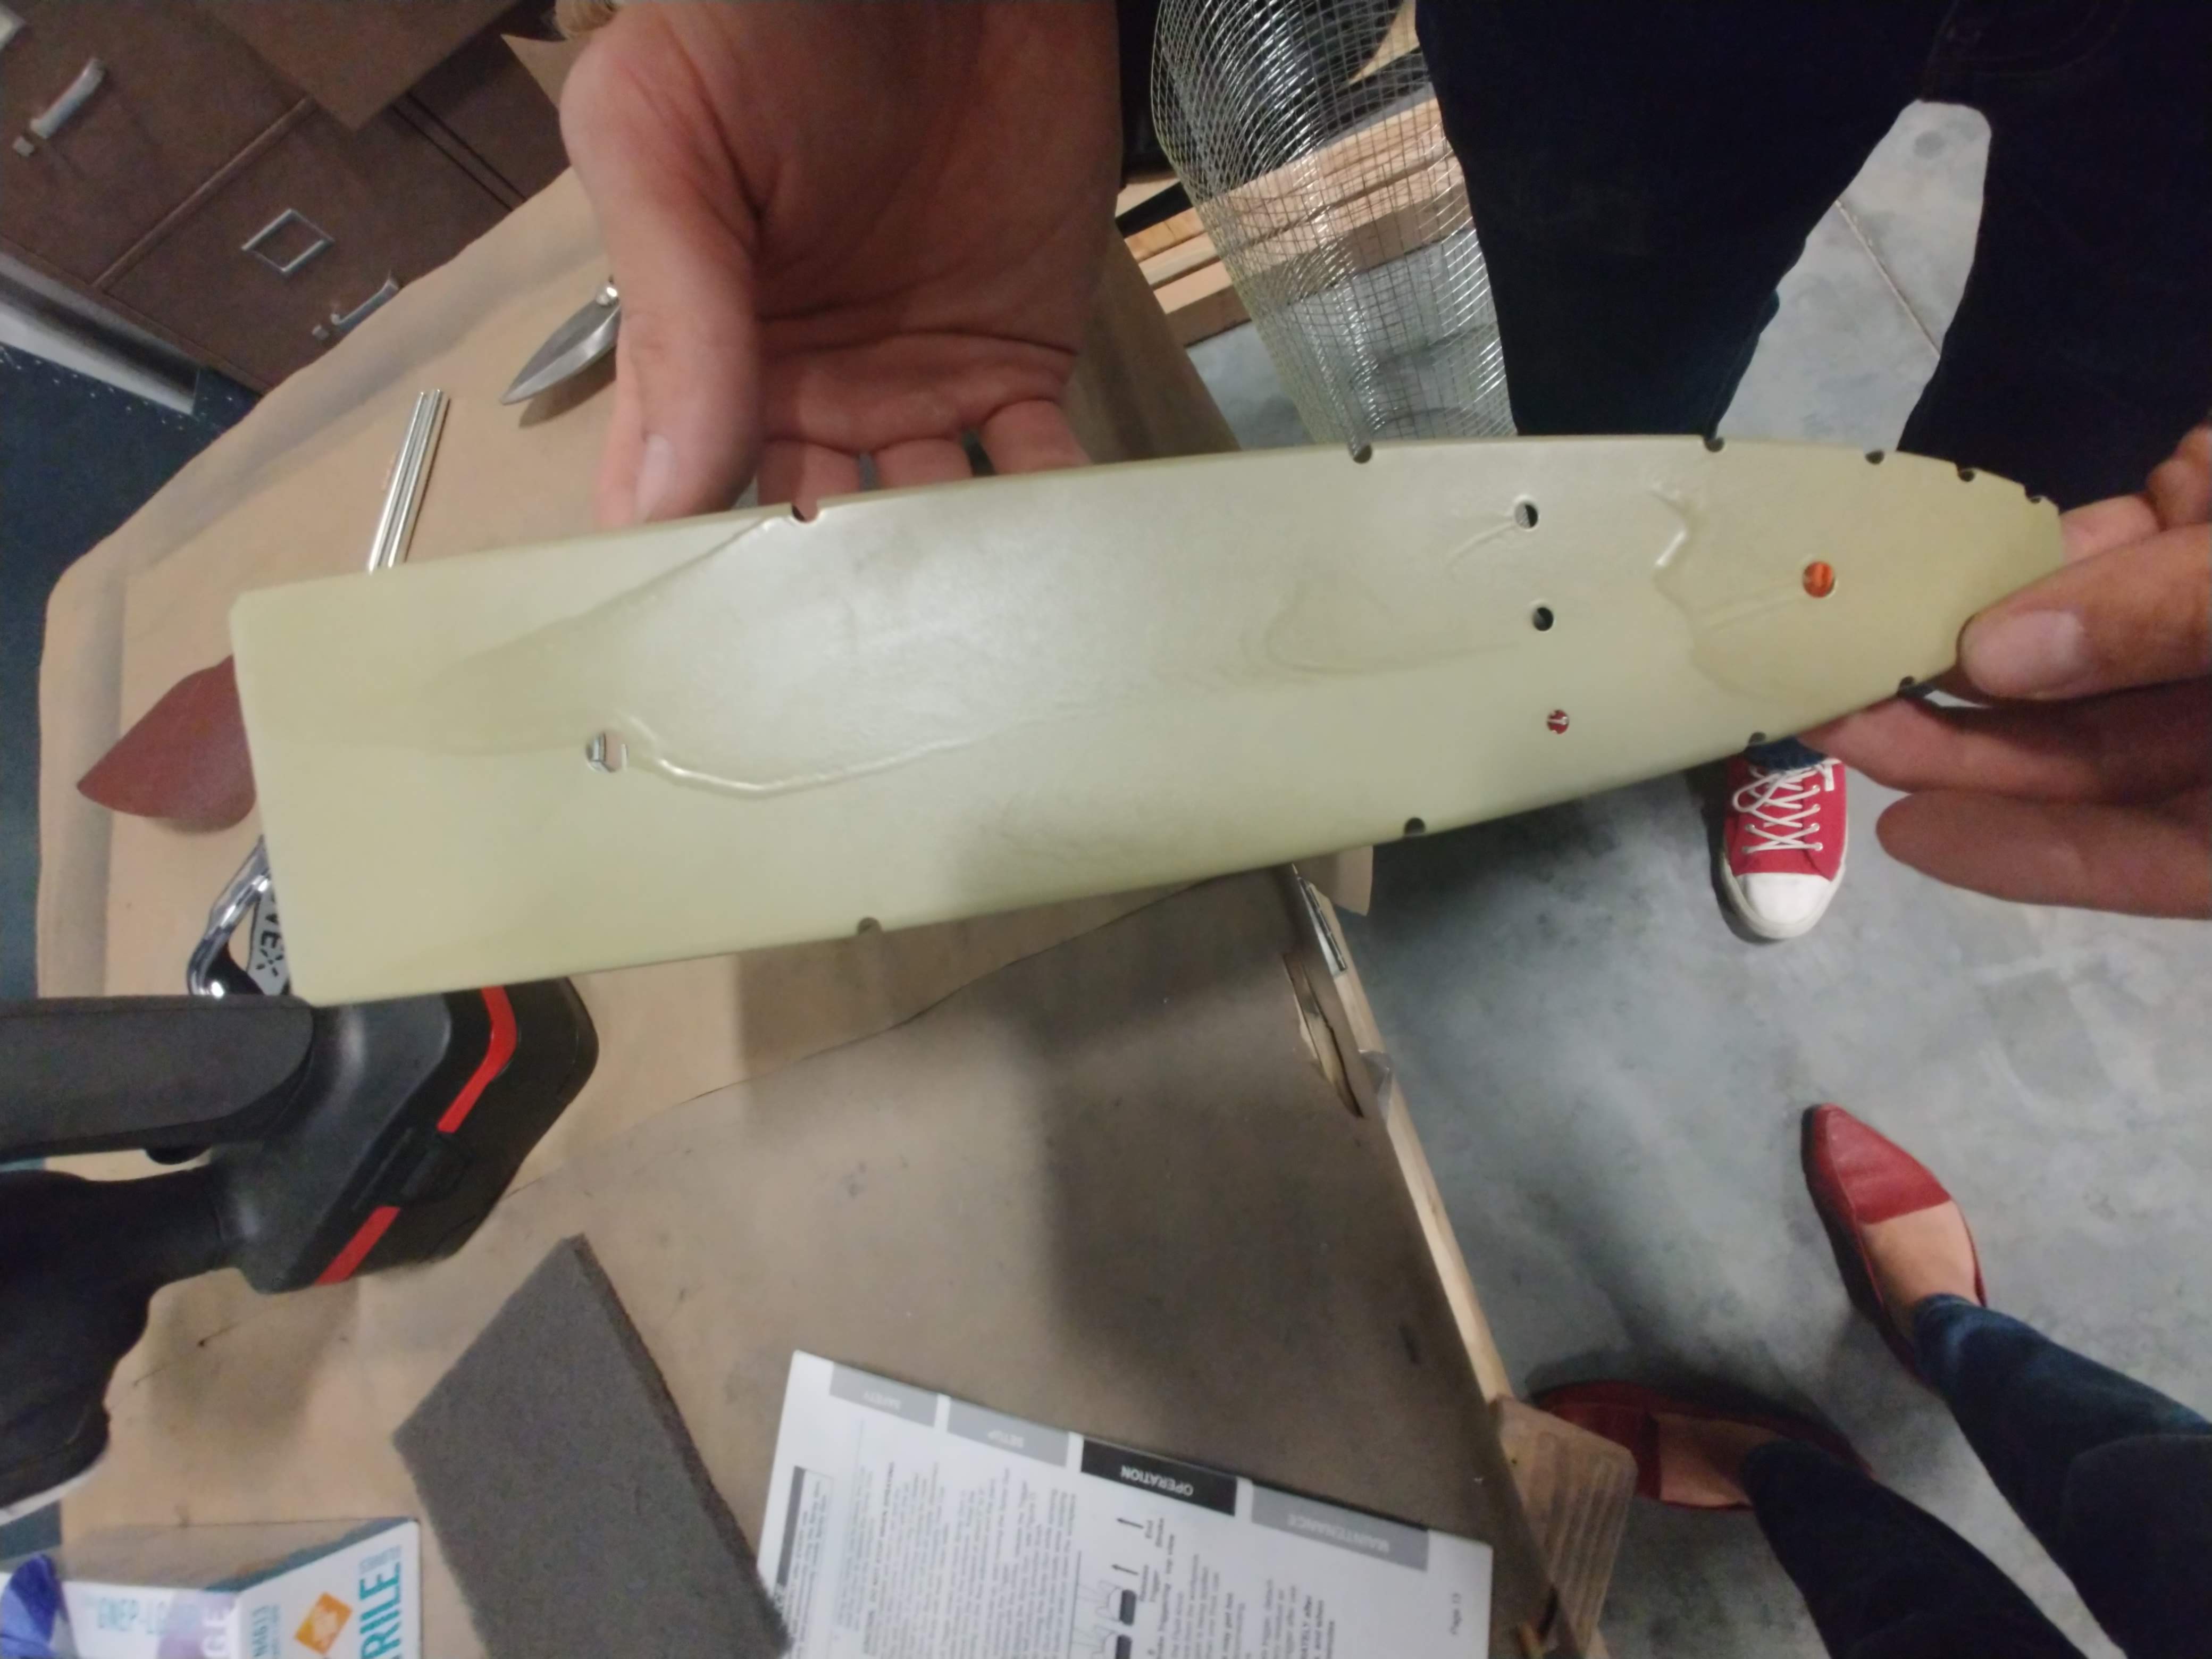
- Forgetting sides of parts we’re spraying. Self-explanatory what causes this (read: brain damage from not wearing PPE)
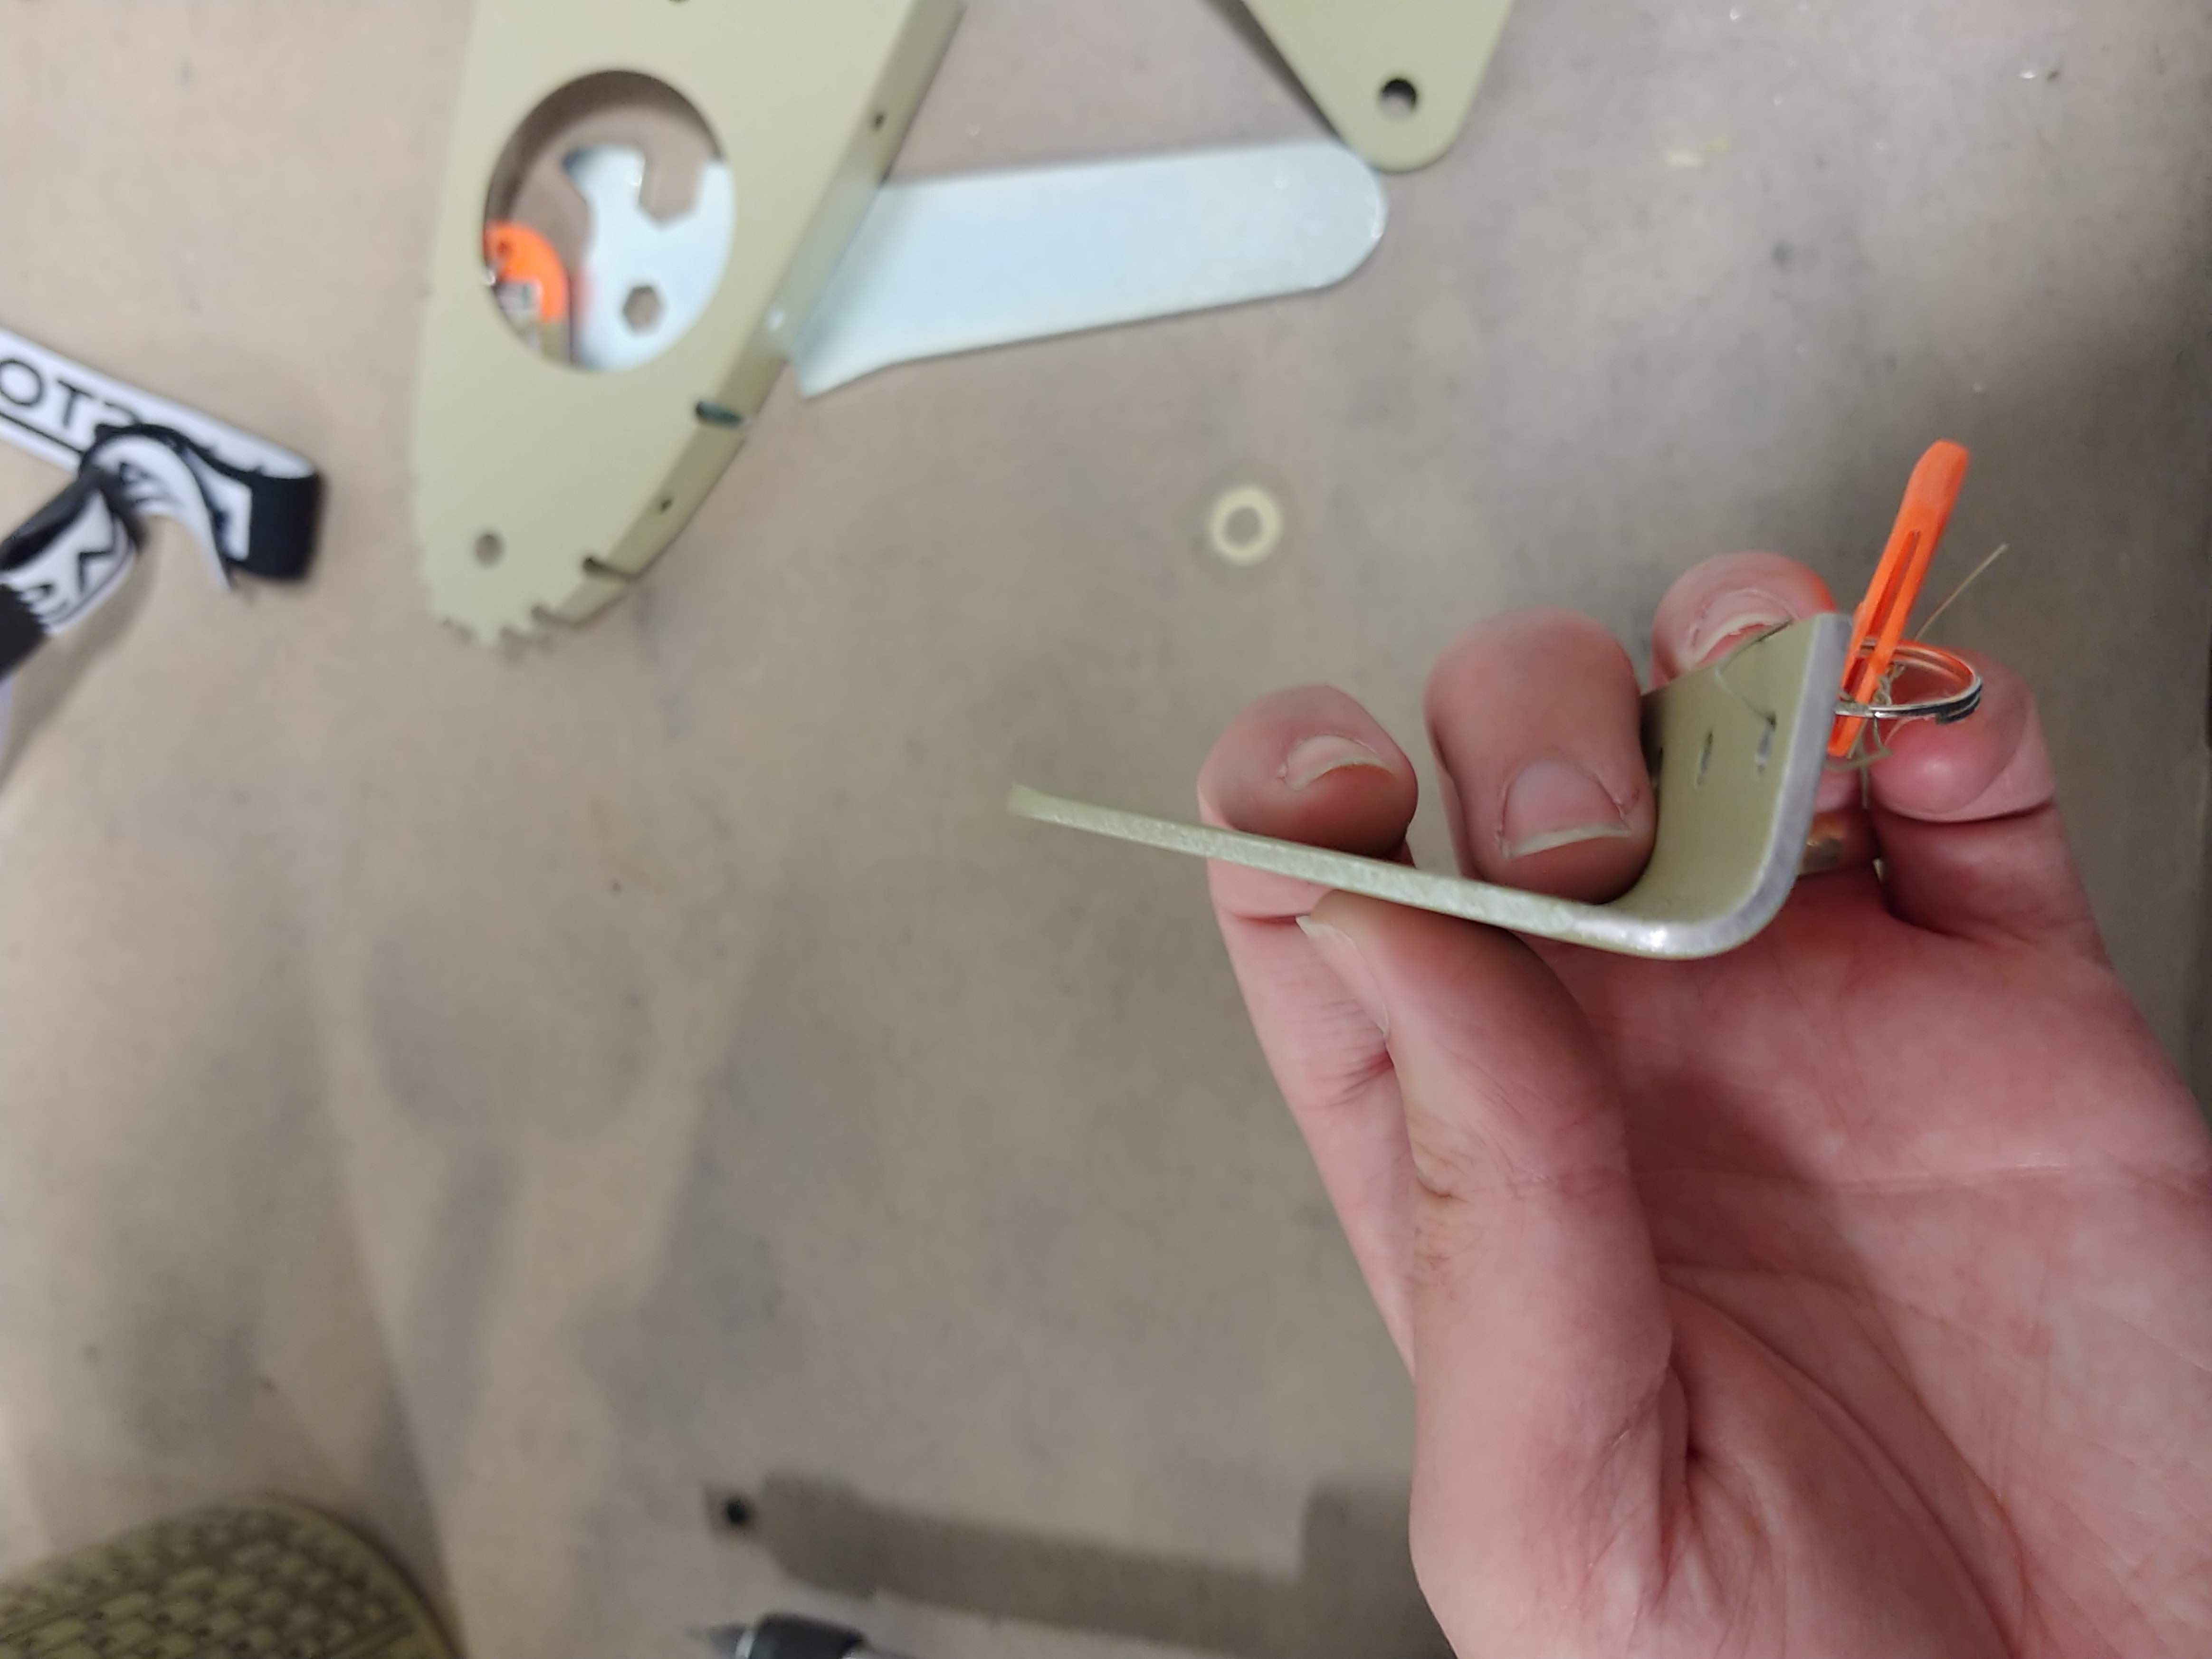
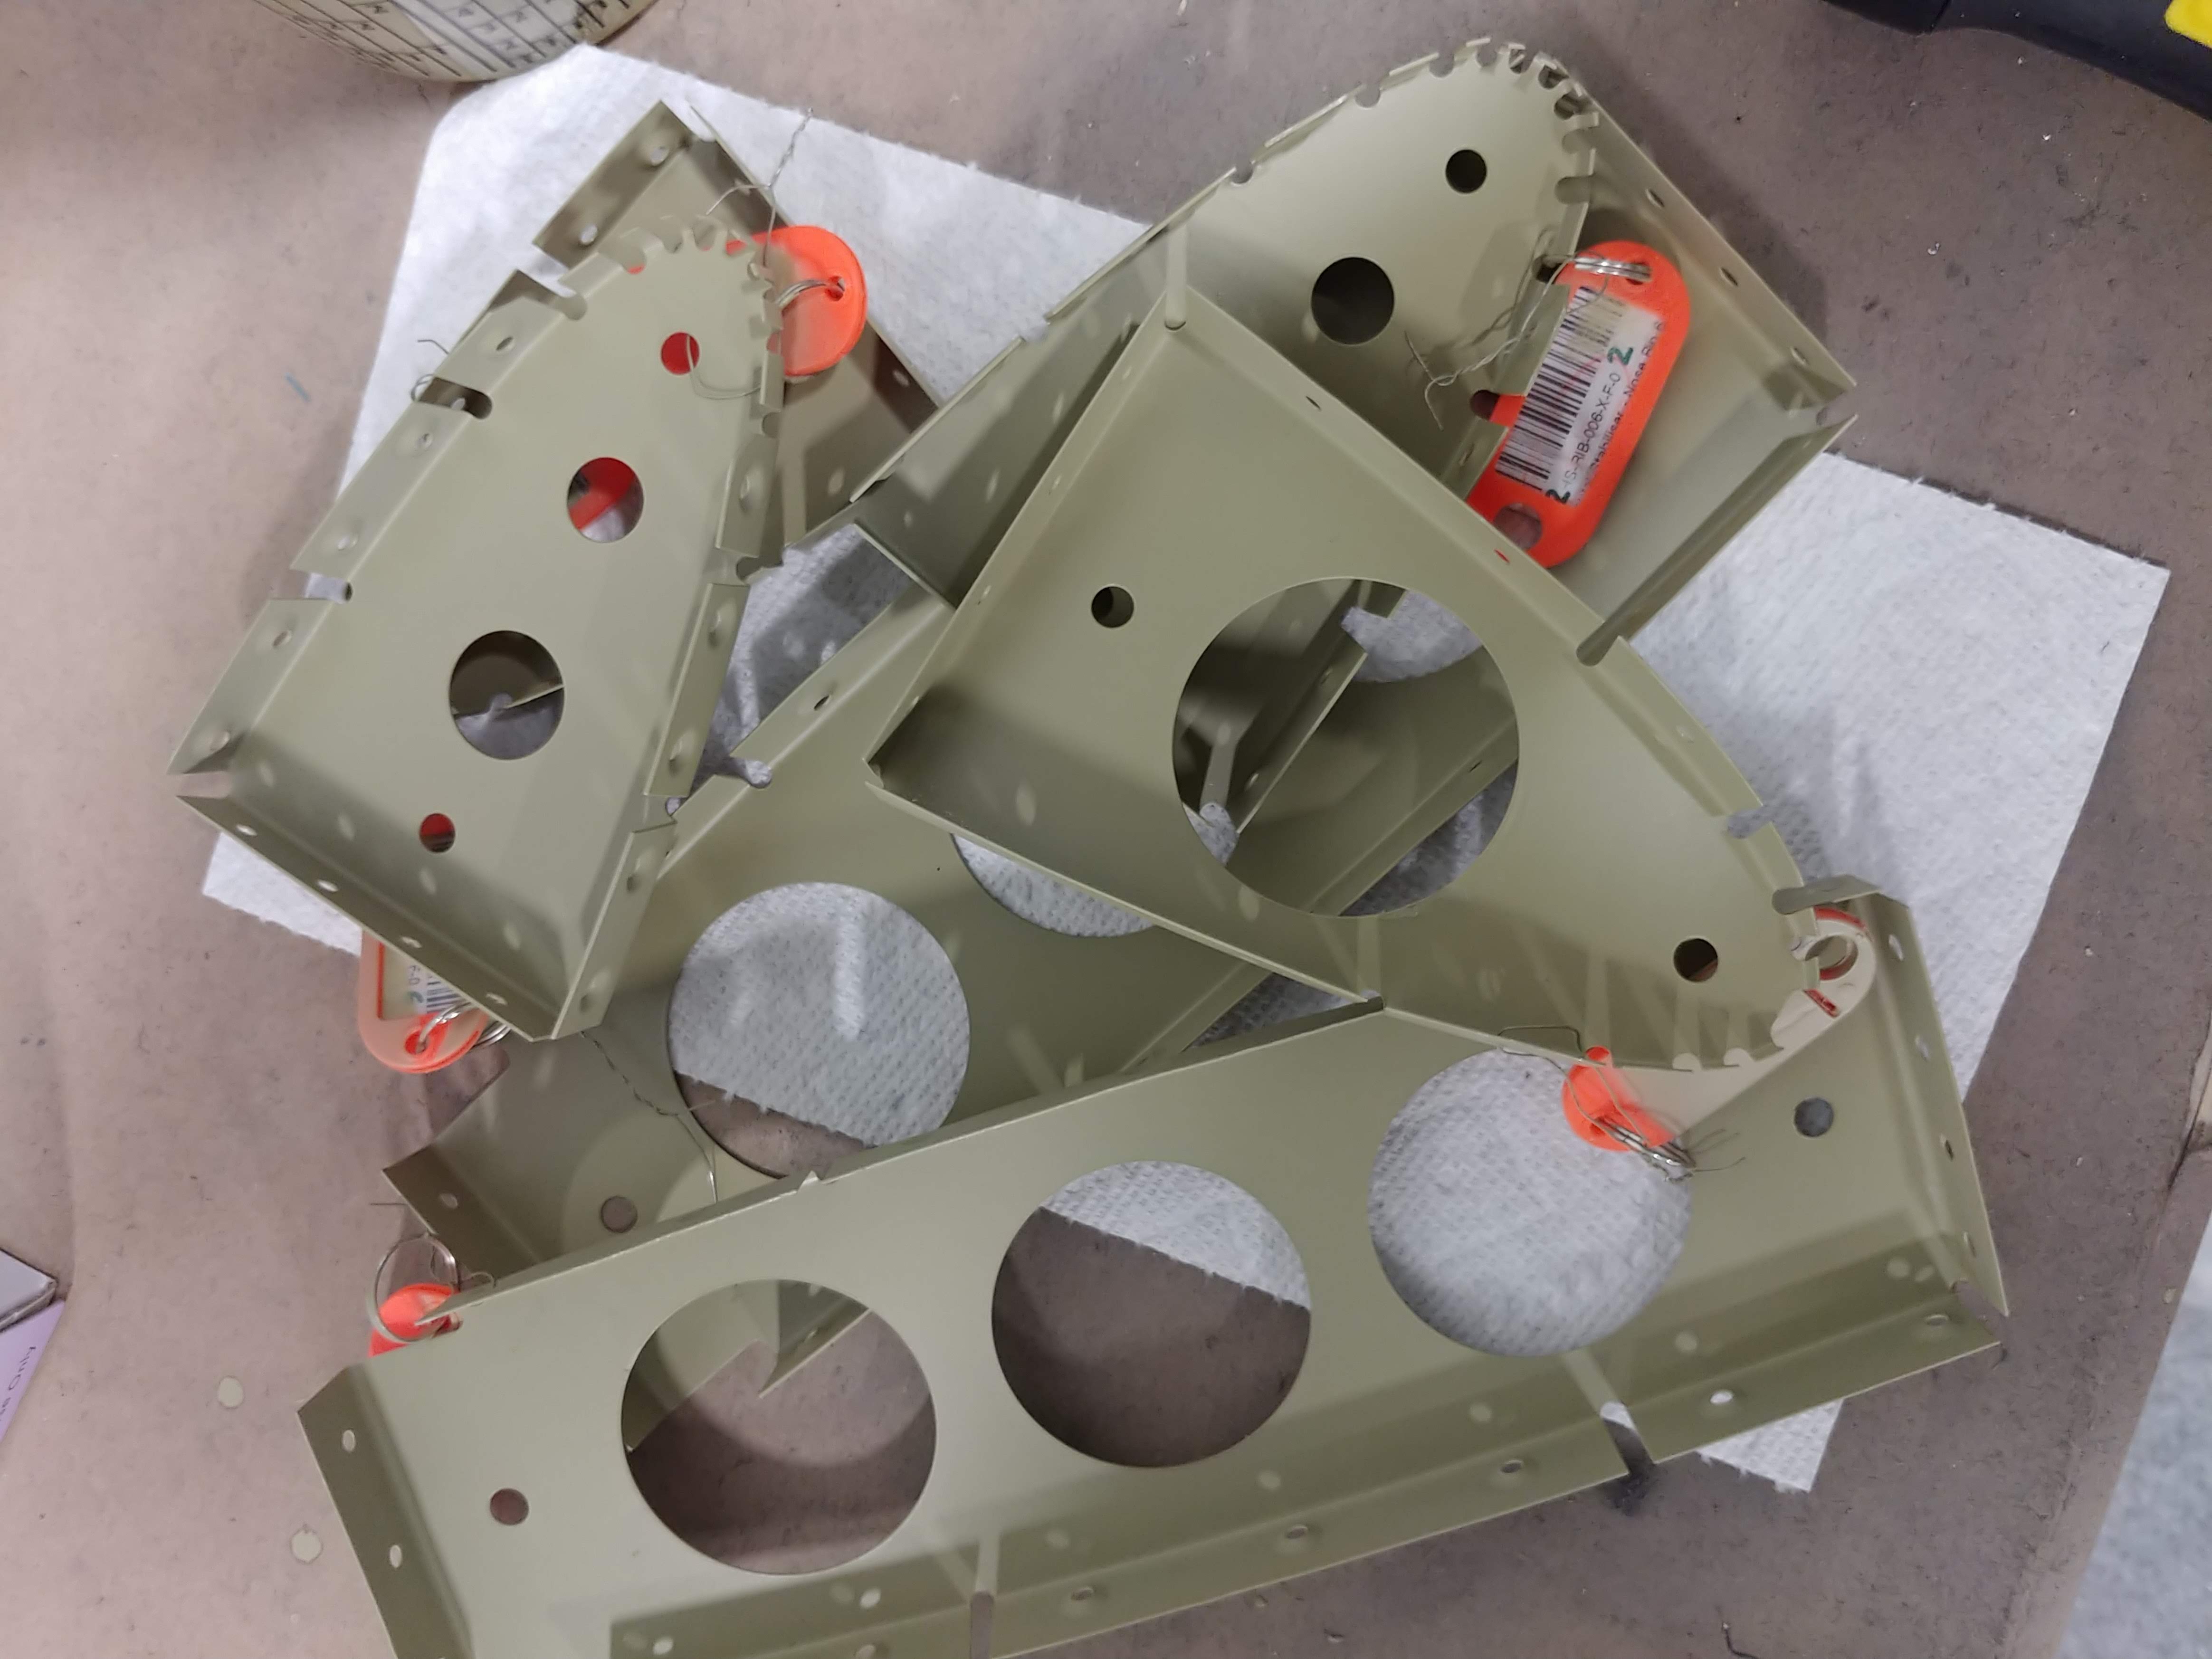
But you know, some parts came out ok :)
And we feel very satisfied that the process is going and that our build is progressing to the next step!! Stay tuned, readers, next week we explore different kinds of spray guns and try to find the bestest, most optimal combination. Do you have a favorite setup? How long did it take you to achieve? Leave a thought below!
#primer #spray #prekote #productplacement