
We are starting the undercarriage!
In this edition, we make good progress on the center fuselage and start on the undercarriage!
Happy Spring dear readers! The scent of flowers and tires is in the air. We haven’t seen many blogs discuss the tires, but believe us, there’s things worth discussing there.
For example, in the noewheel tire, nut-washer-nipple-nut combination - there’s clearly not enough thread to fit all of the washers and nuts that are supposed to lock the nipple of the tube to the rim of the tire. We resolved this issue by only placing one nut and one washer on the outside of the rim, but my poor friend Andrew had to take the tube and hub out of the tire 6 or 7 times.
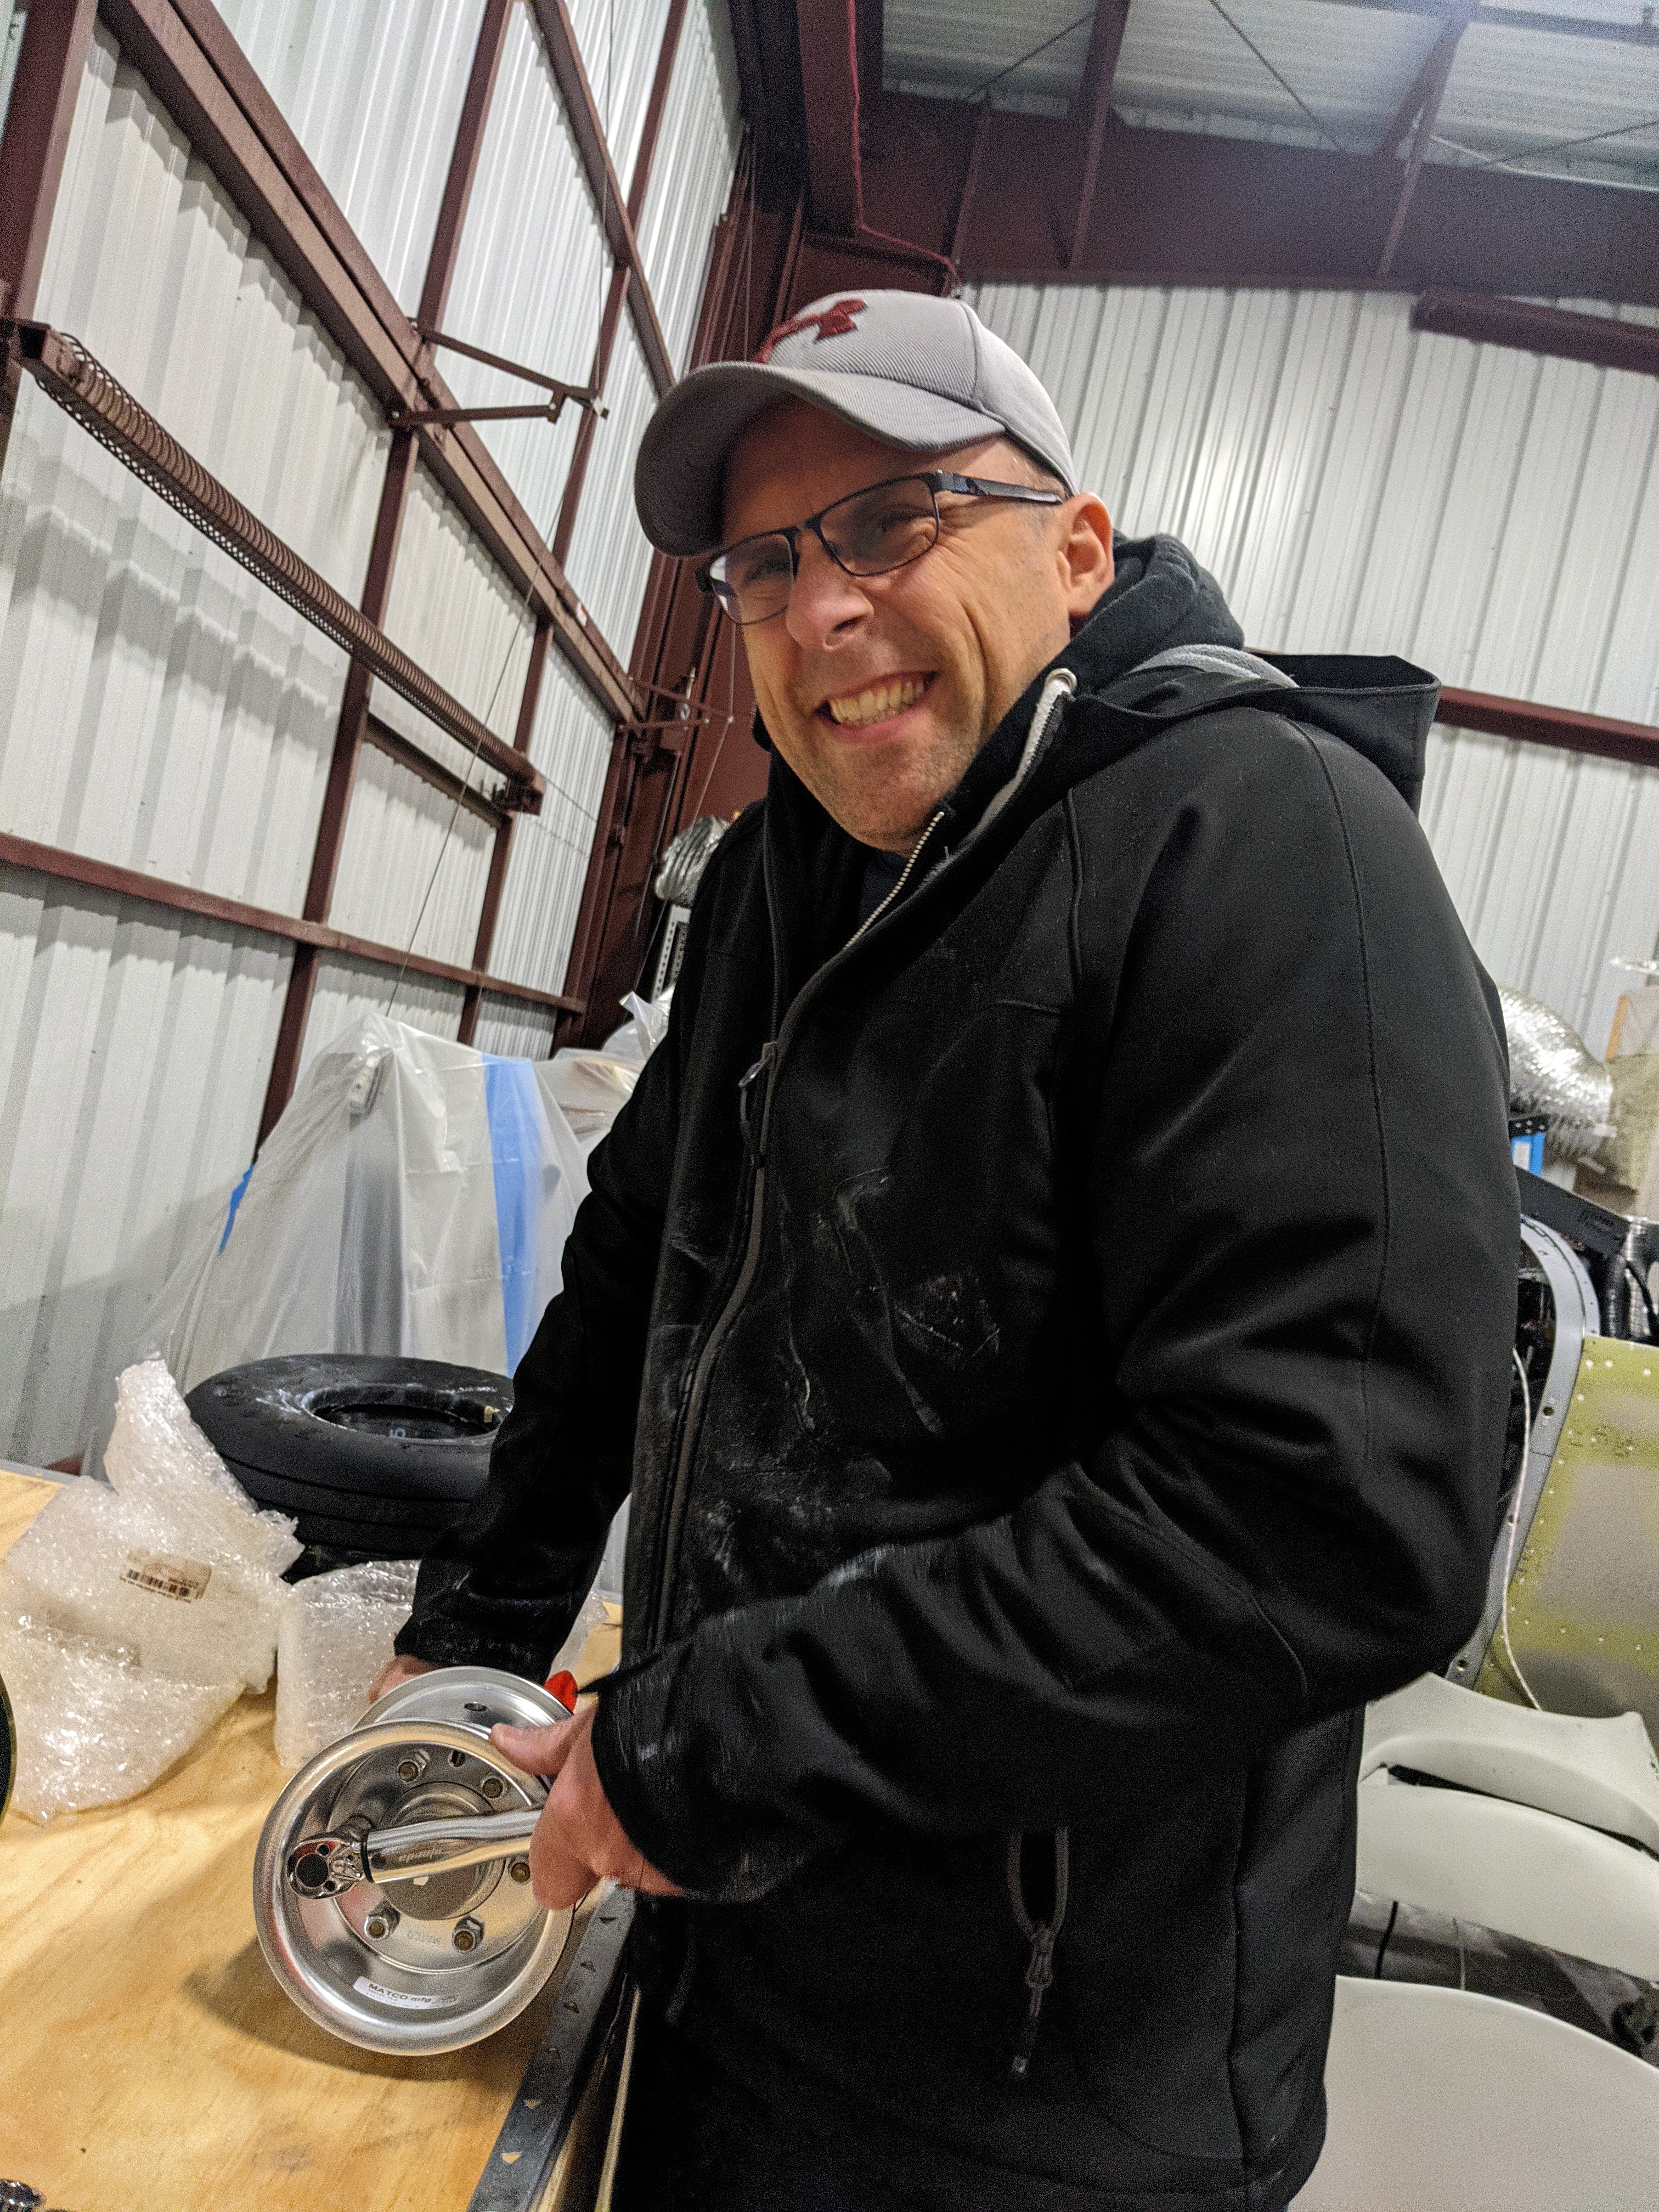
Even when we used only one nut and the washer on the outside, the nut was not gripping the threads on the nipple. Part of the problem was that the washer is flat, whereas inside of the hub is (surprise!) curved. We had to grind the washer down to match the curvature of the hub. On the main wheels, the Matco hubs were also clearly torqued beyond the spec specified in their manual - are their shipping crews not aware of the 11.3 N-m spec and just taking turns demonstrating their strength by tightening the nuts??

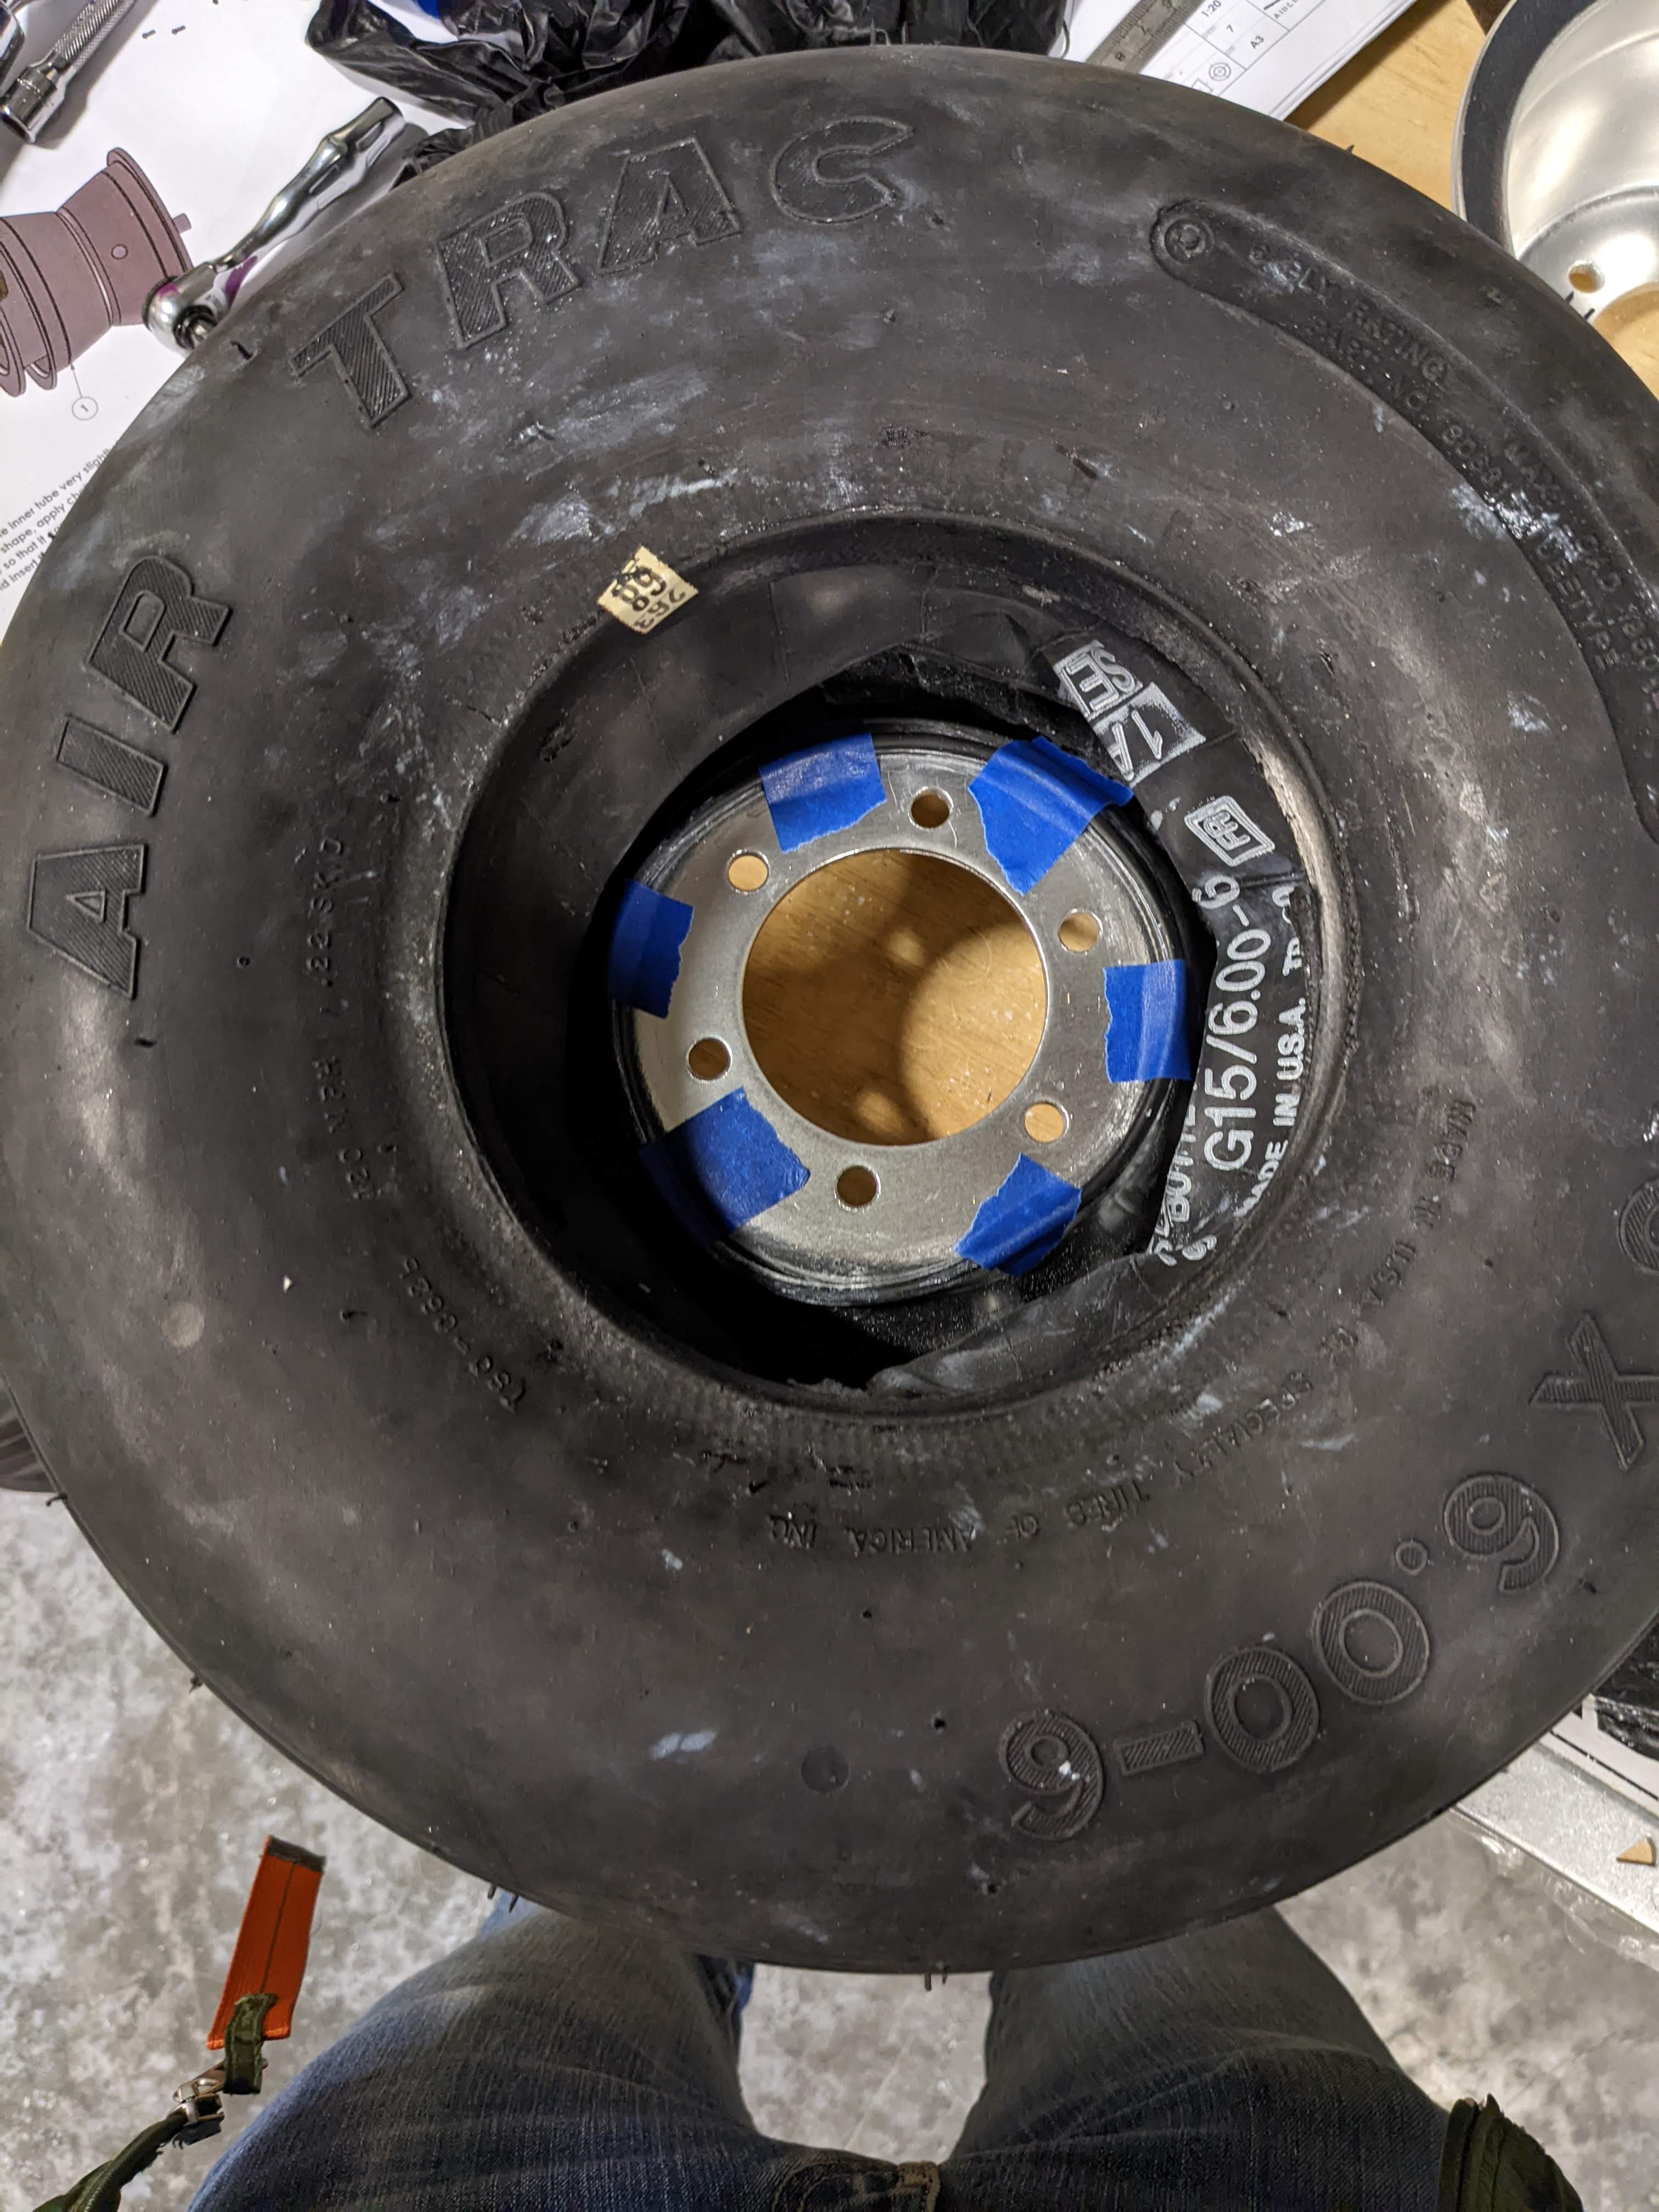
More anonyingly, the O-rings that are supposed to prevent the tube from getting between the hub halves are really hard to keep in place when attaching the hub halves together. We somehow managed to do it on one wheel. For the other hub, we tried like 4 times, and the O-ring would constantly get between the halves. Eventually, Sasha came up with an idea of using blue painters tape to keep O-ring in place while assmebling the hub:
We mounted the landing gear (earlier than the manual specifies, but we figured its easiest to do it now before all the spars are connected). For those of readers who have not tried this operation yet, the fiberglass landing gear leg is held in place with 4 bolts (2 on each side – one above and one below the leg). The first bolt on either side is easy to put in, but the fit for the second is very very tight (as it should be, otherwise, landing gear leg would be bouncing around).
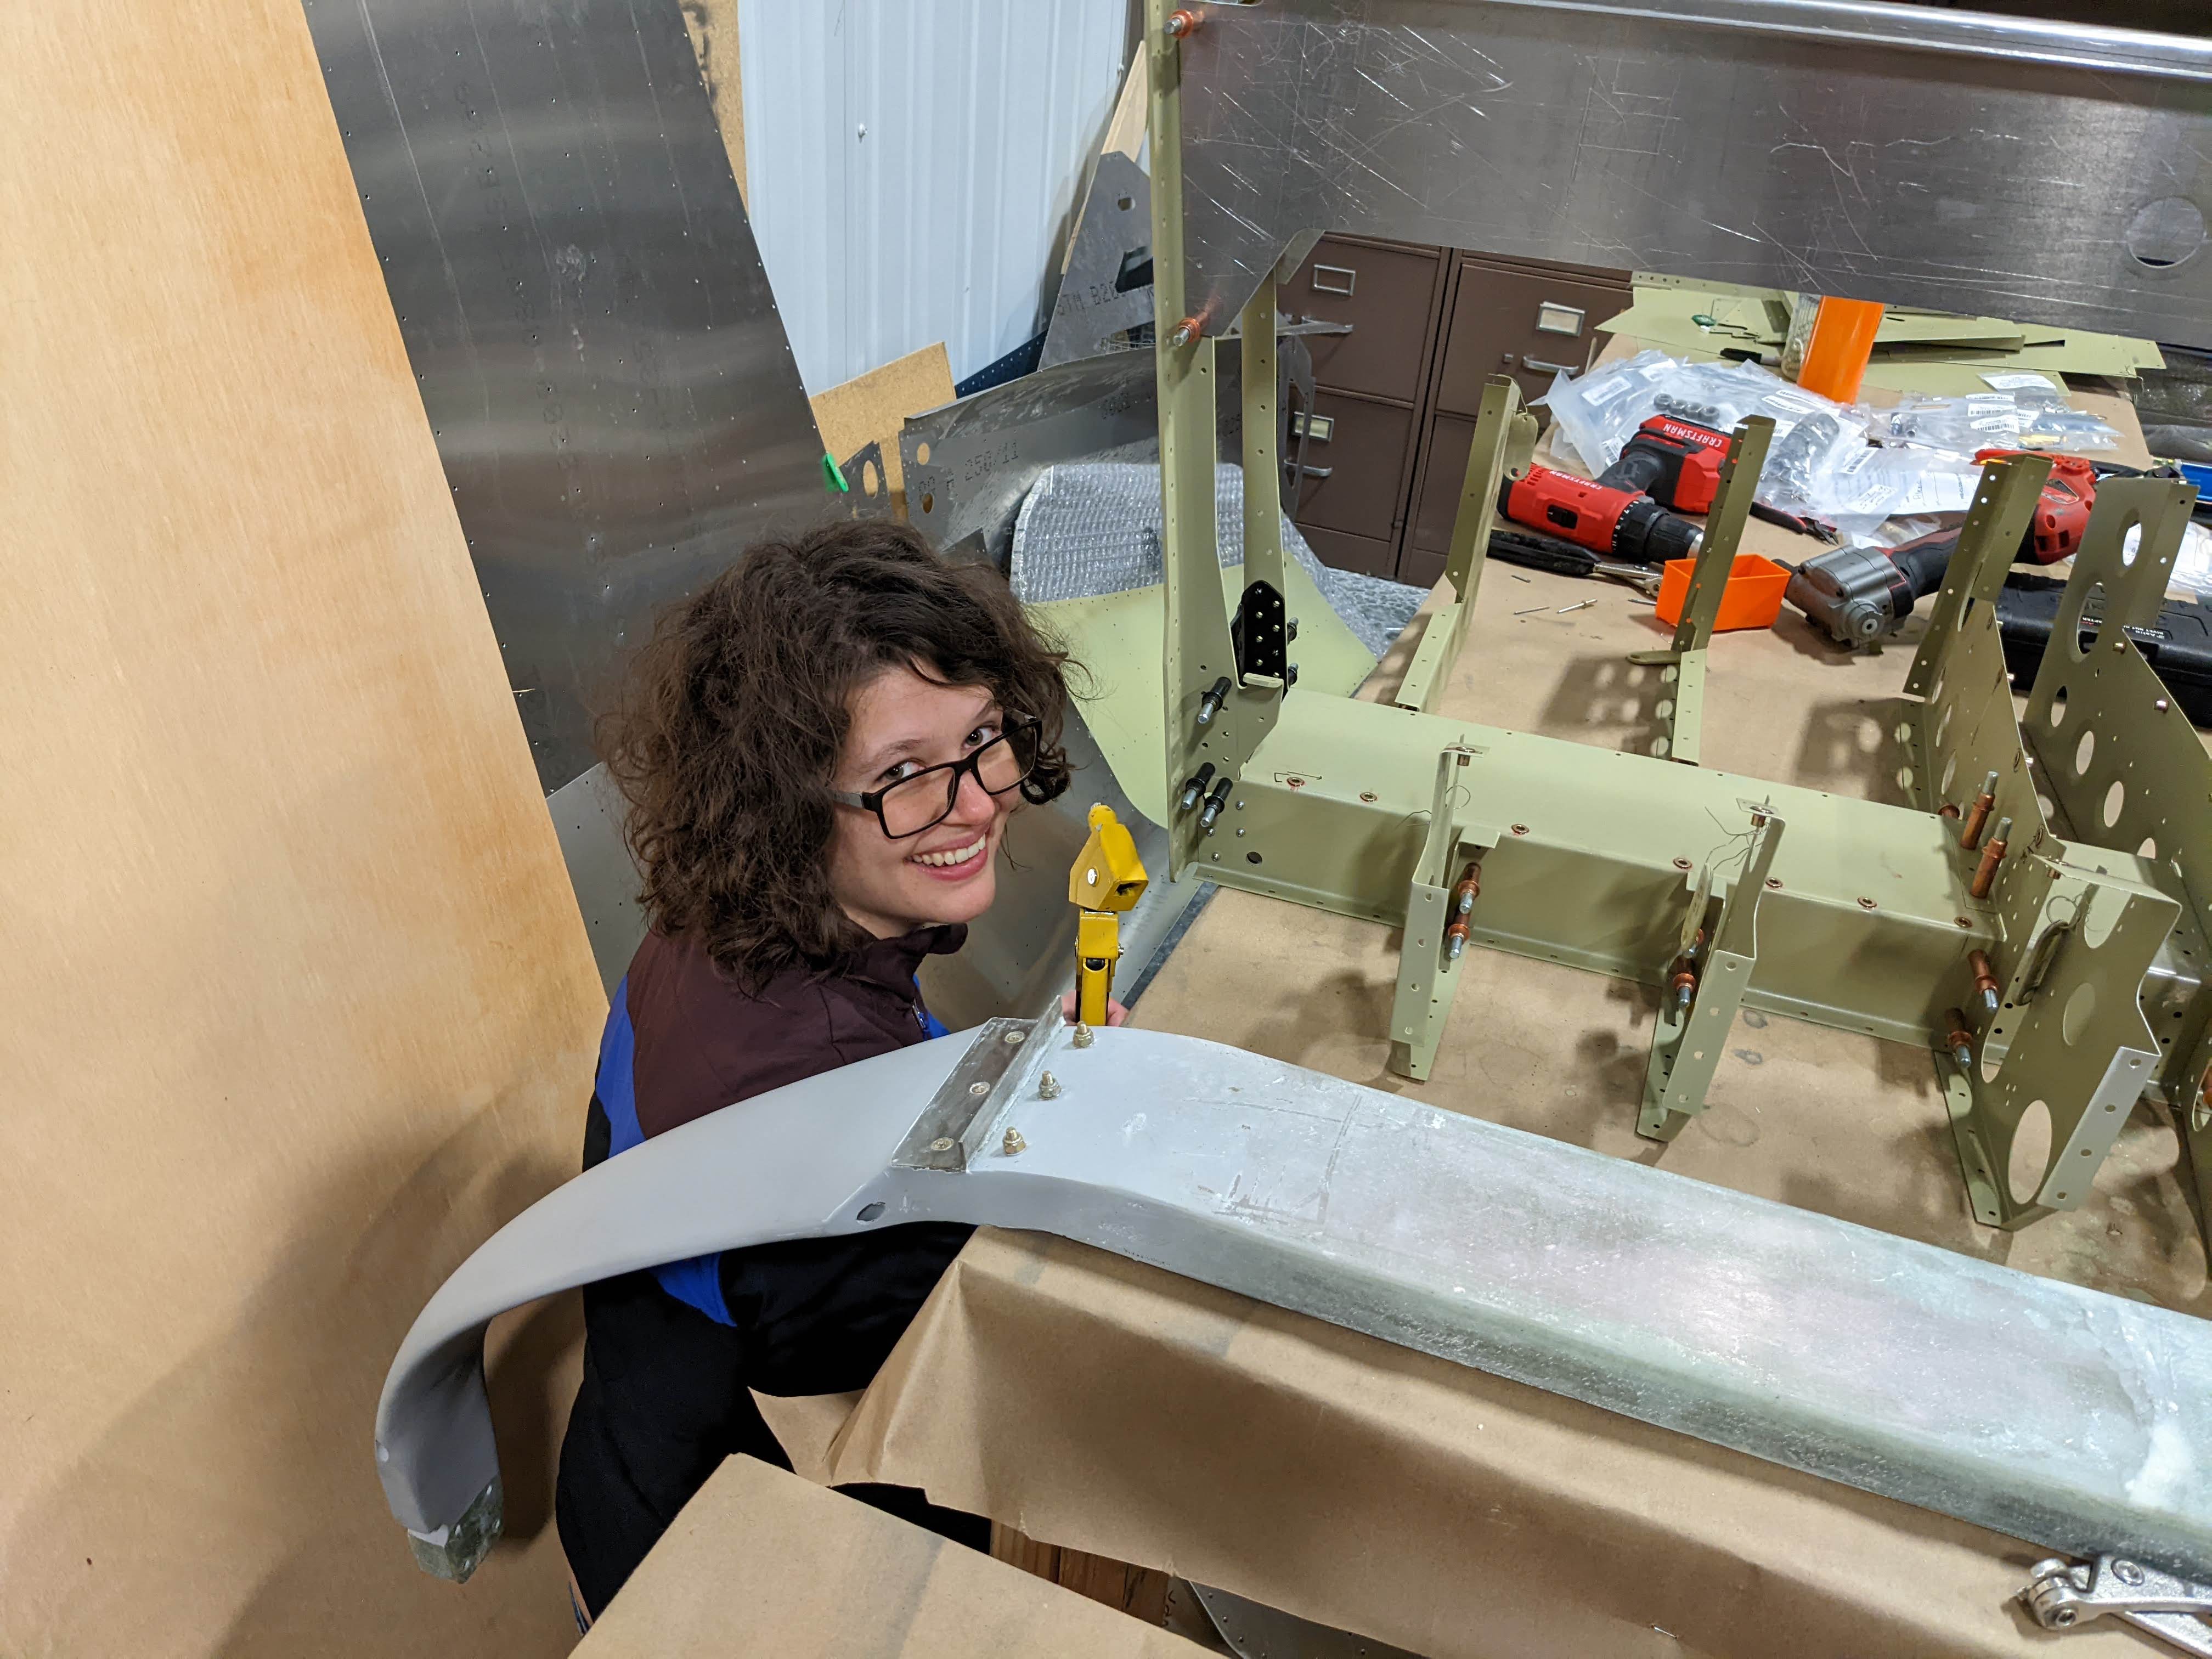
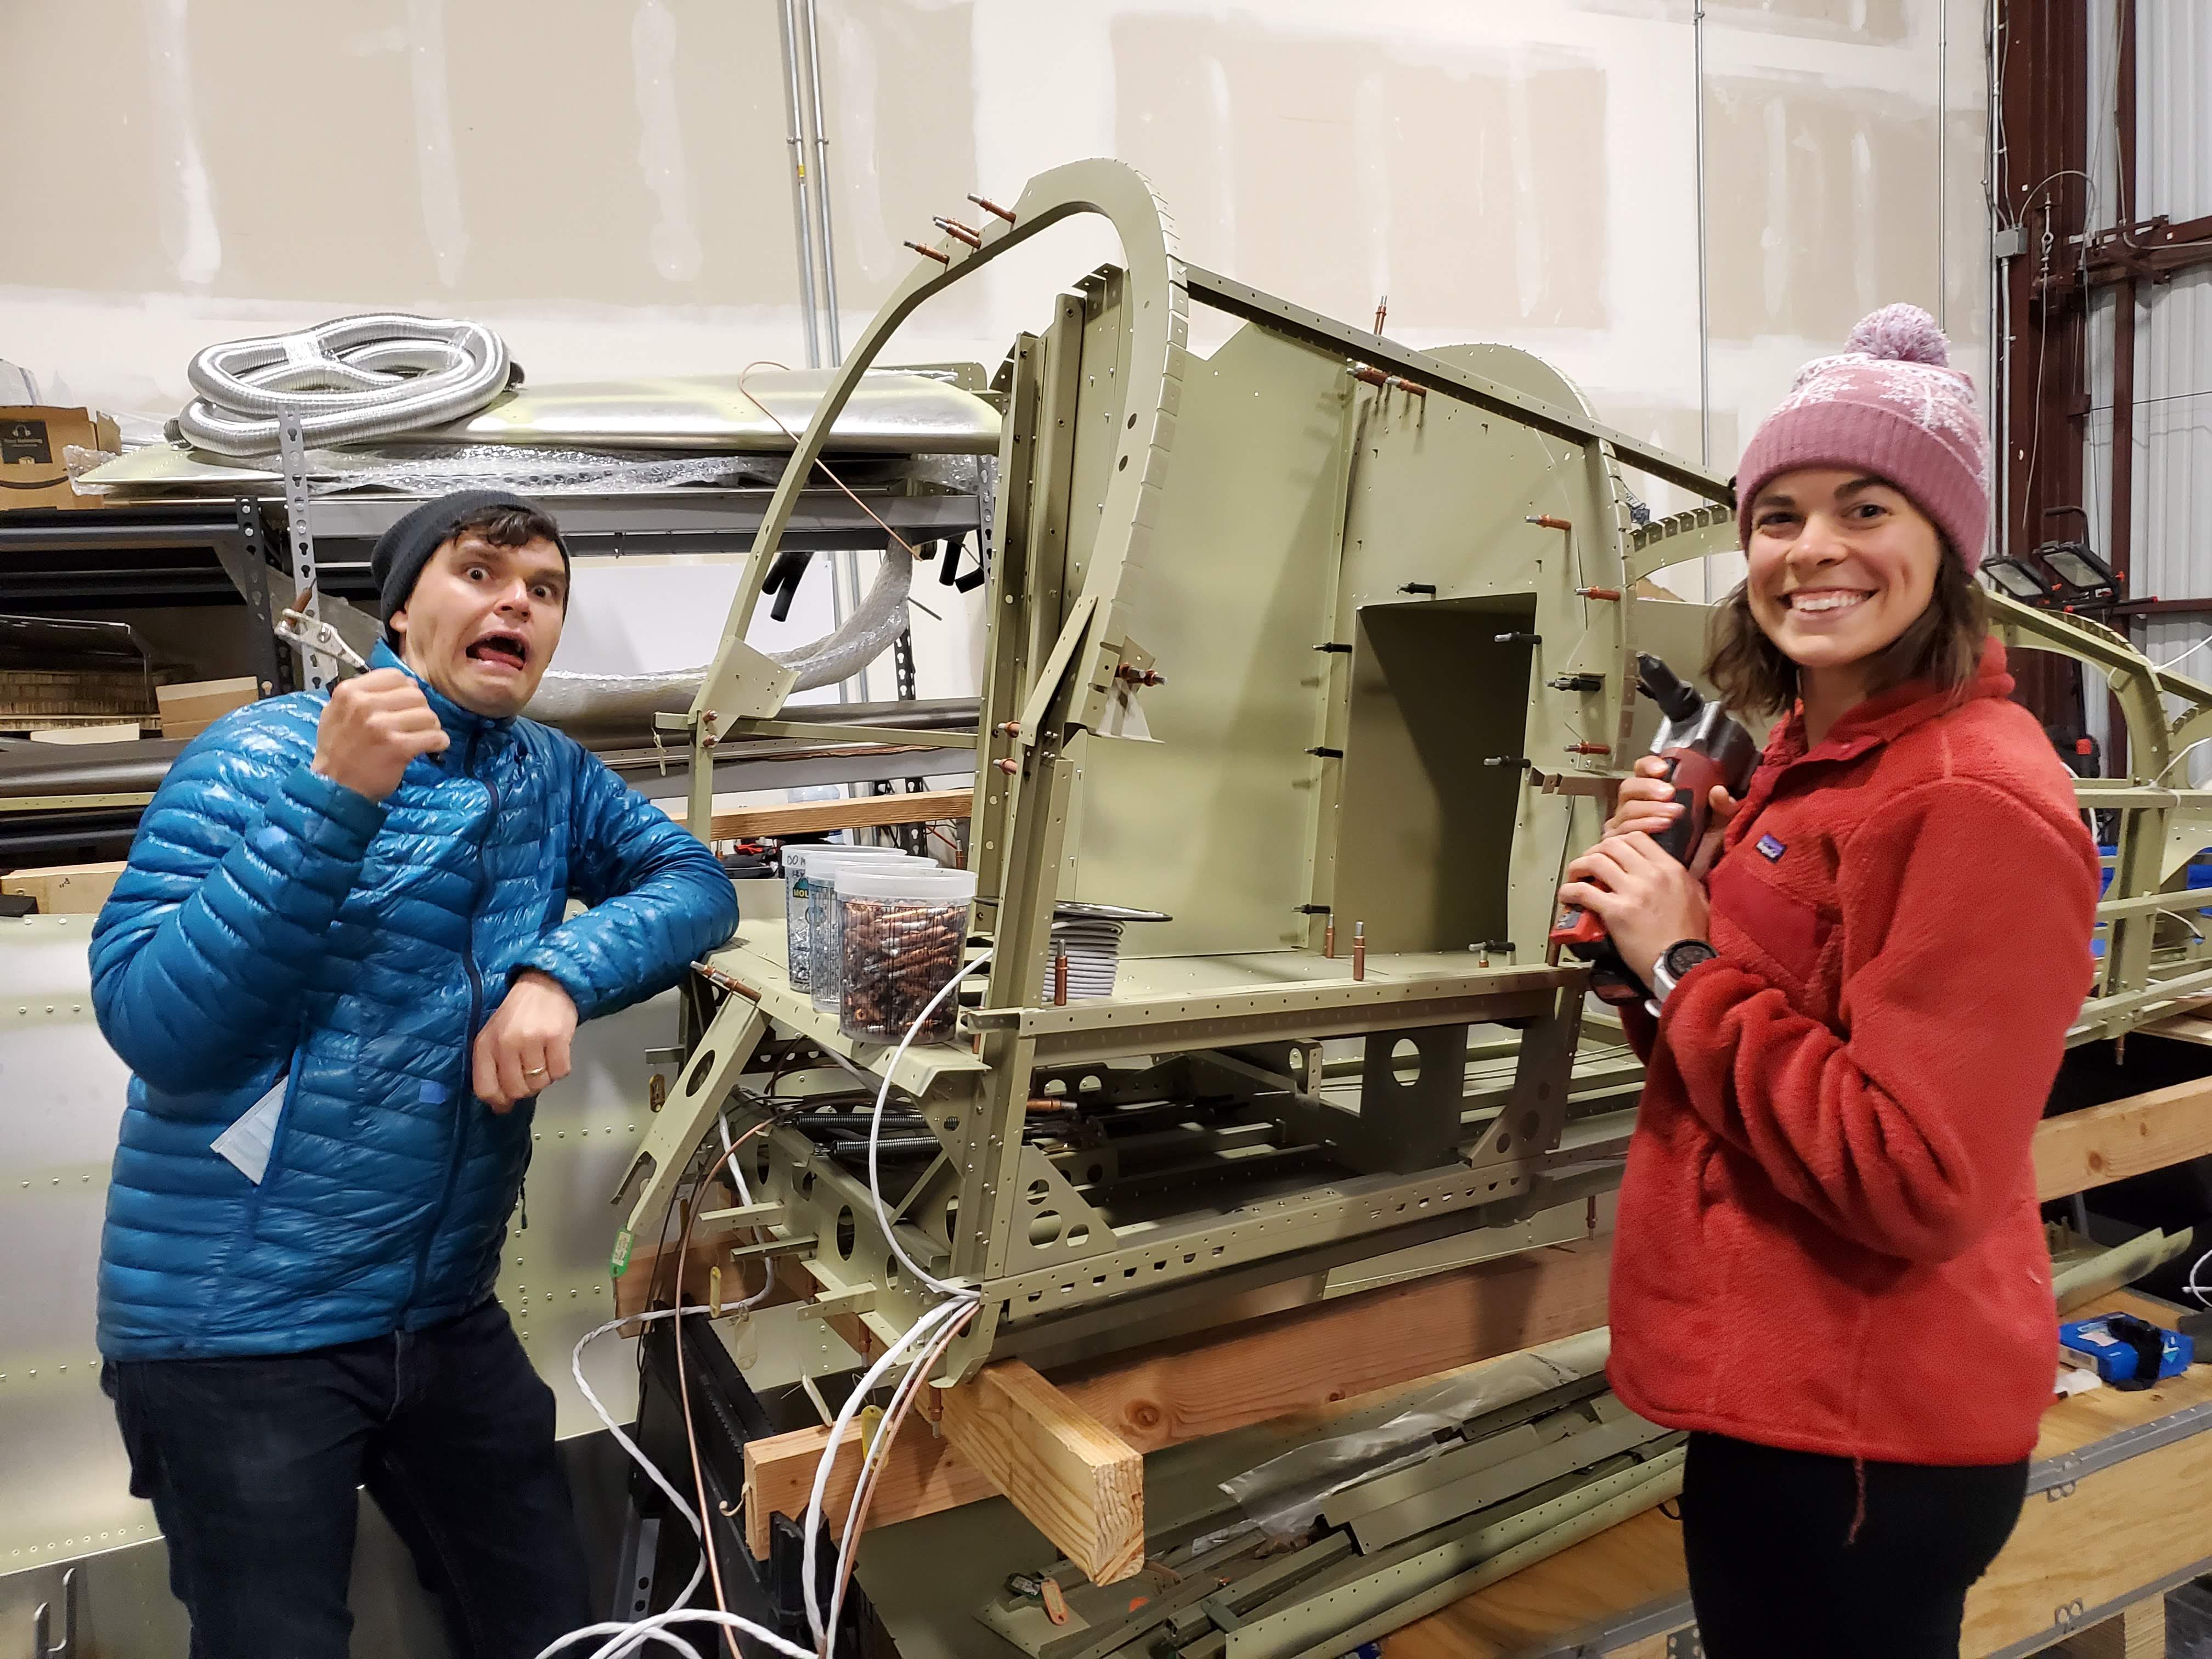
After 2 hours of grunting over the bolts, we got them in (and Sasha did not look as chipper as on the picture above anymore :)). Careful reader may notice that there is also a problem in the picture above – front of the landing gear is facing away from the camera (the rear side of landing gear has channels for brake lines), while the landing gear channel and ribs fronts are facing towards the camera… Yes, we ended up putting landing gear on backwards :( When doing it the second time, we also came up with a clamp trick – the bolt and housing tube can be pressed into place with a wooden block and two clamps:

Can’t say this makes the procedure easy, but it is more manageable. Claude said he had to use a hydraulic jack to press his landing gear in place, I would argue that clapms during the early stage are probably easier to deal with.
Meanwhile, we’ve started to put together mini-kits for friends to assemble when they come visit the hangar. These kits are meant to be a high satisfaction way for people to experience the joys of airplane building (and also provide us with valuable help :D). We deeply appreciate everyone who comes to encourage us and wanted to see if a streamlined way of building assemblies would be fun. It seems to have caught on - Eugene and Sarah even competed to see who can put together the front seats the fastest!
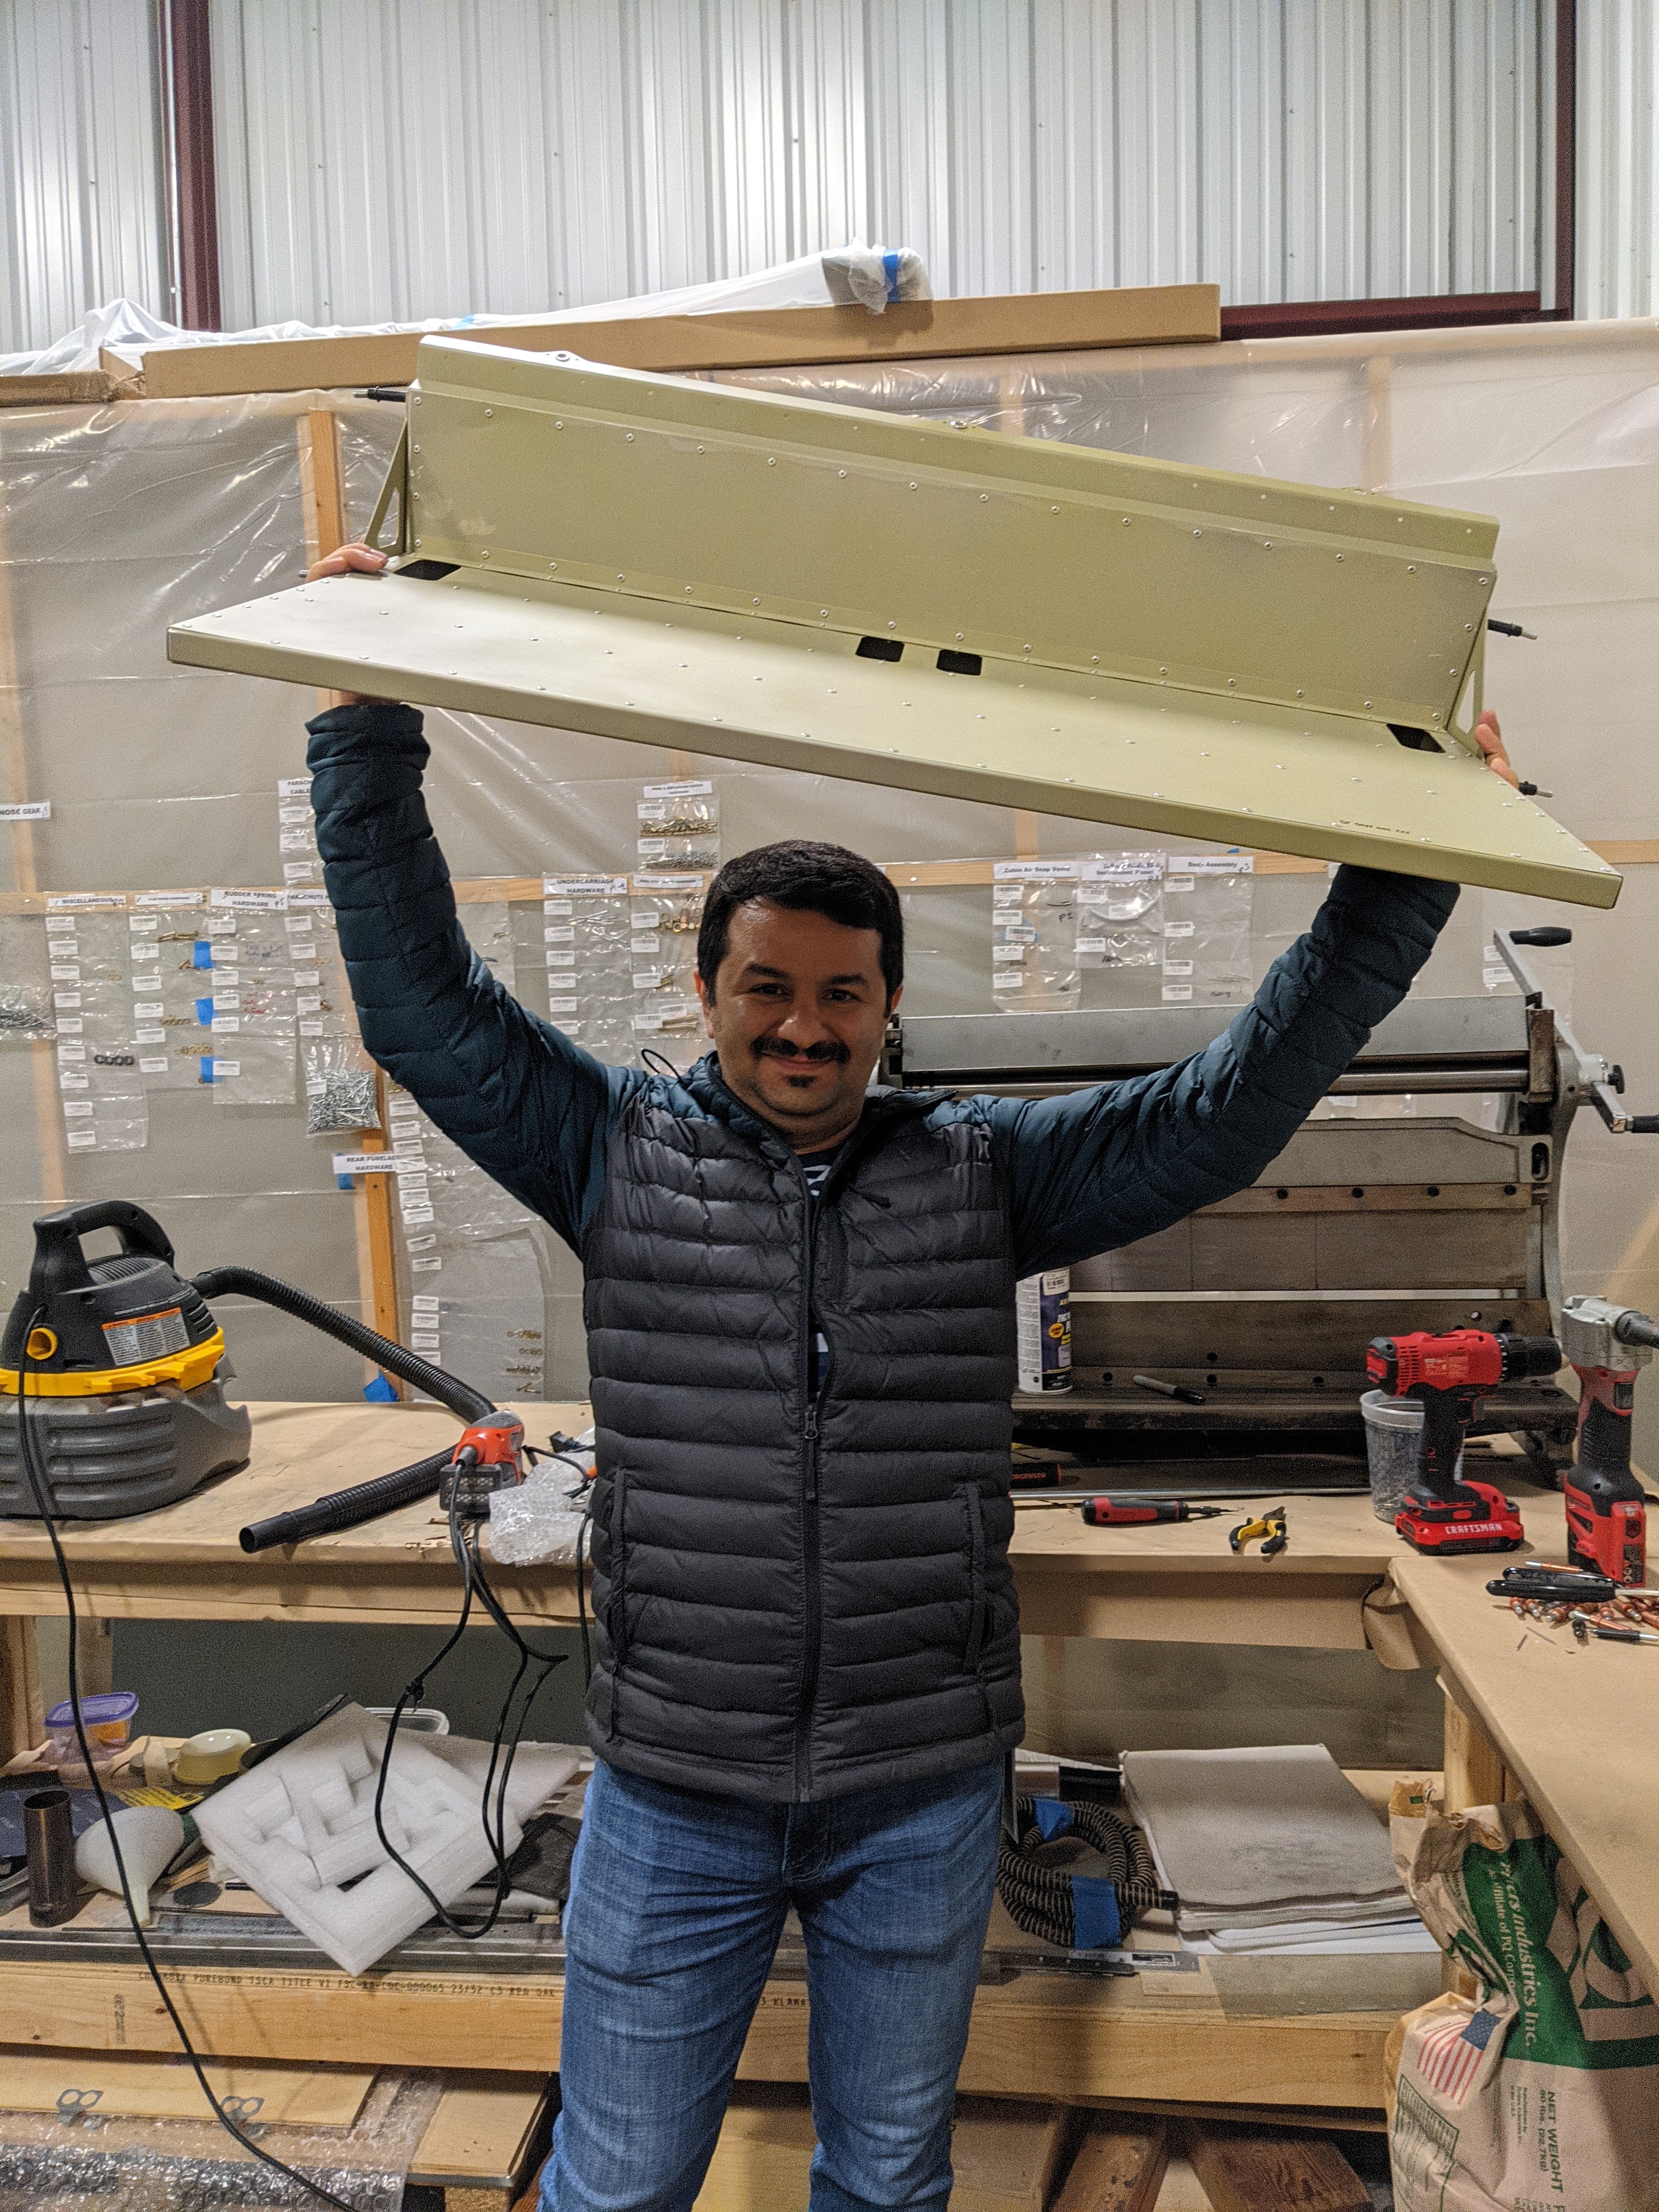
There’s a few assemblies in the fuselage/undercarriage that seem conducive to this sort of mini-kit-building style: the front seats, rear seats, rear spar, and nosewheel are all pretty modular and have fairly accessible instructions (thanks to TAF for updating the manuals and constantly making improvements!!). Here’s Saeid proudly showing off the rear seat bench (way to be Saeid!!):
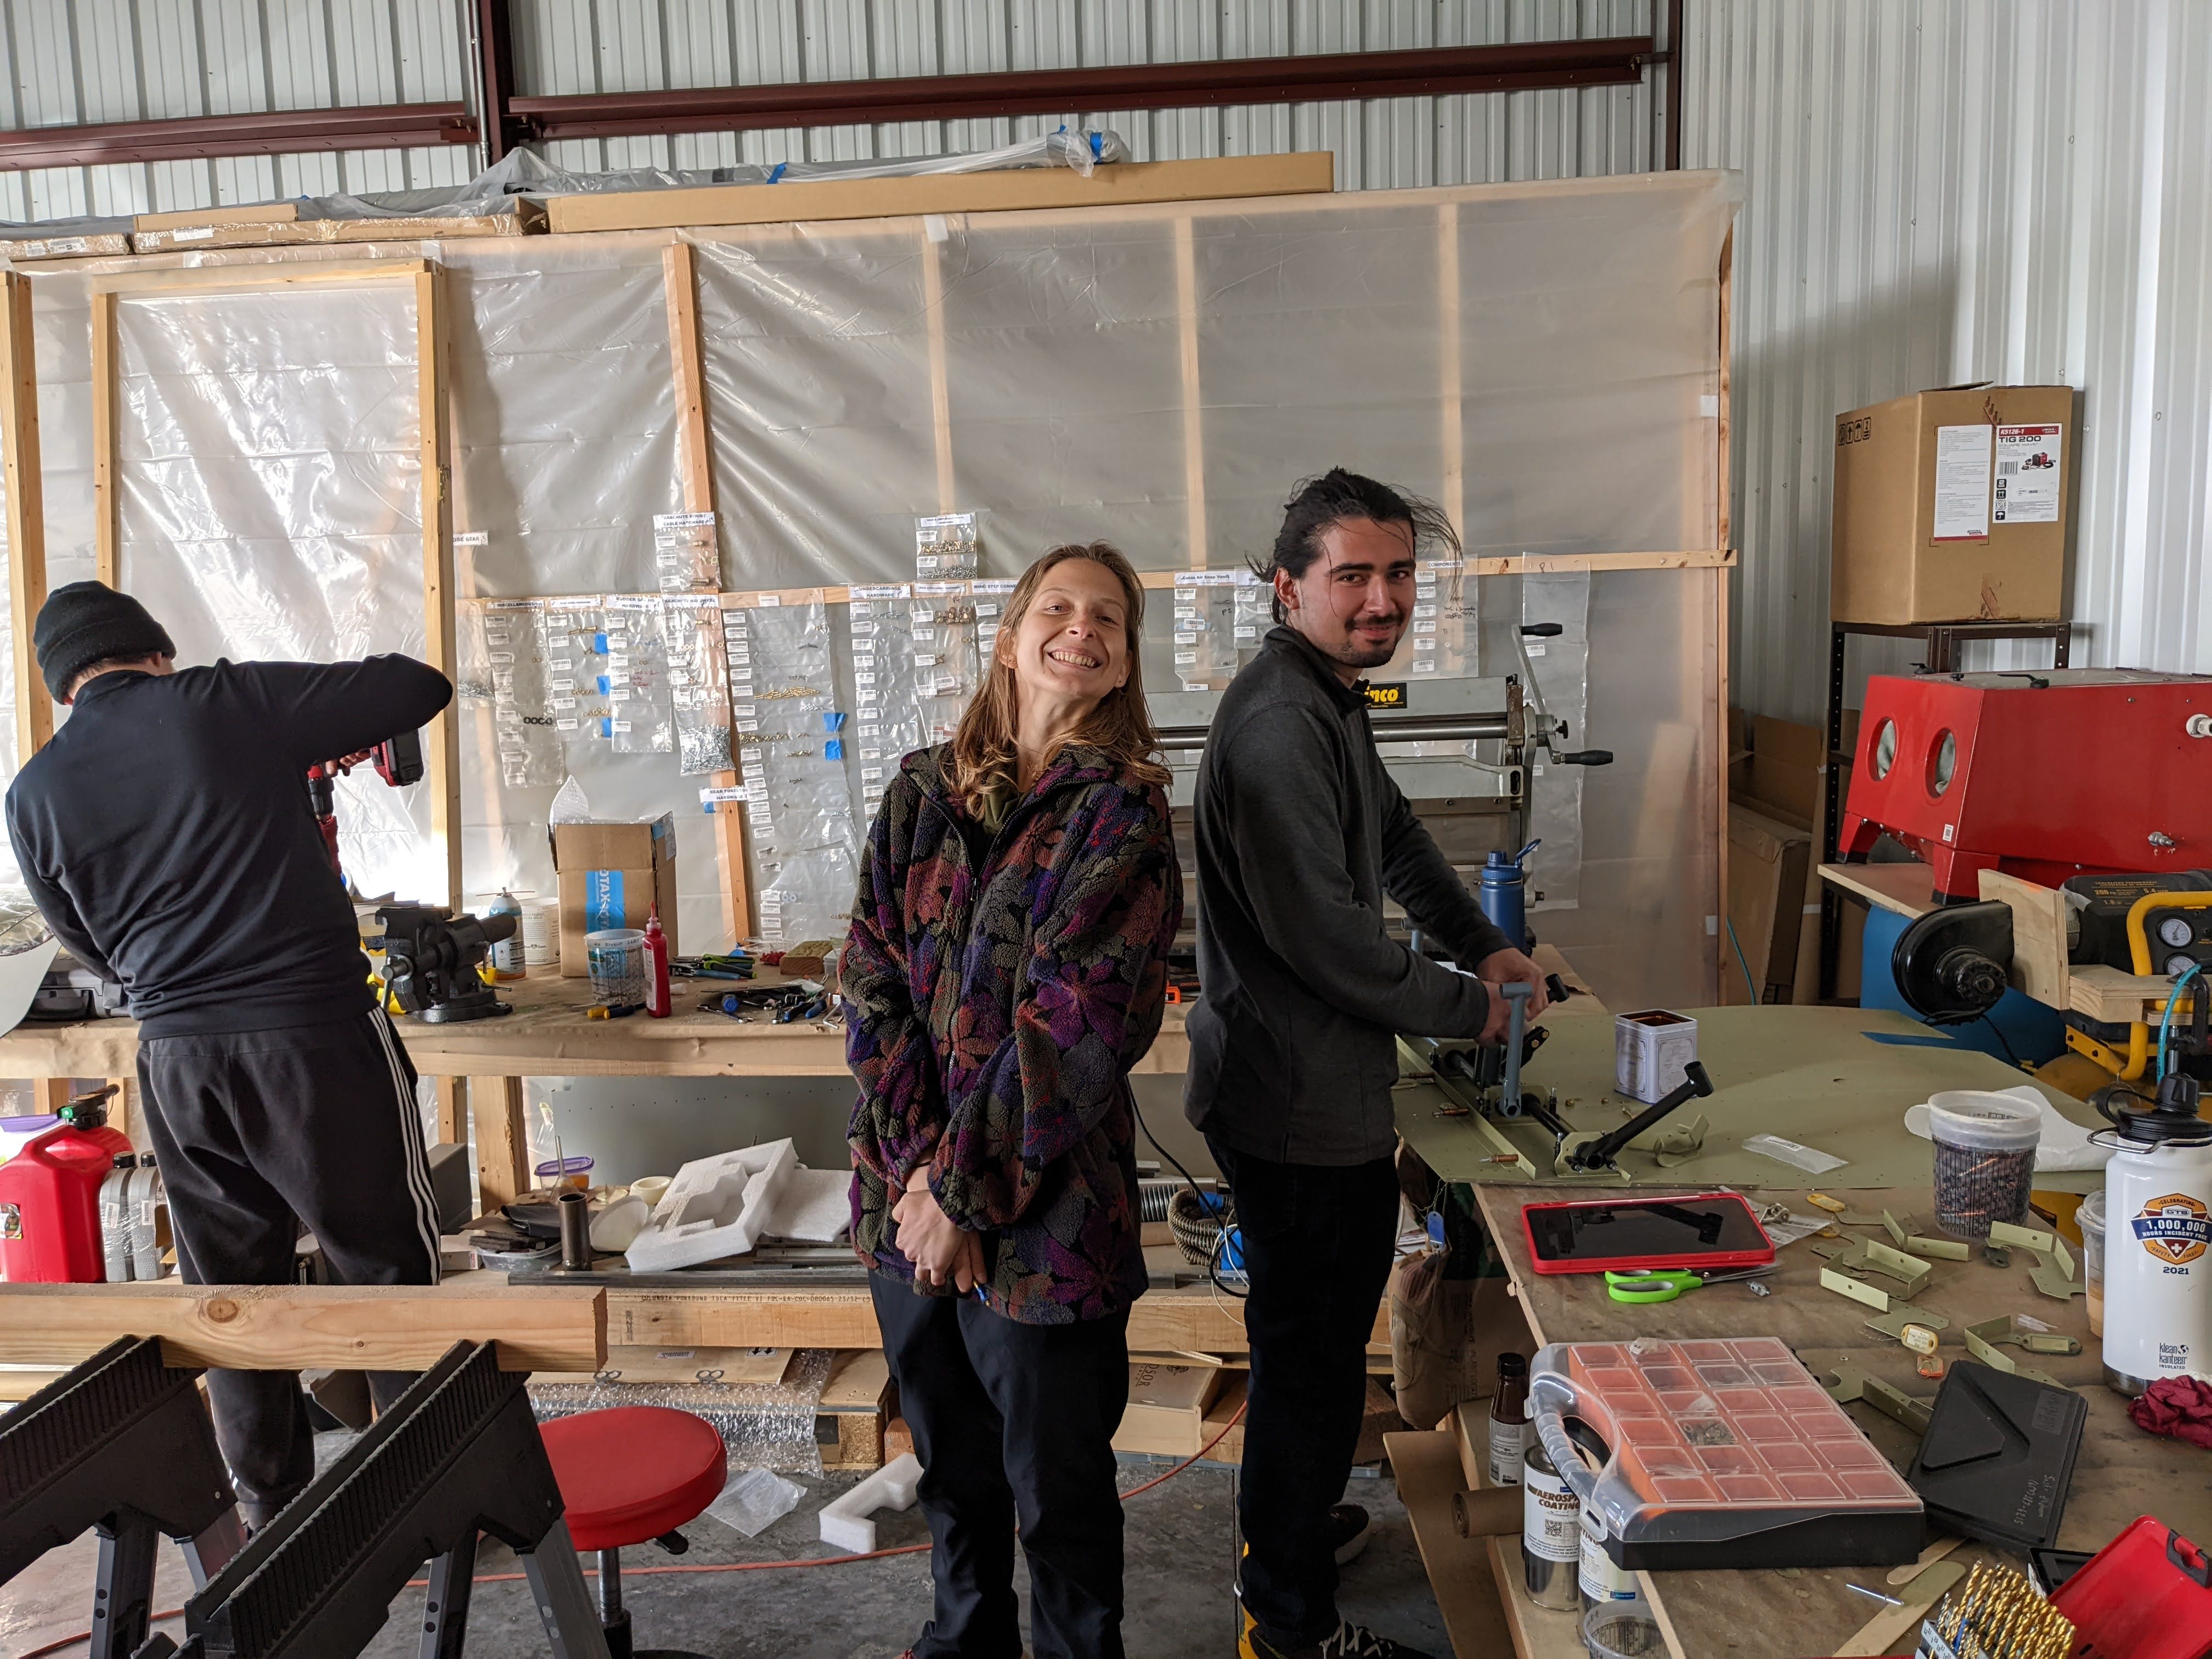
Its also handy to have one person cleco, and another person come back later and rivet if time runs out. Project management - Sasha’s corporate training is paying off :) Here’s Katya and Gustavo putting together rudder pedals:
The rudder pedal stops required some trimming (manual specifies that edges of the stoppers need to be cut off:
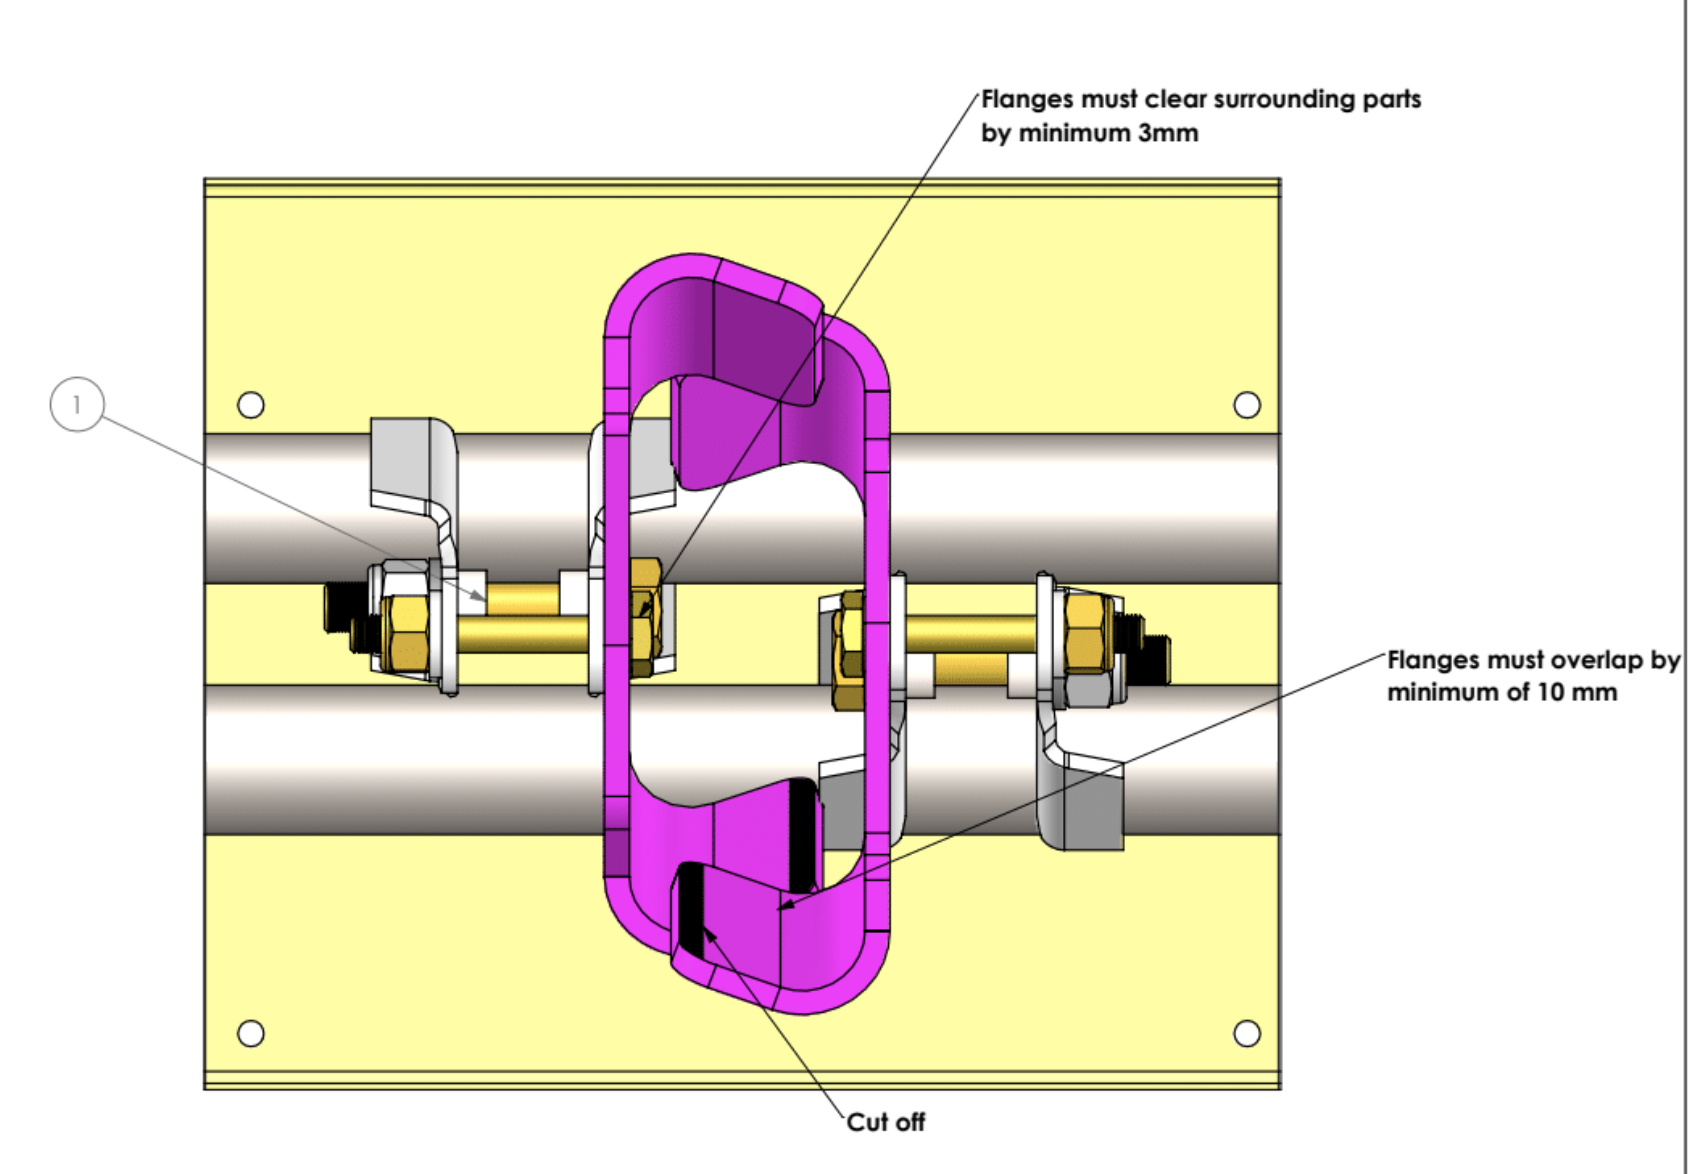
but we also needed to make pretty big corner cutouts so that front flange of left stop would not interfere with the front flange of the right stop (we tried to explain this in a video):
Even when away from the hangar, we are trying to make progress. For instance, we took home floor parts and put in noise insulation on our hangar-off evenings
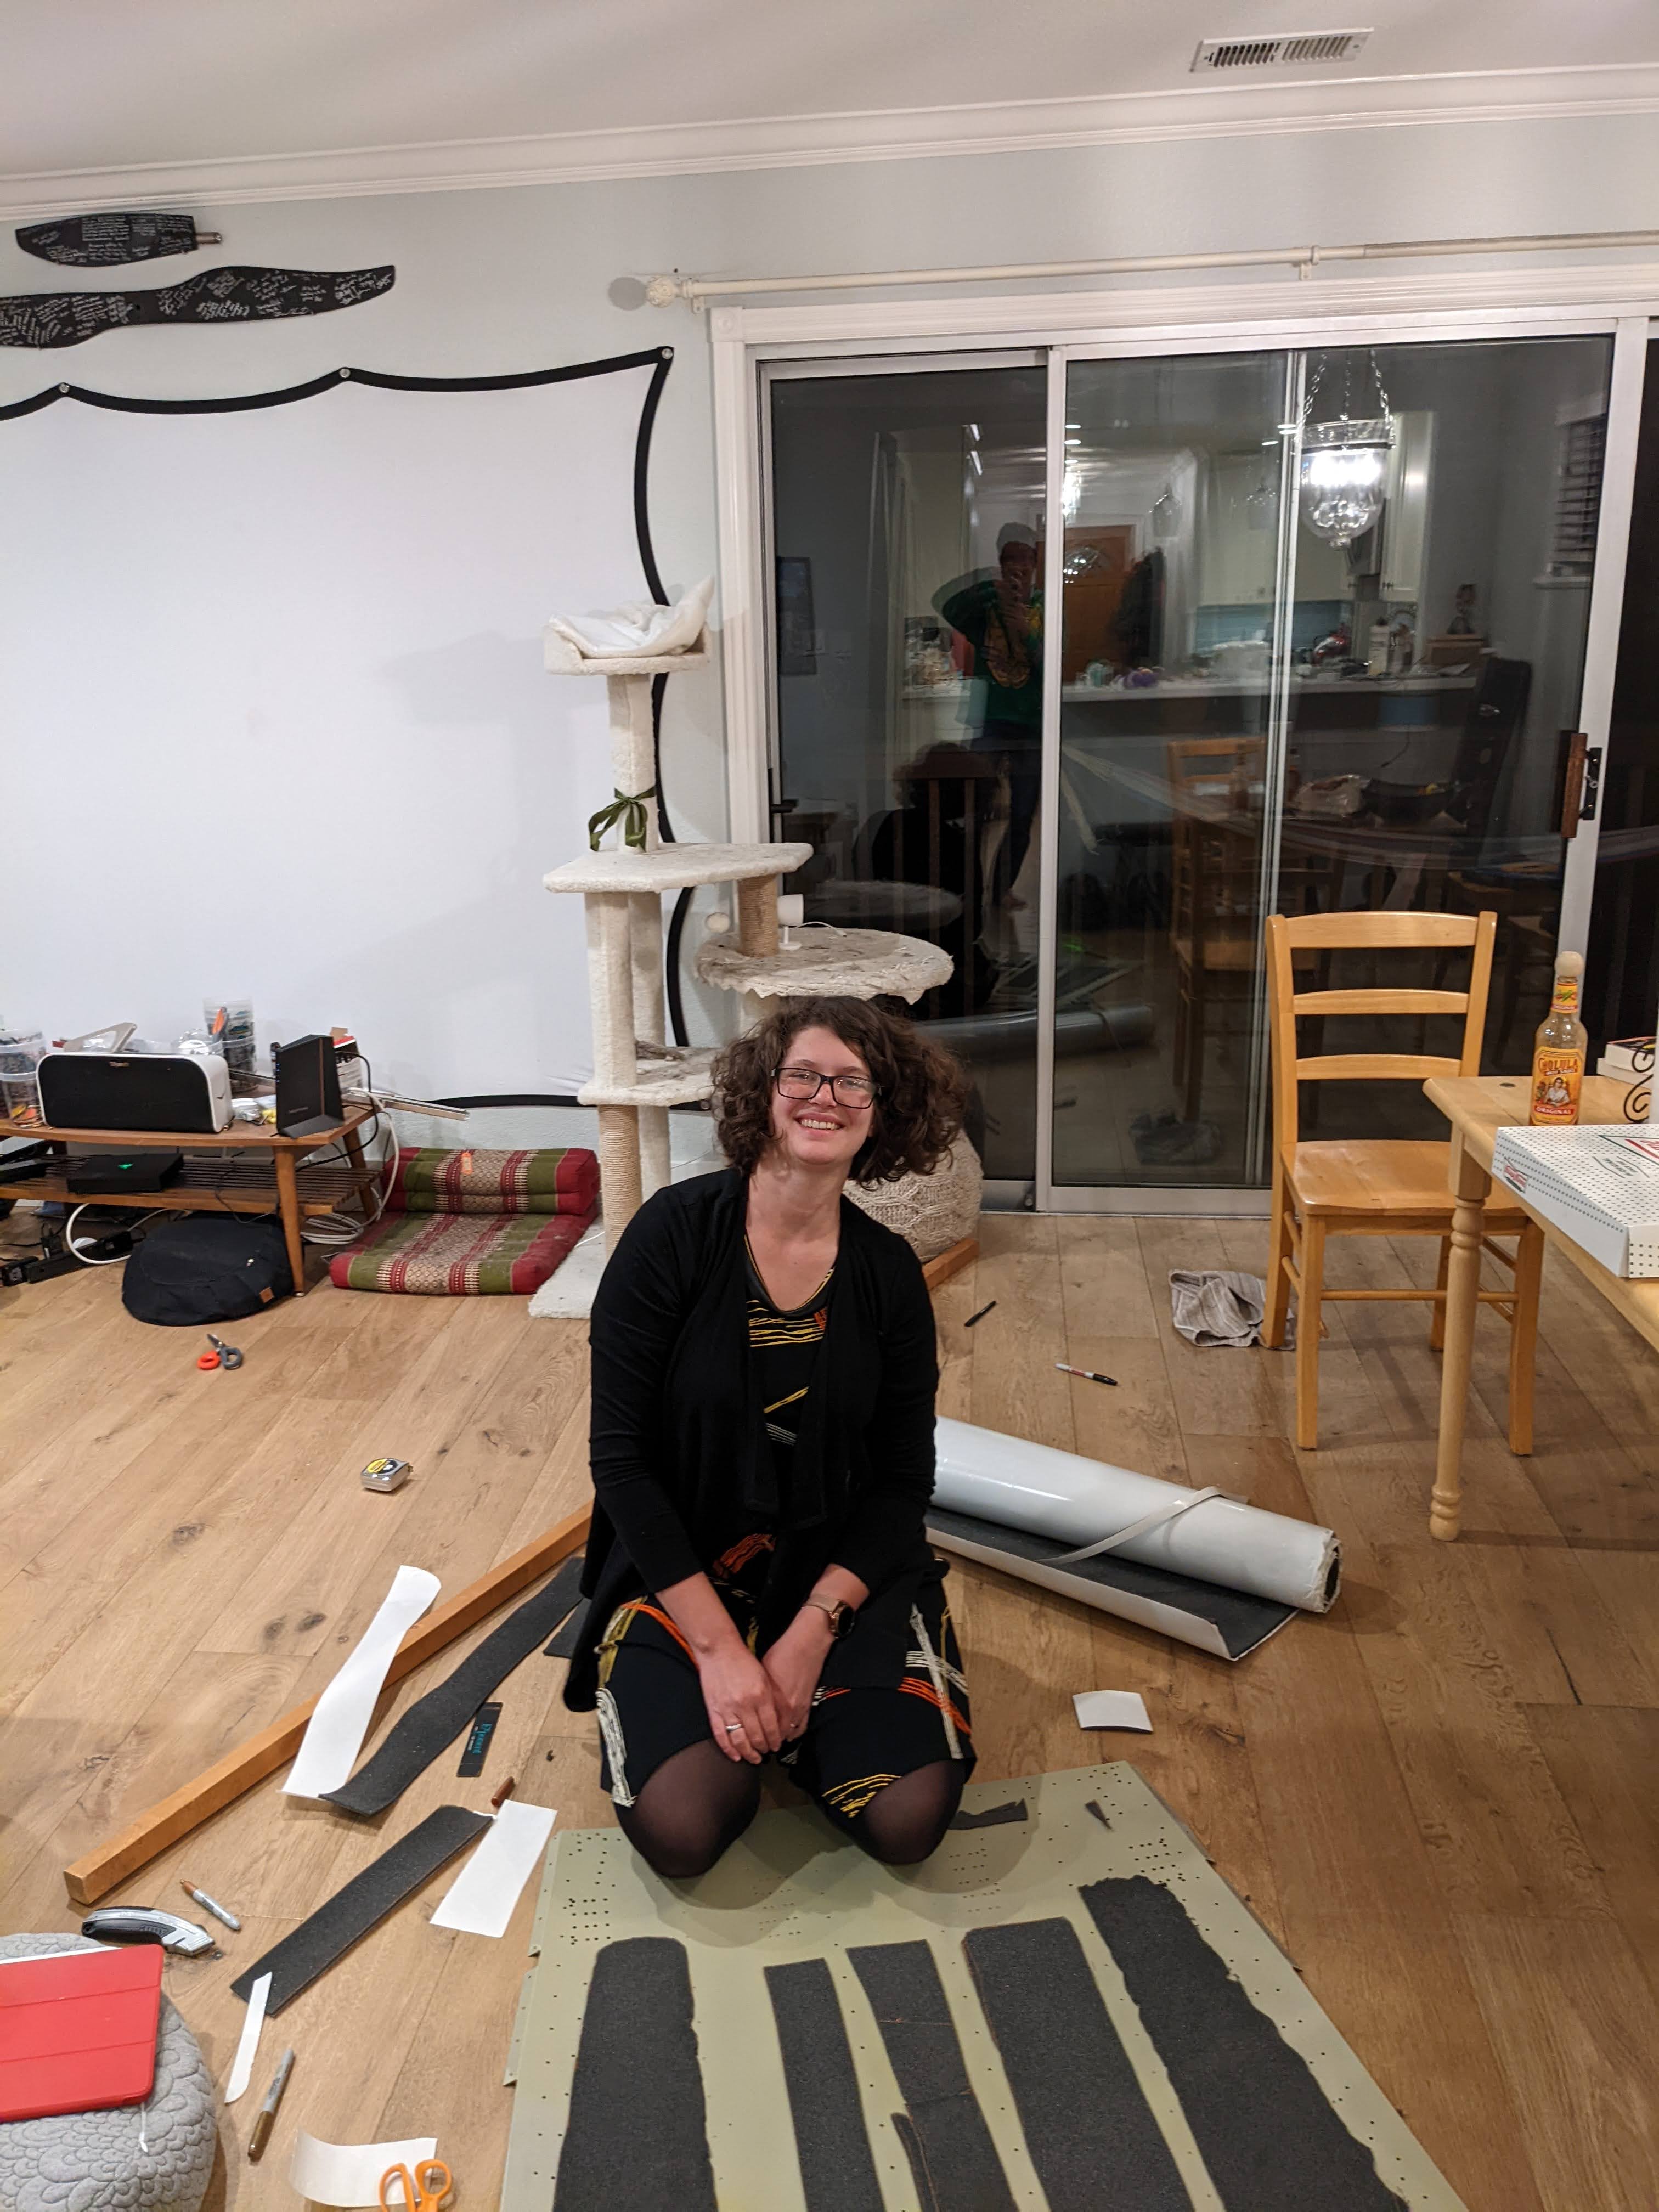
Noise insulation is pretty easy to work with, however, it is quite stretchy, which makes it hard to measure accurately (early on, we often ended up with pieces that are stretched out during sticking on and are too big). Here’s how our floor insulation looked in the end (not uniformly pretty, but it will work just as well, and it will not be visible anyways):

In other news, we’ve started planning the “airplane end game” since we have been making visible progress, and it has inspired us to try to finish by the end of the year. In our rough estimates, we have another 160 build sessions to go (not counting painting), so it does sound feasible to finish by the end of the year if we really lean into it. Maybe we will do Phase 1 flight testing with a couch cushion and unpainted airframe, TBD.
How about you, dear readers? Are you finishing up or just getting started? What Spring festivities are y’all participating in? Leave a comment below!
#fuselage #undercarriage