
CORROSION ALERT!!!!?!!...and we cut an inspection hatch
In this week’s post in our increasingly intermittent blog, we feel good about progress made and bad about (shock!) corrosion found.
We somehow we feel we’re either the luckiest or the unluckiest members of the Sling community. No one else has talked about finding corrosion on their “super resistant to corrosion” 6061 aluminum alloy, and yet, we’ve found lots! Mostly starting as filliform corrosion on the aluminum under the factory plastic.
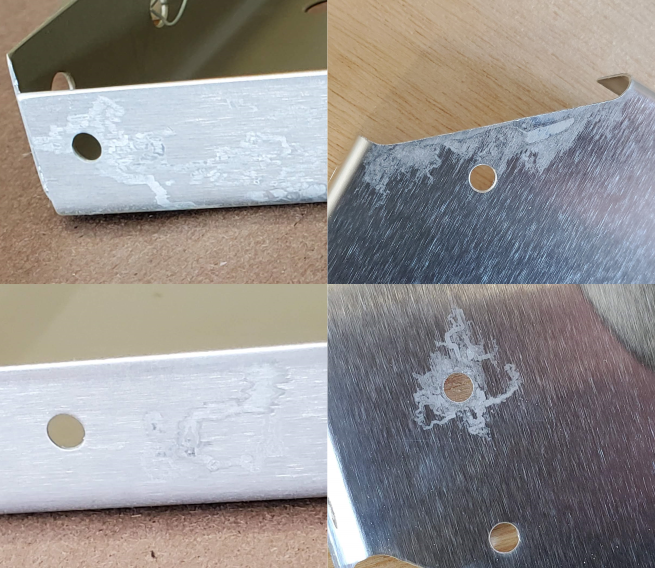
No clue what’s going on here. The corrosion is more advanced on some parts and less on others, but its been sort of ominipresent on the wing kit (perhaps because its been lying so long in the hangar?). We’ve been Scotch-briting it off before priming at the advice of our friend who actually is a “certified corrosion expert”. At this level its not supposed to be a big deal, but its definitely been freaking us out and made us really glad we’re priming our parts and discovering this stuff here as opposed to when its flying.
In more positive news, we’ve been lucky to have lots of help this past month from our incredible friends. Thanks in particular go to Bryan, Andrew, Jonathan, my family, and Teja!
Someone noted that if you knew what you were doing you could finish a wing in a week - we’re currently ~12 weeks into the wing kit so honestly its gonna take us eternity to finish. But it feels like we’re making progress! We’re finally starting on the fuel tanks this week, which sounds like its gonna be its own kind of challenge. We’ve found numerous mistakes in the manual, but honestly at this point its starting to feel routine. There’s 3.2 mm rivets instead of 4.0 mm rivets affixing the landing gear rib onto the spar, they never specify at what point you’re supposed to add a nut to the bolts you put into the spar, the list of ribs you’re supposed to dimple for the fuel tank is clearly a mess, and in our version of the manual they didn’t specify what you should with the main spar strengthener thingies (this is the only mistake out of all of these listed that has been fixed in the latest version of the manual).
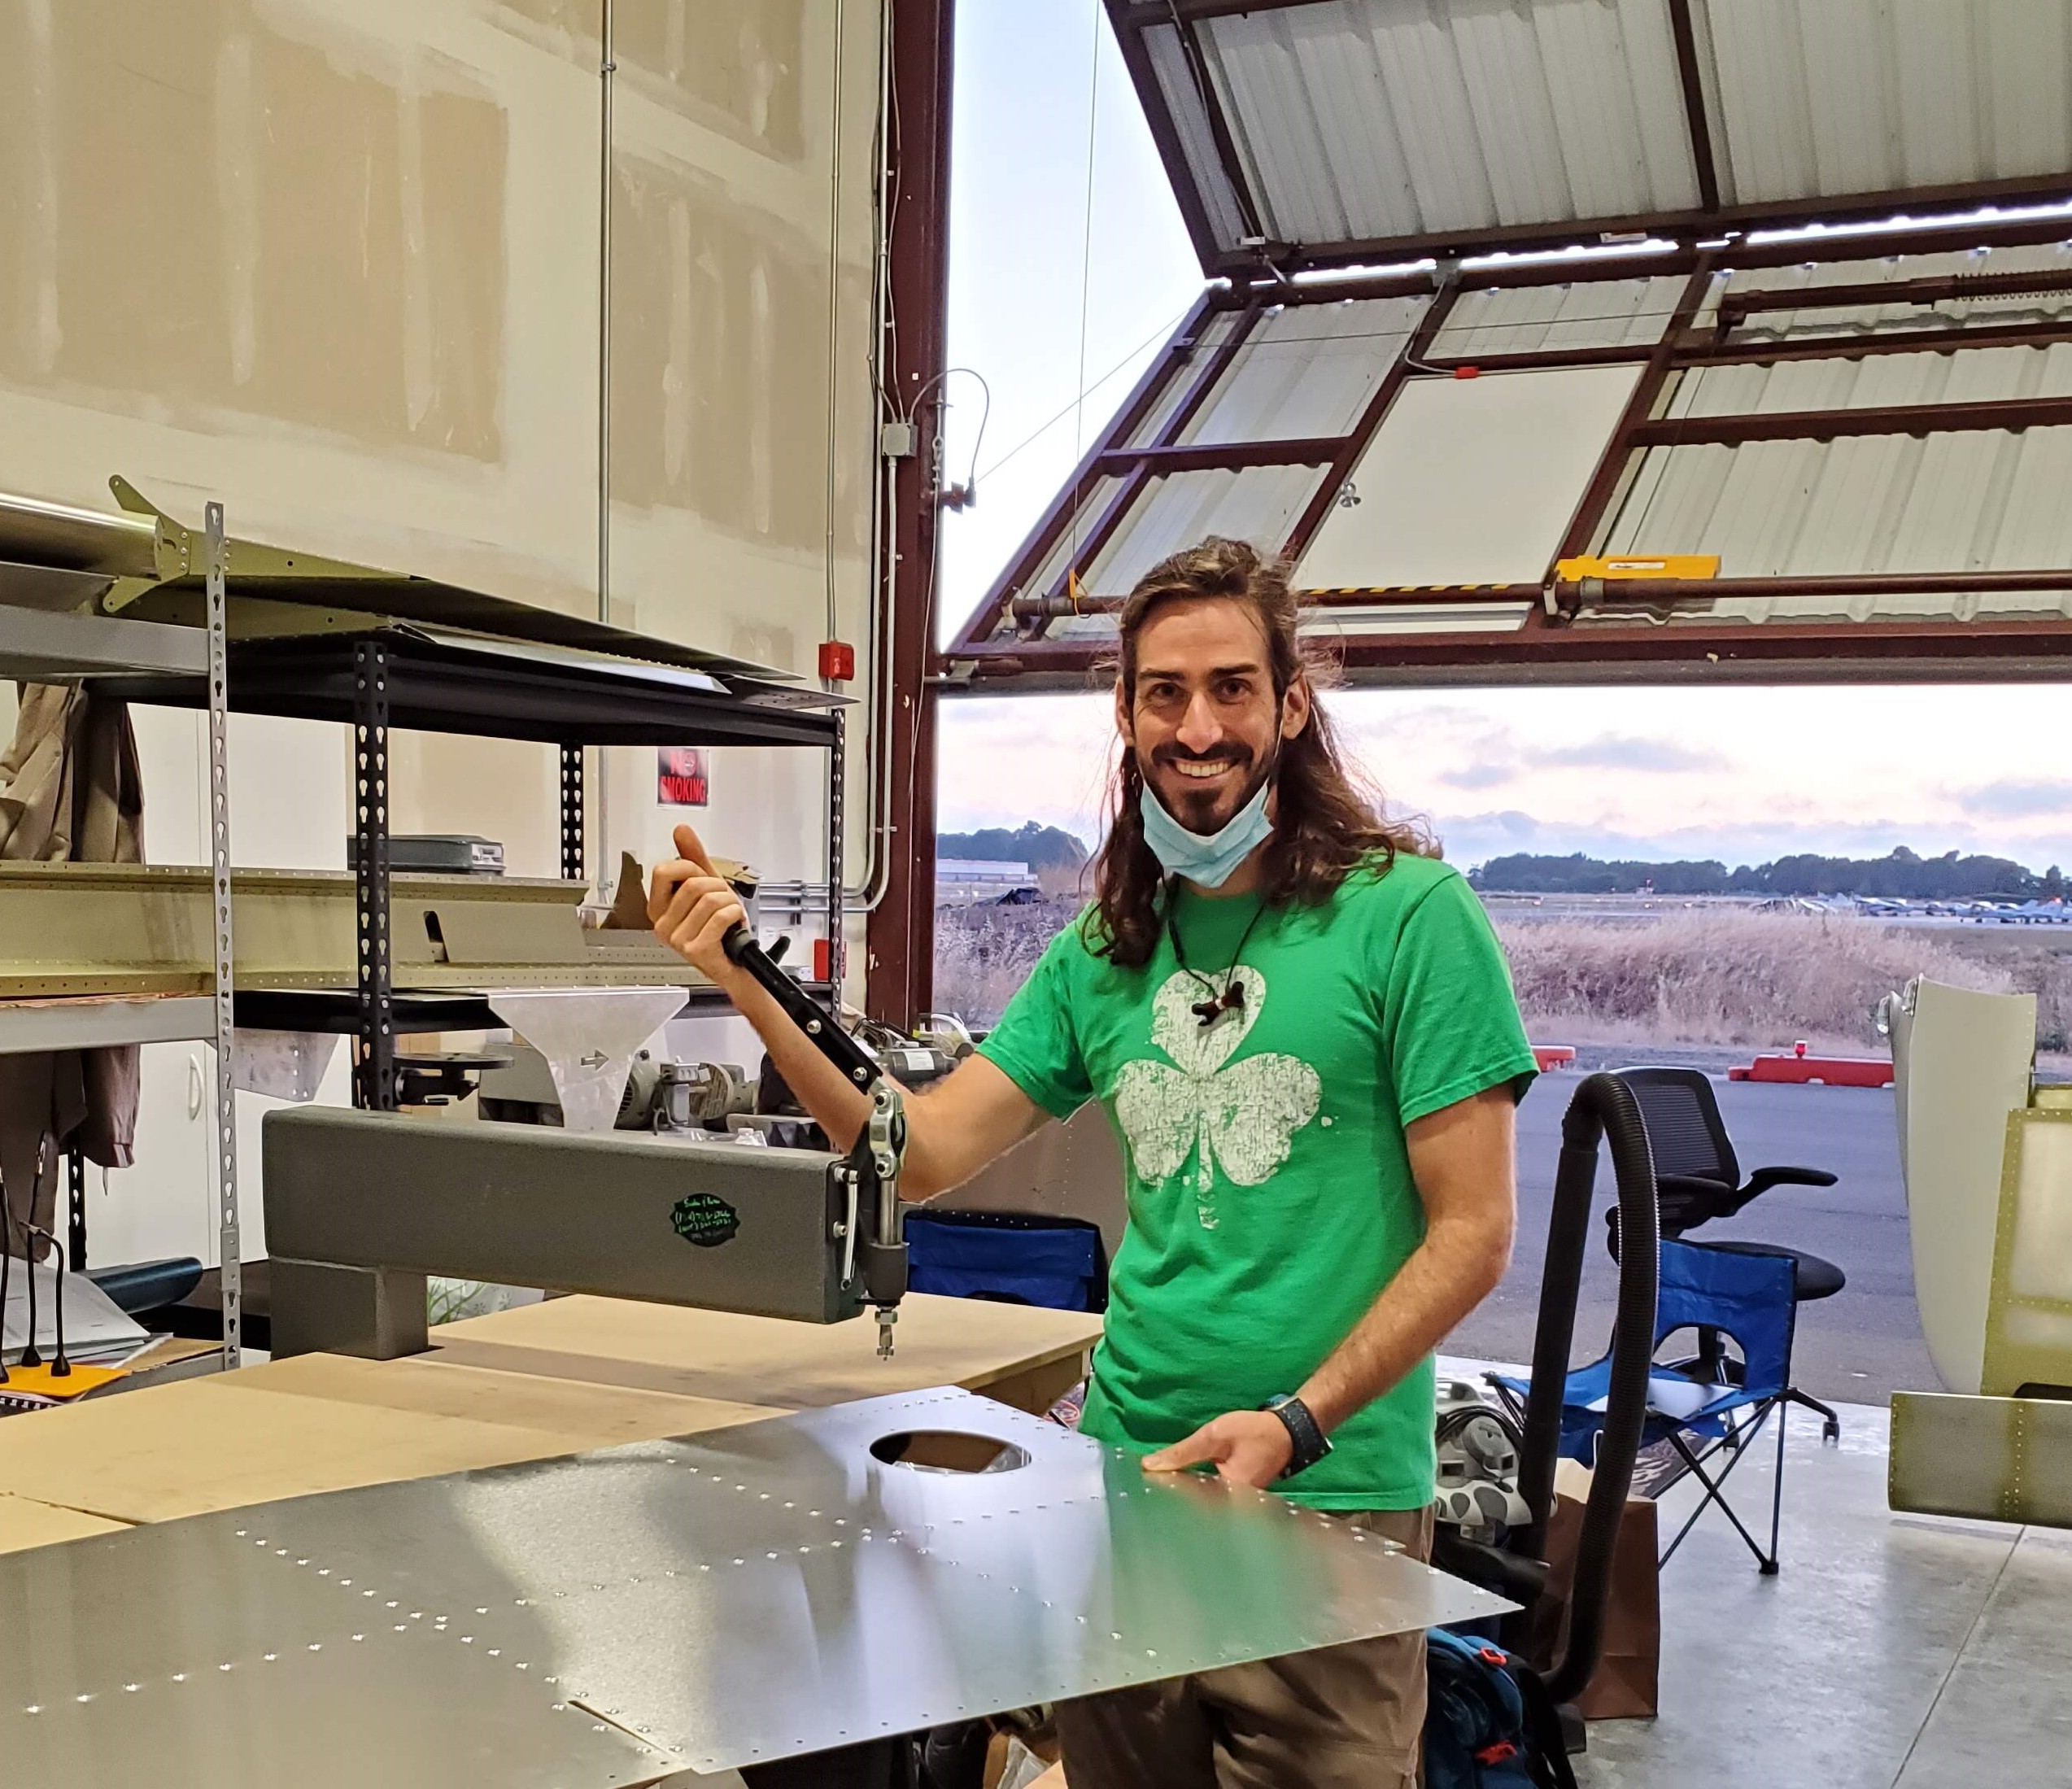
Finally, we cut an inspection hatch in the right wing skin for the pitot tube regulator, inspired by Philip’s definitely nicer looking hole. You can see the video of our process here:
I was debating between the official title in youtube and “idiots with jigsaws” but you know, we tried. The result wasn’t awful. Claude had a much better process for those who are cutting their inspection hatch from the unrivetted skin - you can use a super-glued wooden template and a grinding tool. This gives a very nice circle (no pictures but imagine a circle as epic as the circle of life).
That’s all for this week’s post - honestly will attempt to be more on top of these guys but at this point no promises. How are you doing, fellow builders and creative types? Feeling like you’re on top of the process or drowning in all the crazy? Leave a comment!
#wings