
Wings are done! On a roll with the fuselage!
Hello, dear readers! Yes, it’s been over six months since our last post, but progress is still being made!
August - almost the end of summer, so almost the end of priming season :) After a long wait, we finally received our fuselage in May. Hard to blame TAF though, since we only finished the wings in late July :) The inventory took a while but was worth it since we discovered ~10 missing parts. Check your inventory first thing everyone!
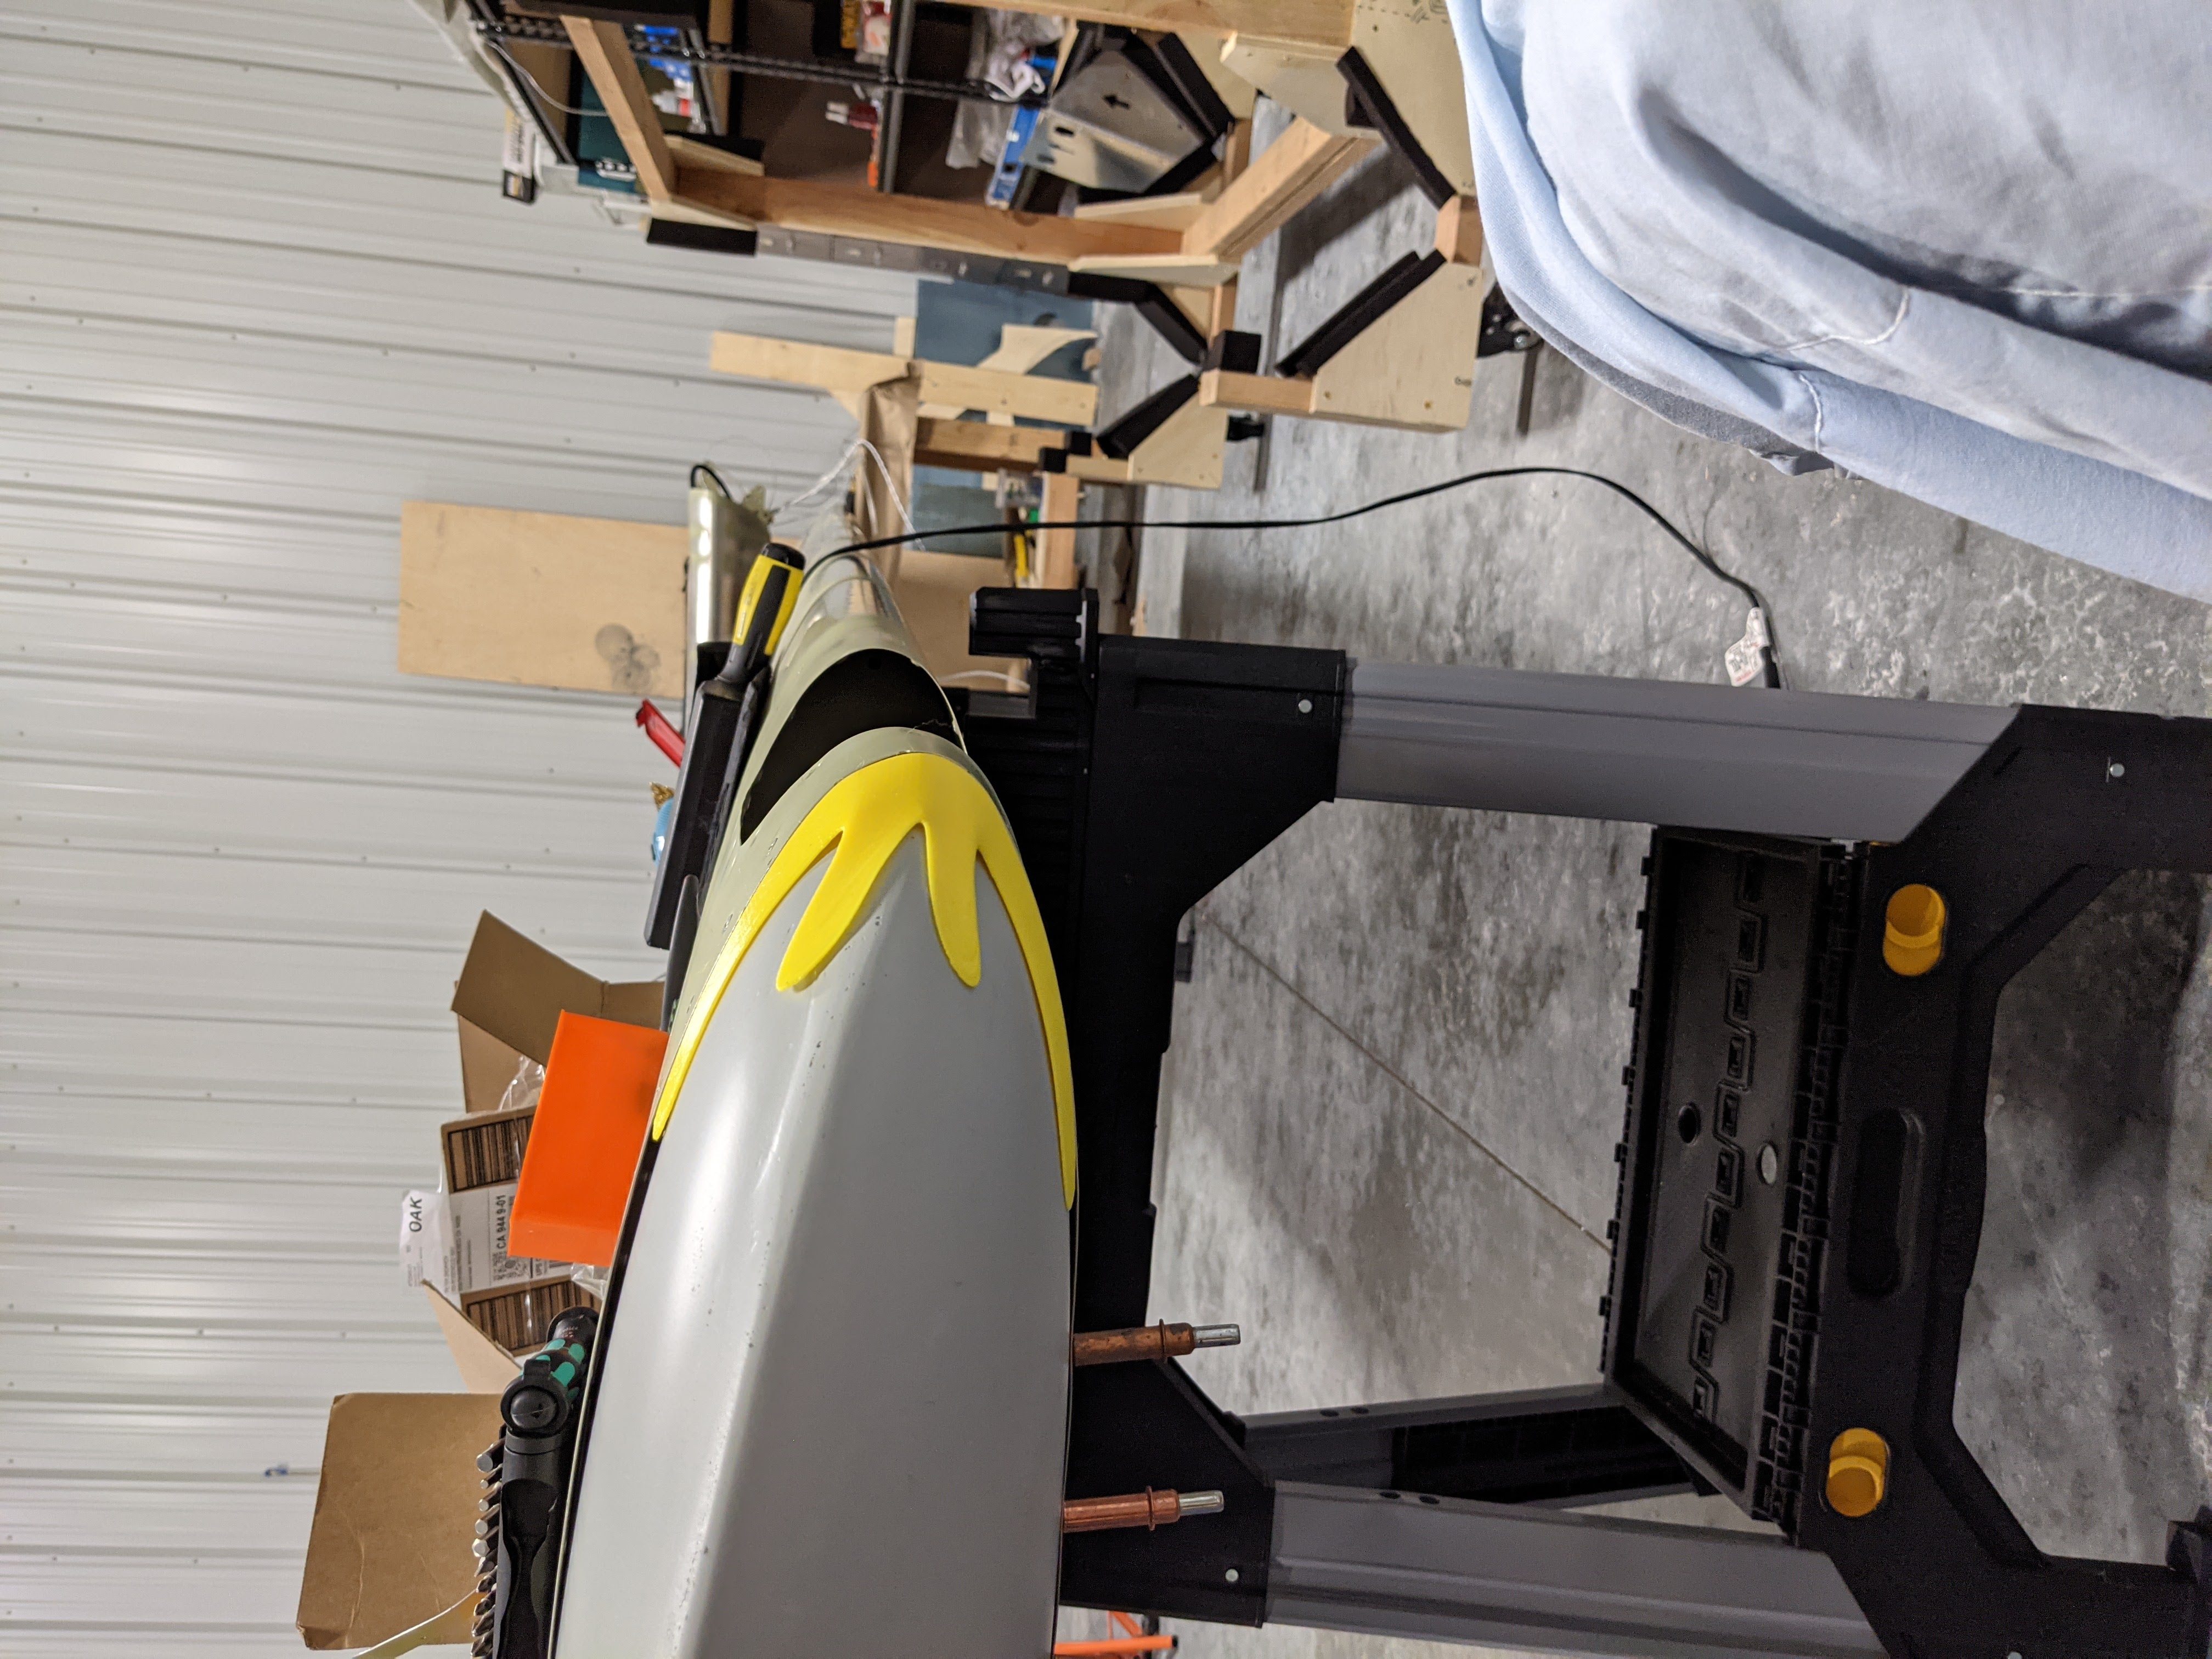
The biggest hurdles in finishing the wings were the wingtips - we’ll make a youtube video about it, but we ended up with a gap between the fiberglass part and the metal part.
Claude ended up with this gap too. We read on the Sling FB group that this gap could be due to the fiberglass riding up the wing rivets, but we checked with a boroscope and everything seemed in line. Claude filled his gaps with extra epoxy, but we’d read that this wasn’t really an ideal solution since the epoxy tends to shake and the paint on top of it will crack. Peter ended up designing a 3D printed part (that will hopefully match our color scheme) that fit in the gap, so that it was artfully hidden. This part took like 30 print iterations to get right, but we think the end result looks pretty nice!
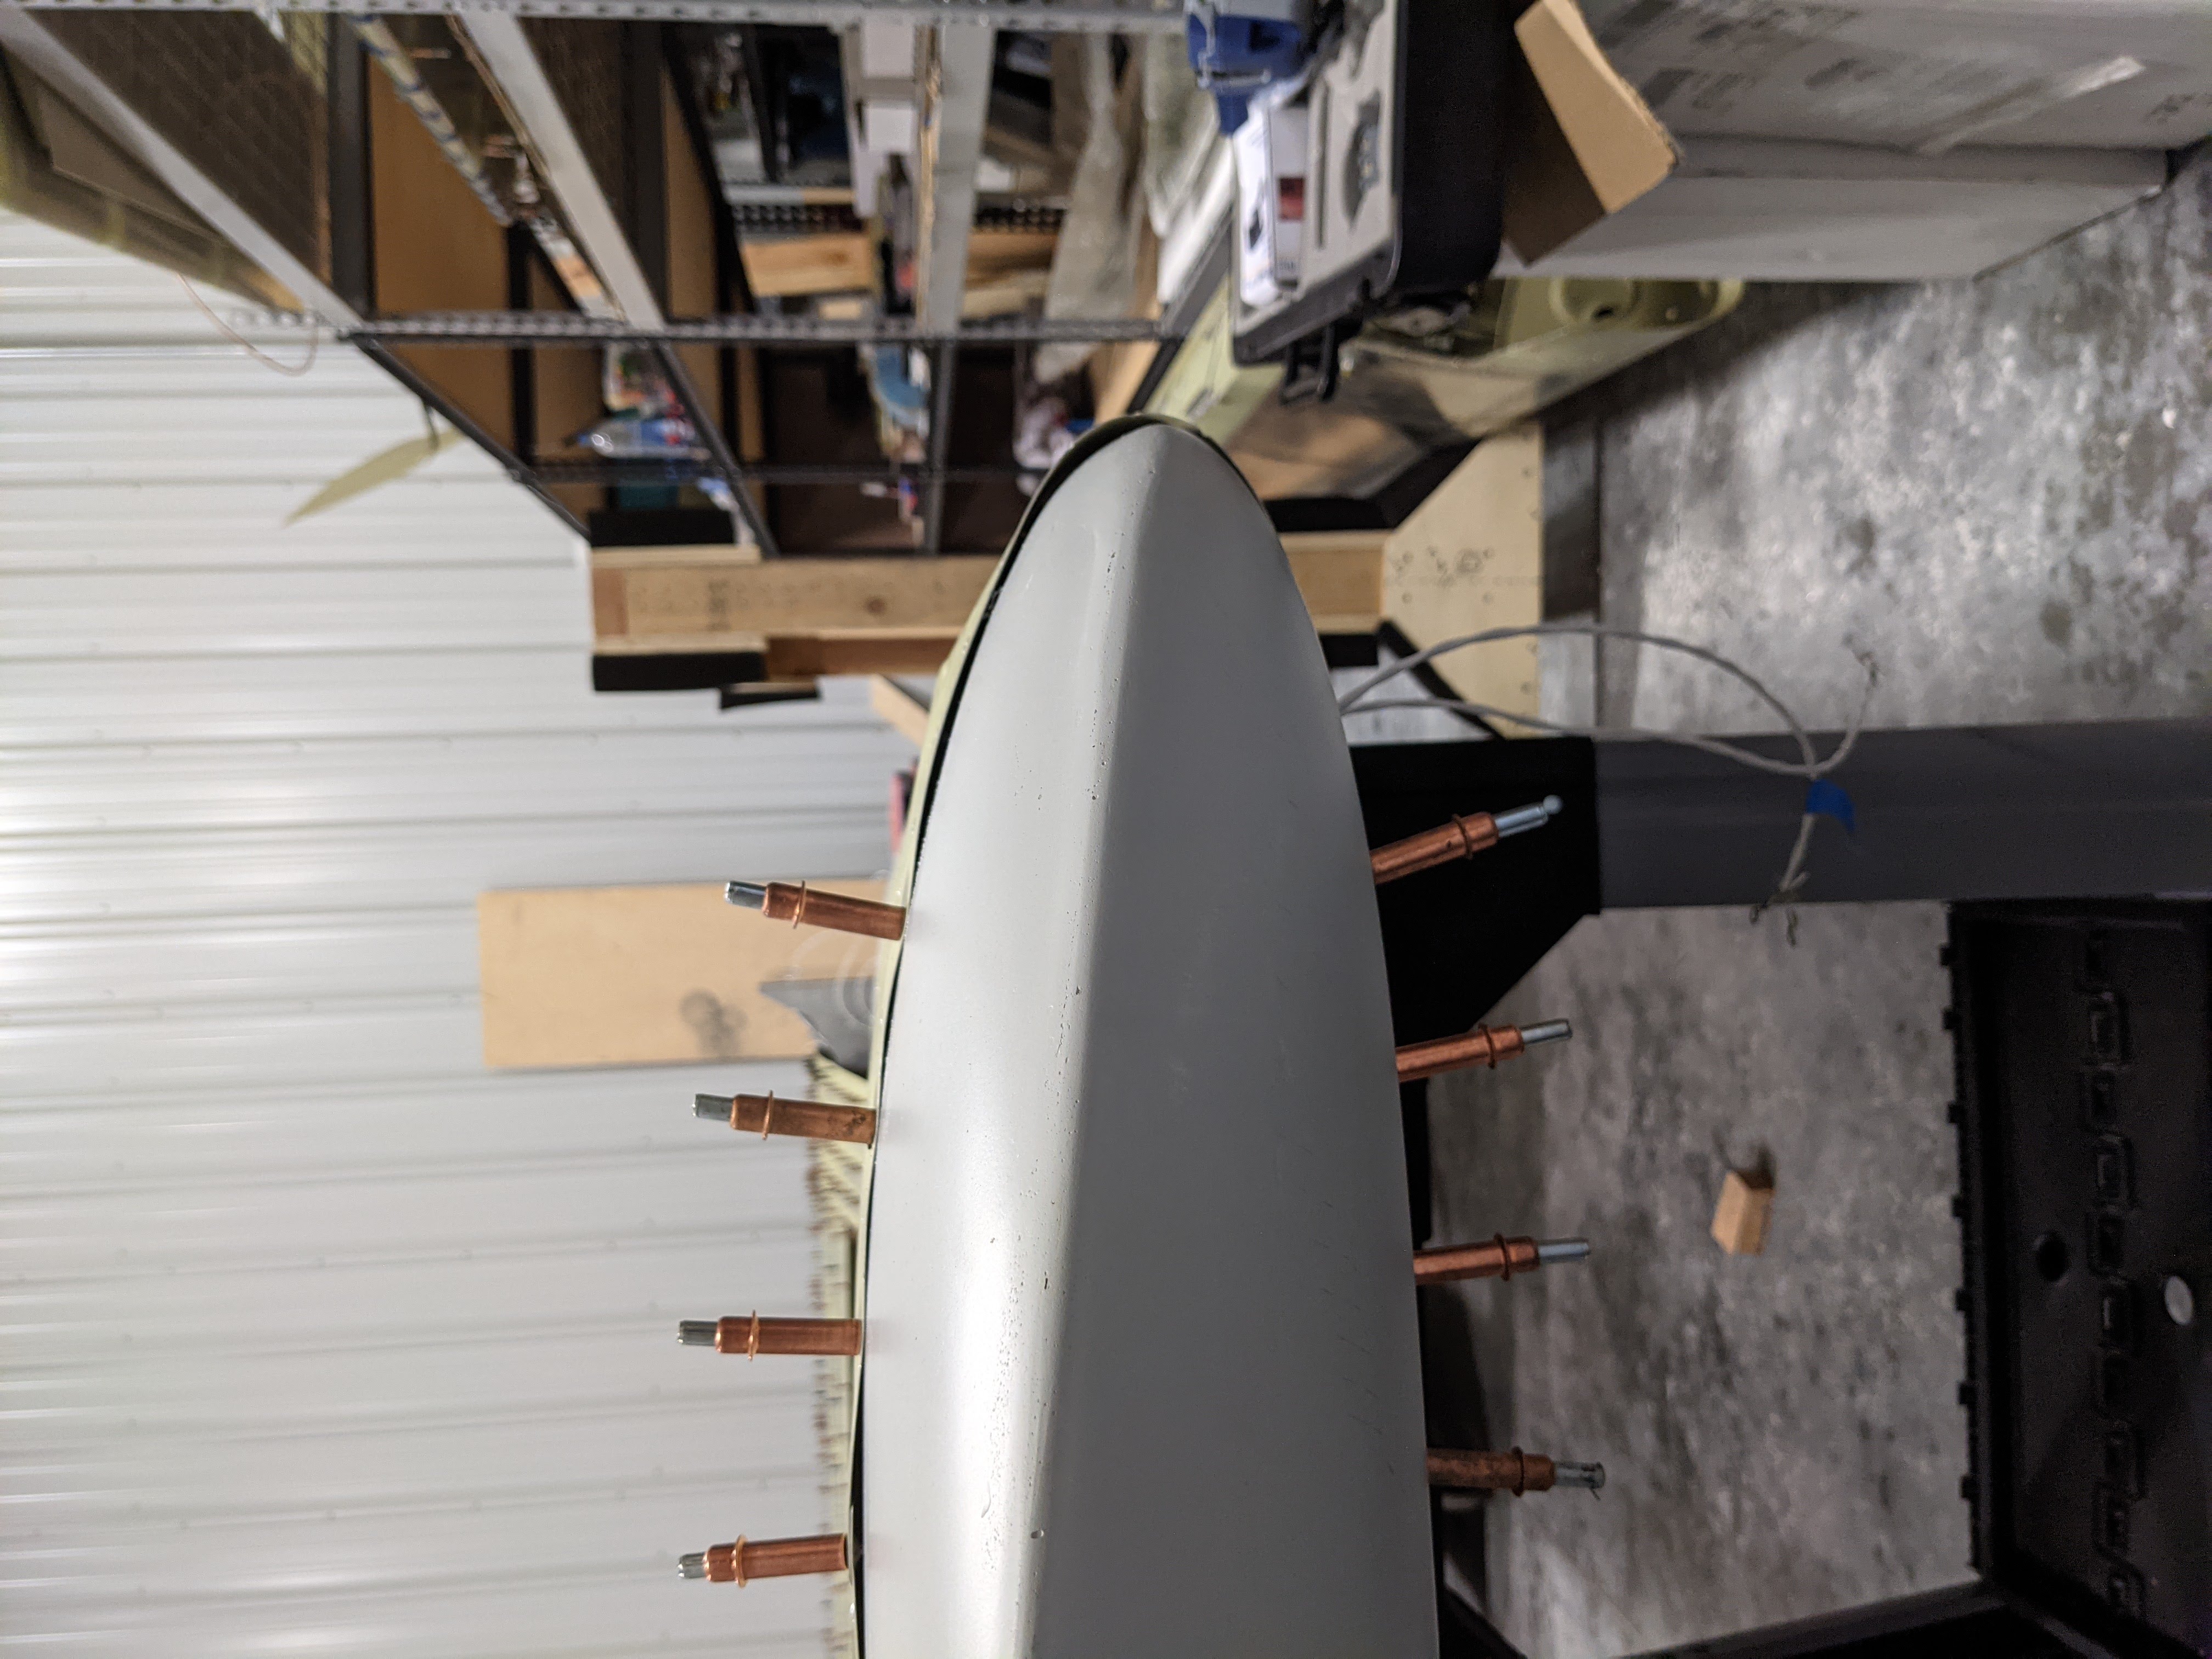
While fitting the wing tips, we noticed something else - last two rivets at the top and bottom of the wing spar were missing!

When the last wing rib is installed, these rivets are a major pain to put in - there is not enough room to get rivet gun to the rivet heads (through the rib nor through the landing light opening). We noticed the issue too late on the right wing, and gave up after installing two rivets out of 4. With the left wing, we already knew the drill and installed these rivets before putting the last rib in.
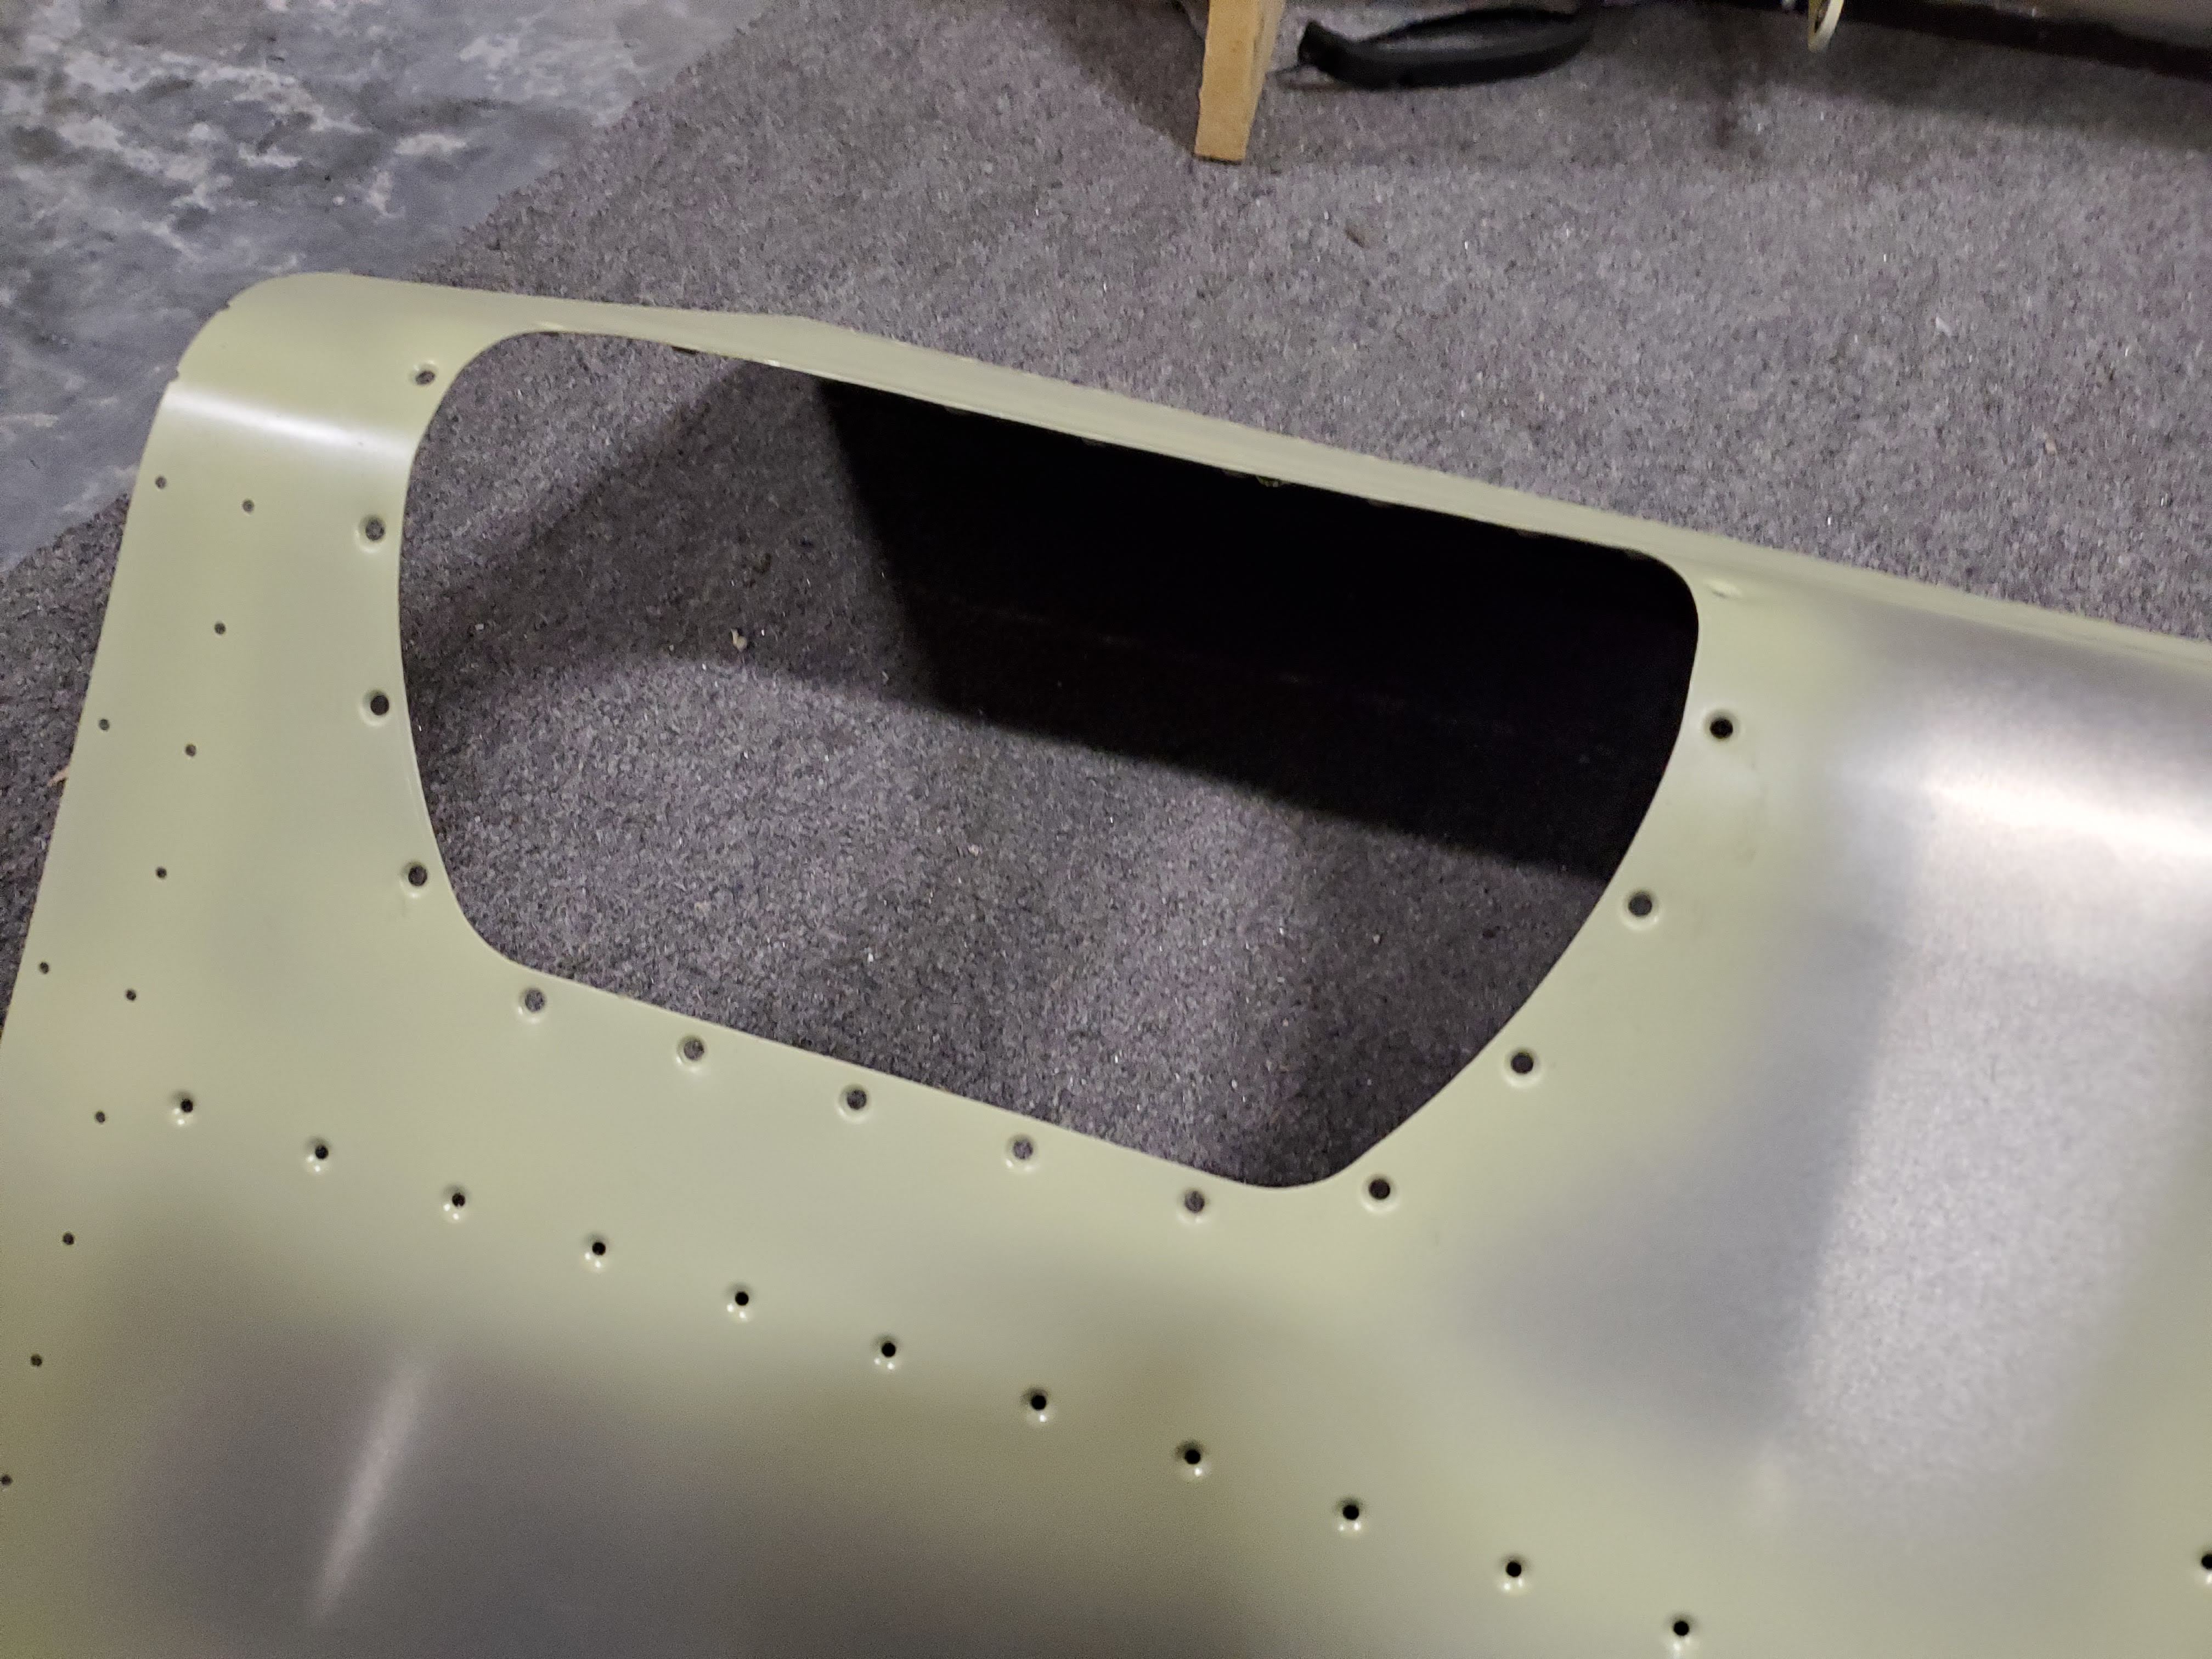
We also modified the landing/taxi light lenses to make them easier to take on/off without using the sheet metal screws recommended in the manual (which we were worried would eventually deform the skin). We riveted nut-plates onto the supporting aluminum strip and then used countersunk screws to secure the whole contraption together inside the wing. We had a whole debate about which size of CS screws would work best too - we tried long ones, short ones, phillips head ones, hex ones. The best combination ended up being 1” carbon steel CS screws with hex heads. As long as fresh hex bits are used to take them on/off, they don’t strip and they come on/off ok. Finally, we also countersunk the lens itself so that it would fit under the dimpled part of the wing.
We also modified the landing/taxi light lenses to make them easier to take on/off without using the sheet metal screws recommended in the manual (which we were worried would eventually deform the skin). The process was as follows (not an easy process guys):
-
We dimpled the landing light screw holes on the leading edge skin of the wing.
-
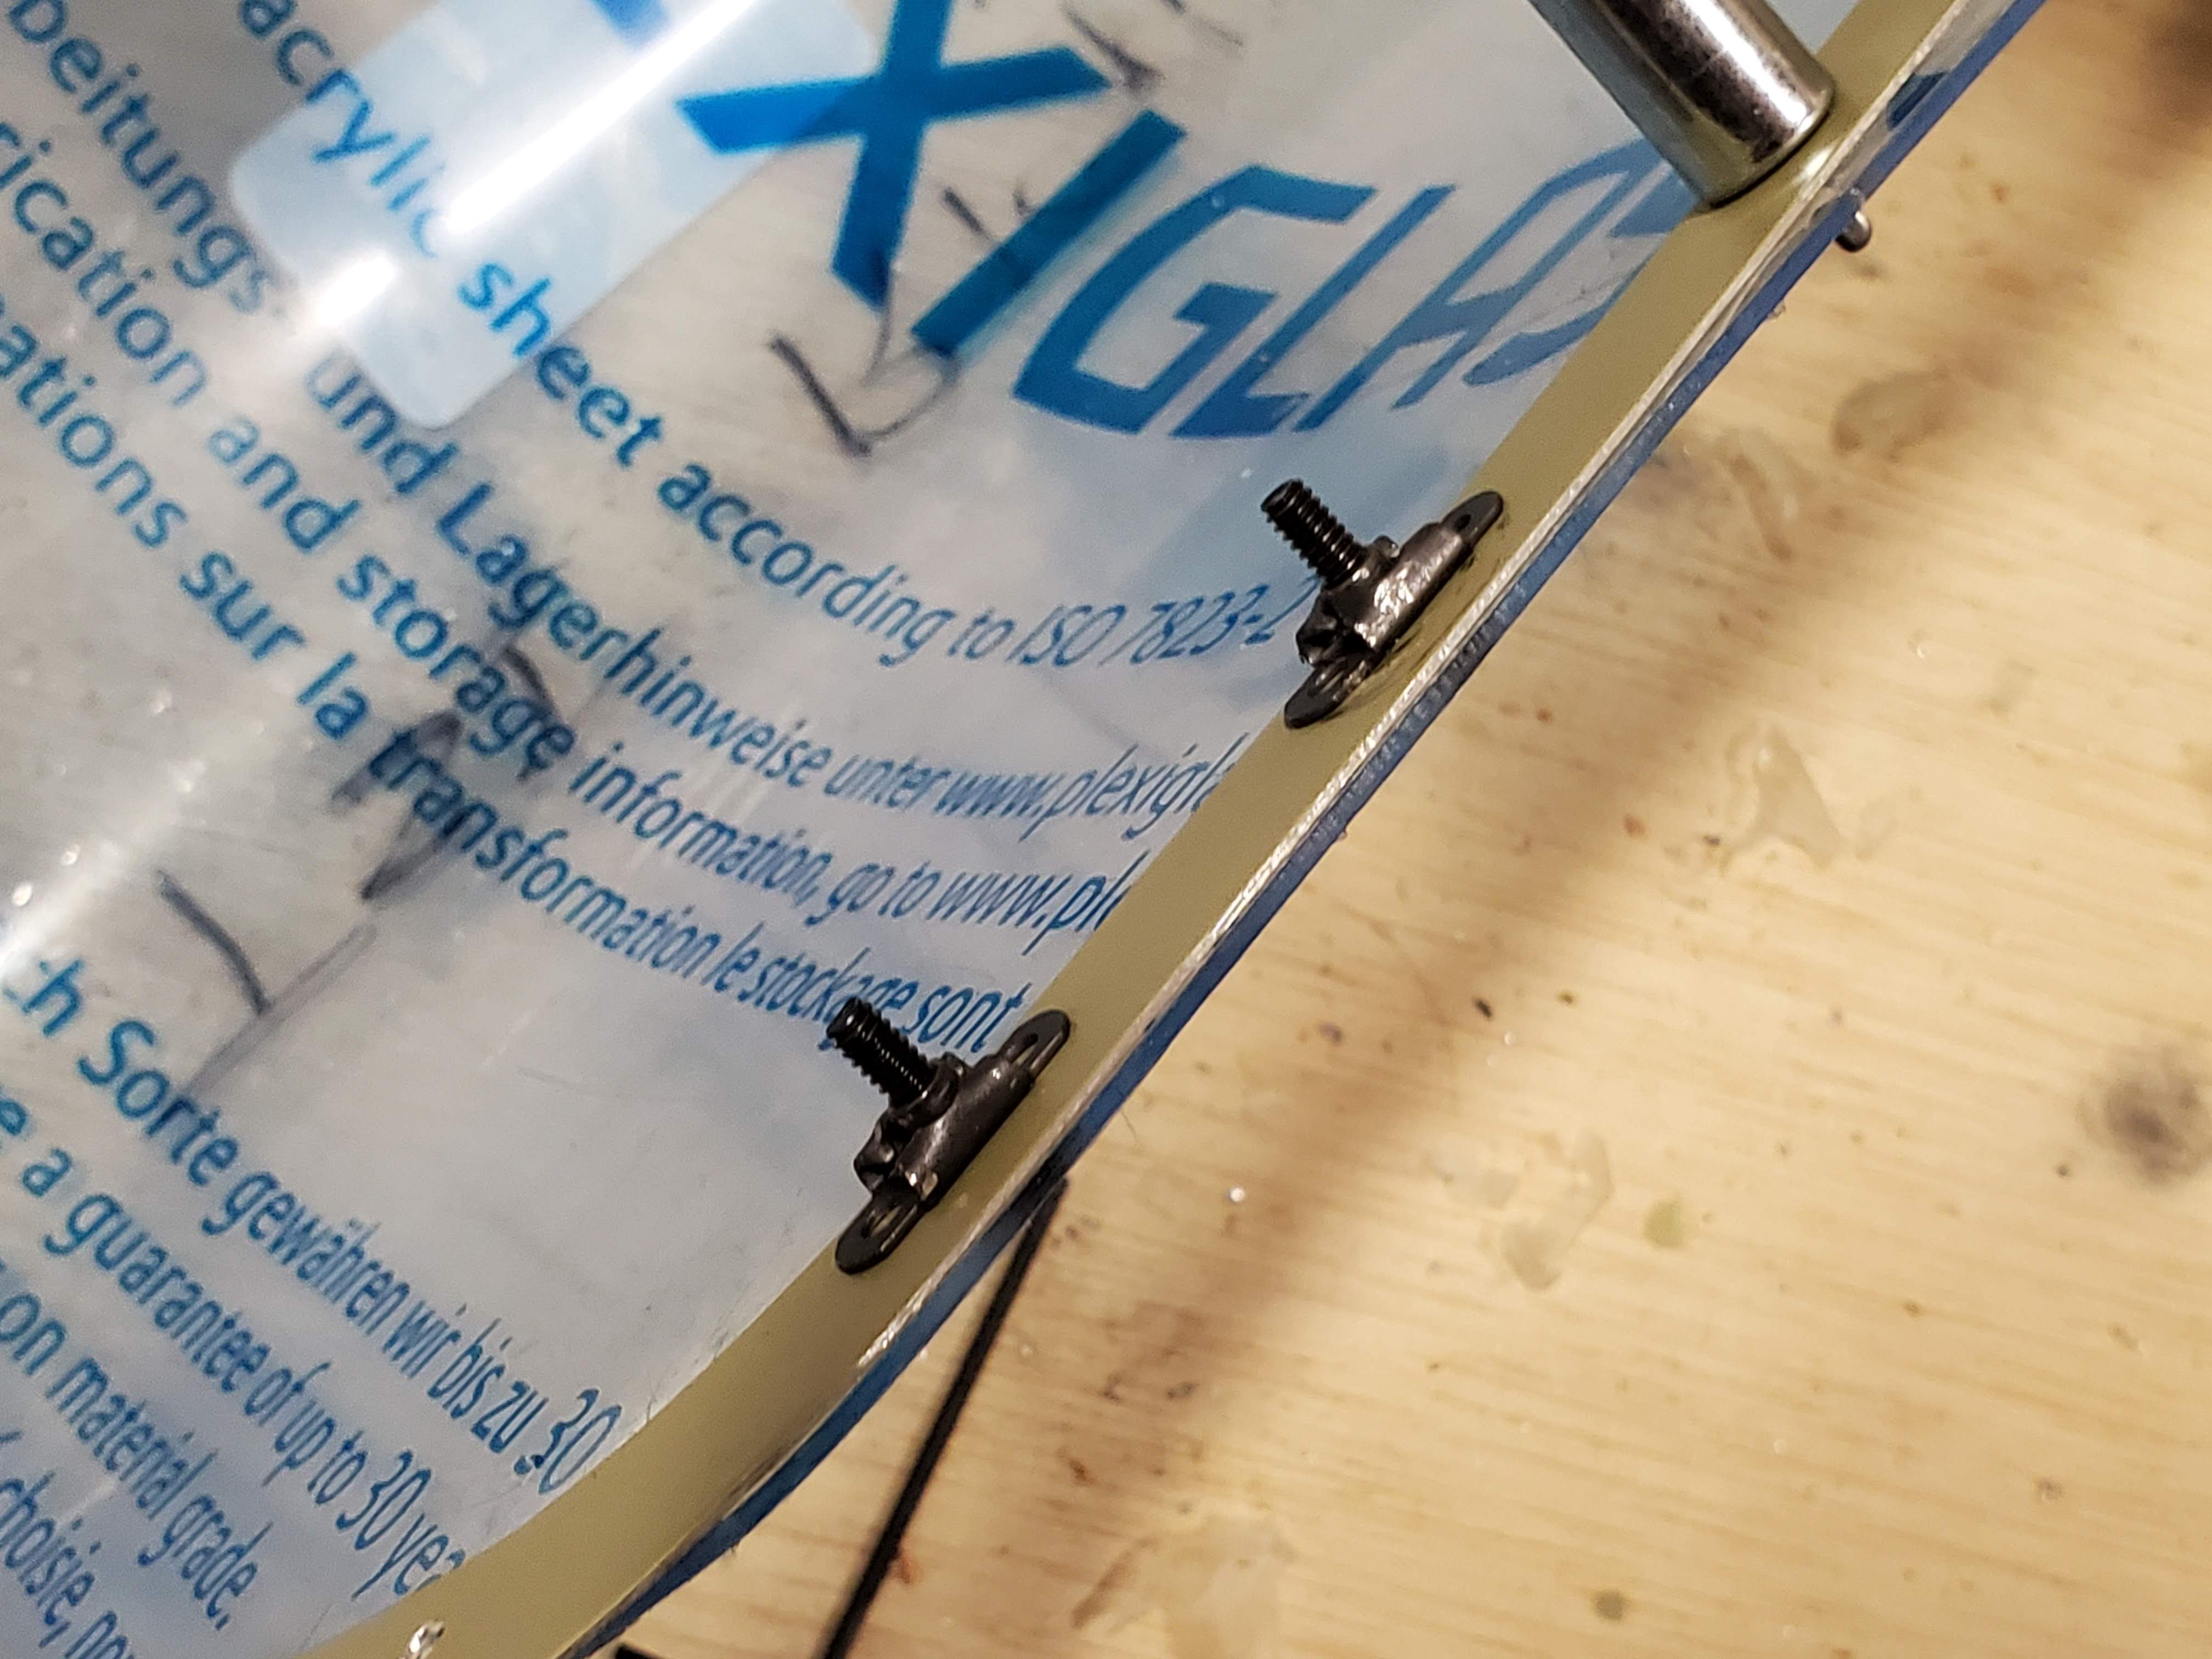
We screwed nut-plates onto a sandwich of the supporting aluminum strip and landing light lens - like this:
-
We drilled one hole for one of the nut-plate rivets through the sandwich.
-
We clecod that and drilled the other hole.
-
We flip the construction over and countersunk the lens (both screw holes and rivet holes). This does require different CS sizes so don’t get mixed up :)
-
We rivet the nut-plates with tiny CS rivets - this step took iteration because some of the CSs resulted in the CS rivet heads overlapping with the screw hole. We polished the heads down with a deburring wheel.
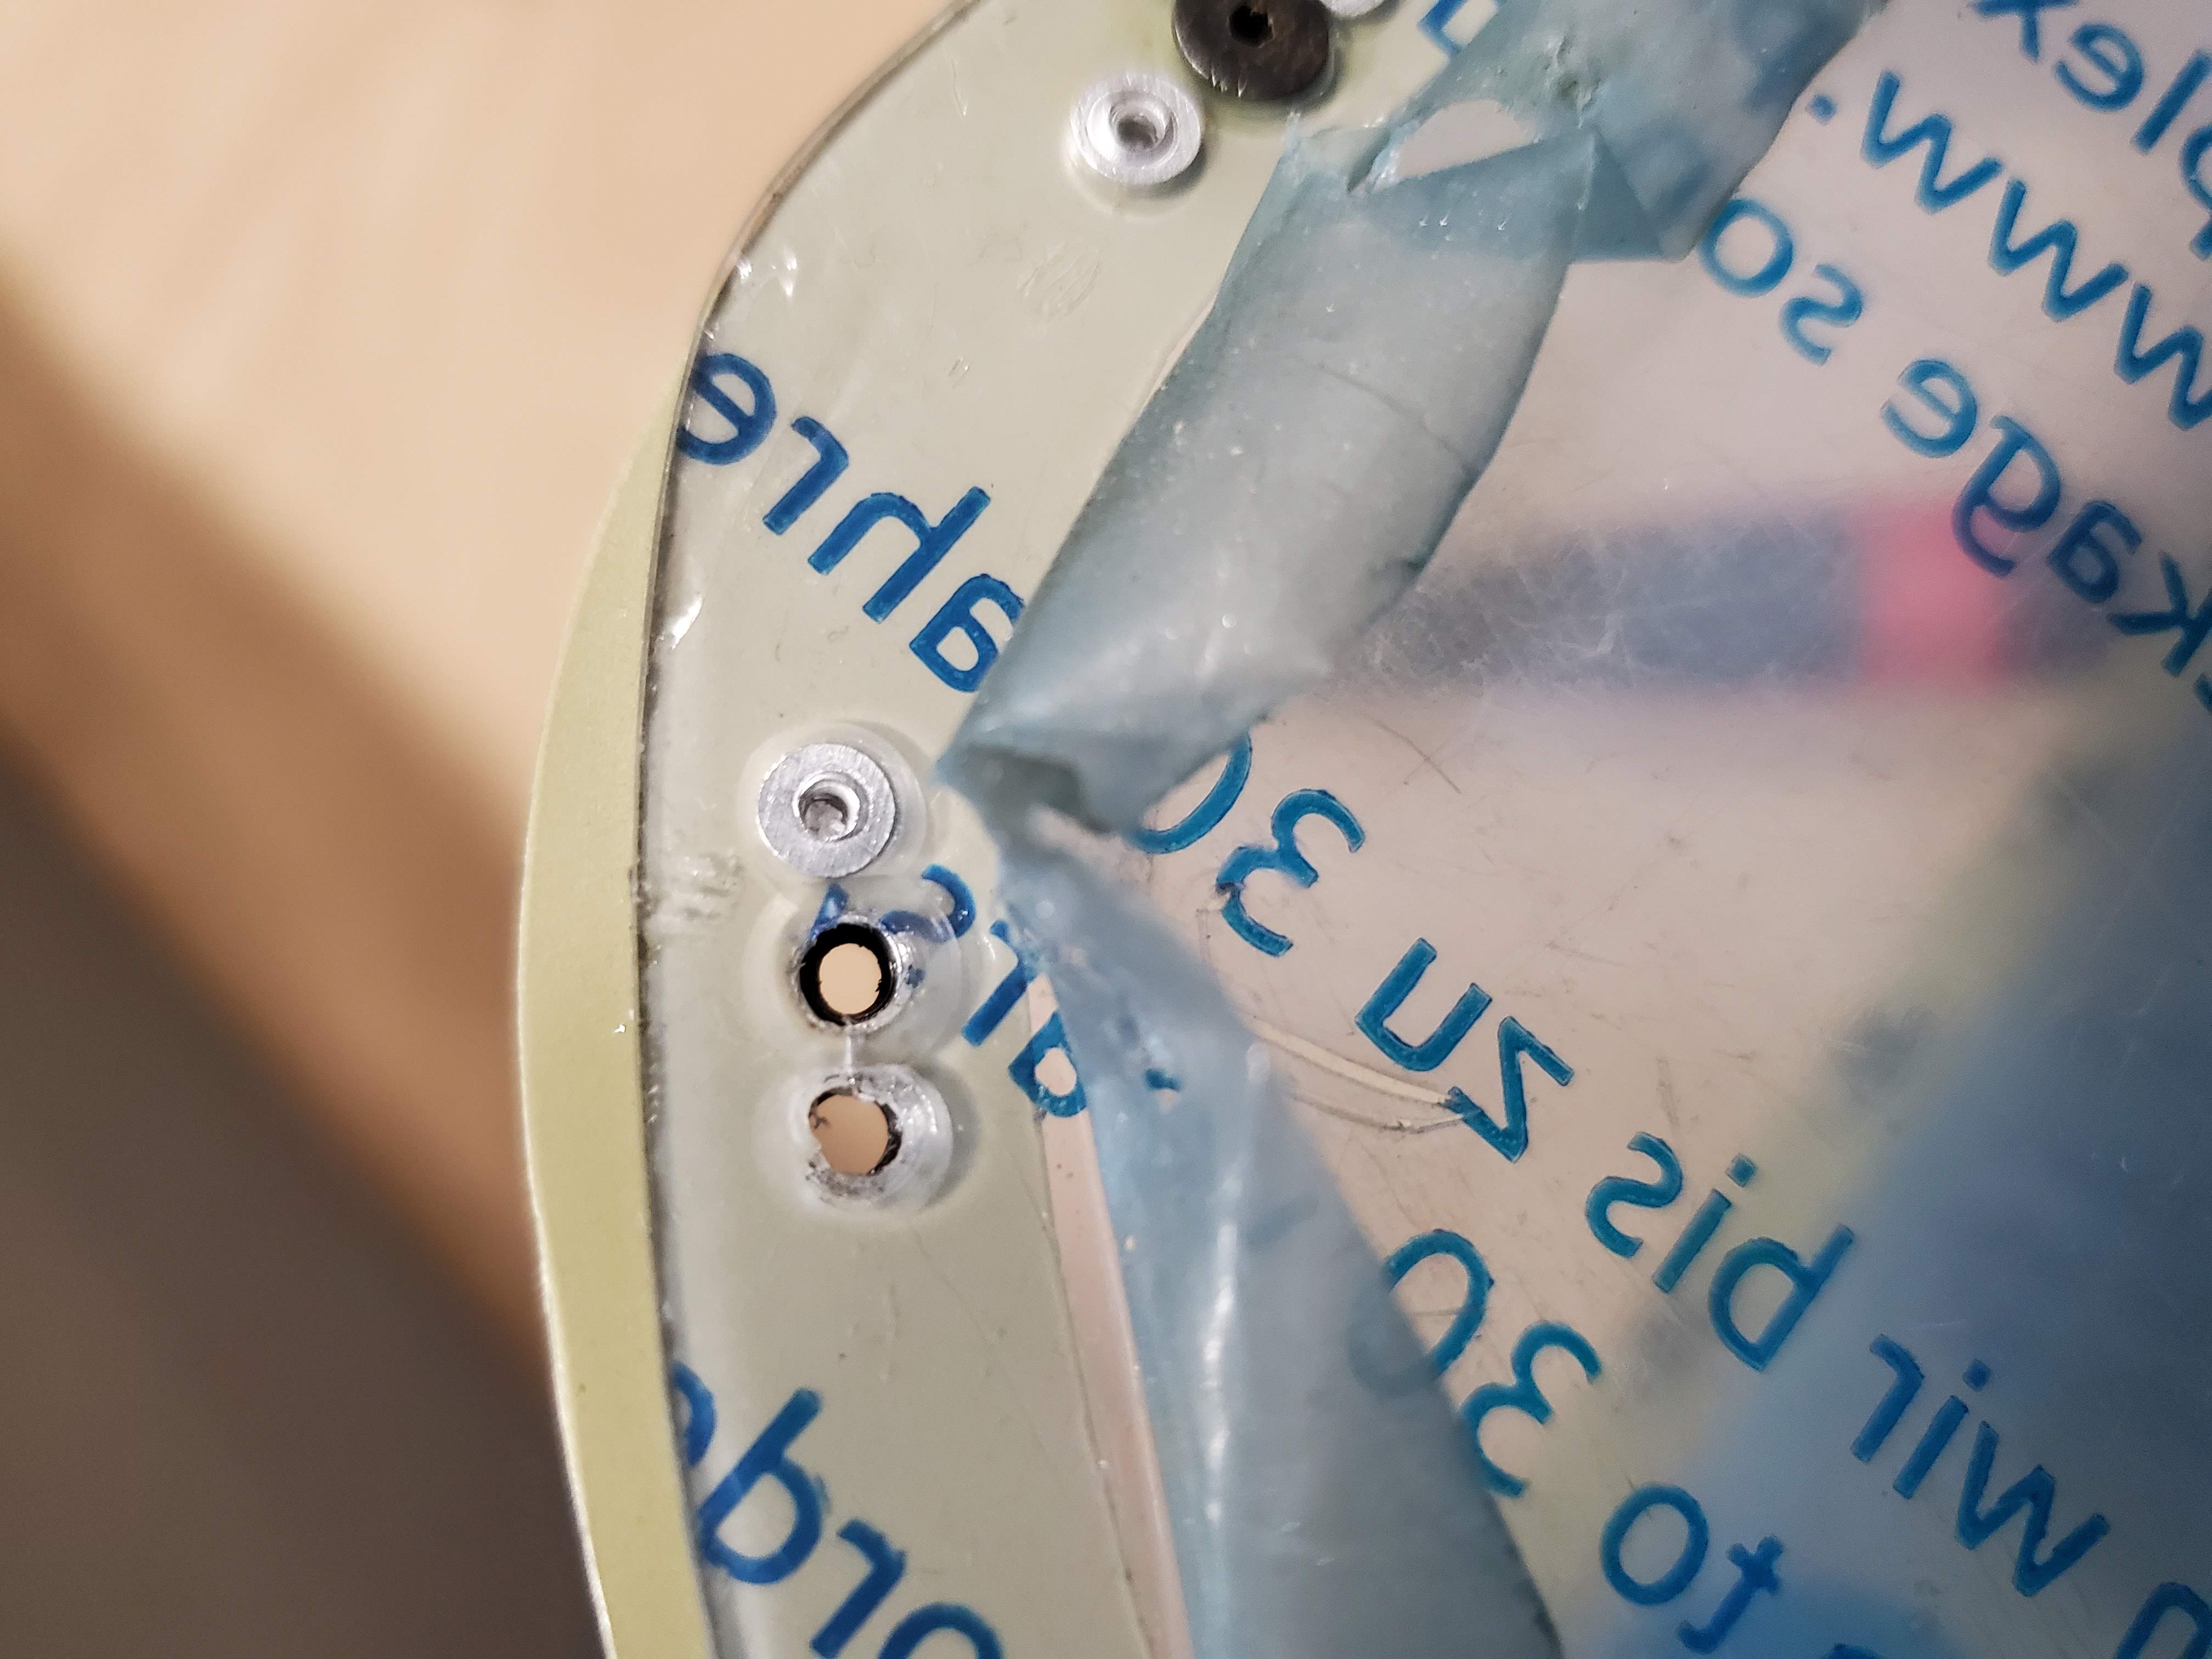
(also, we recommend not repeating a mistake in this photo and removing protective plastic before riveting plexiglass, support strip and nutplate together)
-
We then stuck the assembly into the wing and screwed it in with CS screws. This required a certain order of screws, as, due to plexiglass springiness, the holes don’t really align very well. The procedure went like this - align the top holes first, then stick a hand and grab the lower edge of the landing light lens closer to the skin, then install screws in the middle, then take the hand out and install screws at the bottom. We had a whole debate about which size of CS screws would work best too - we tried long ones, short ones, phillips head ones, hex ones. The best combination ended up being 1” carbon steel CS screws with hex heads. As long as fresh hex sockets are used to take them on/off, they don’t strip and they come on/off ok.
And tada! A beautiful flush landing light lens! (will add the picture later here)
This modification took a lot of effort, and neither of us are convinced it works better than sheet metal screws, but it gets the job done and it looks nice and flush! It was also really not obvious which side of the strip corresponded to which side of the wing and it took us a couple of tries to figure it out.
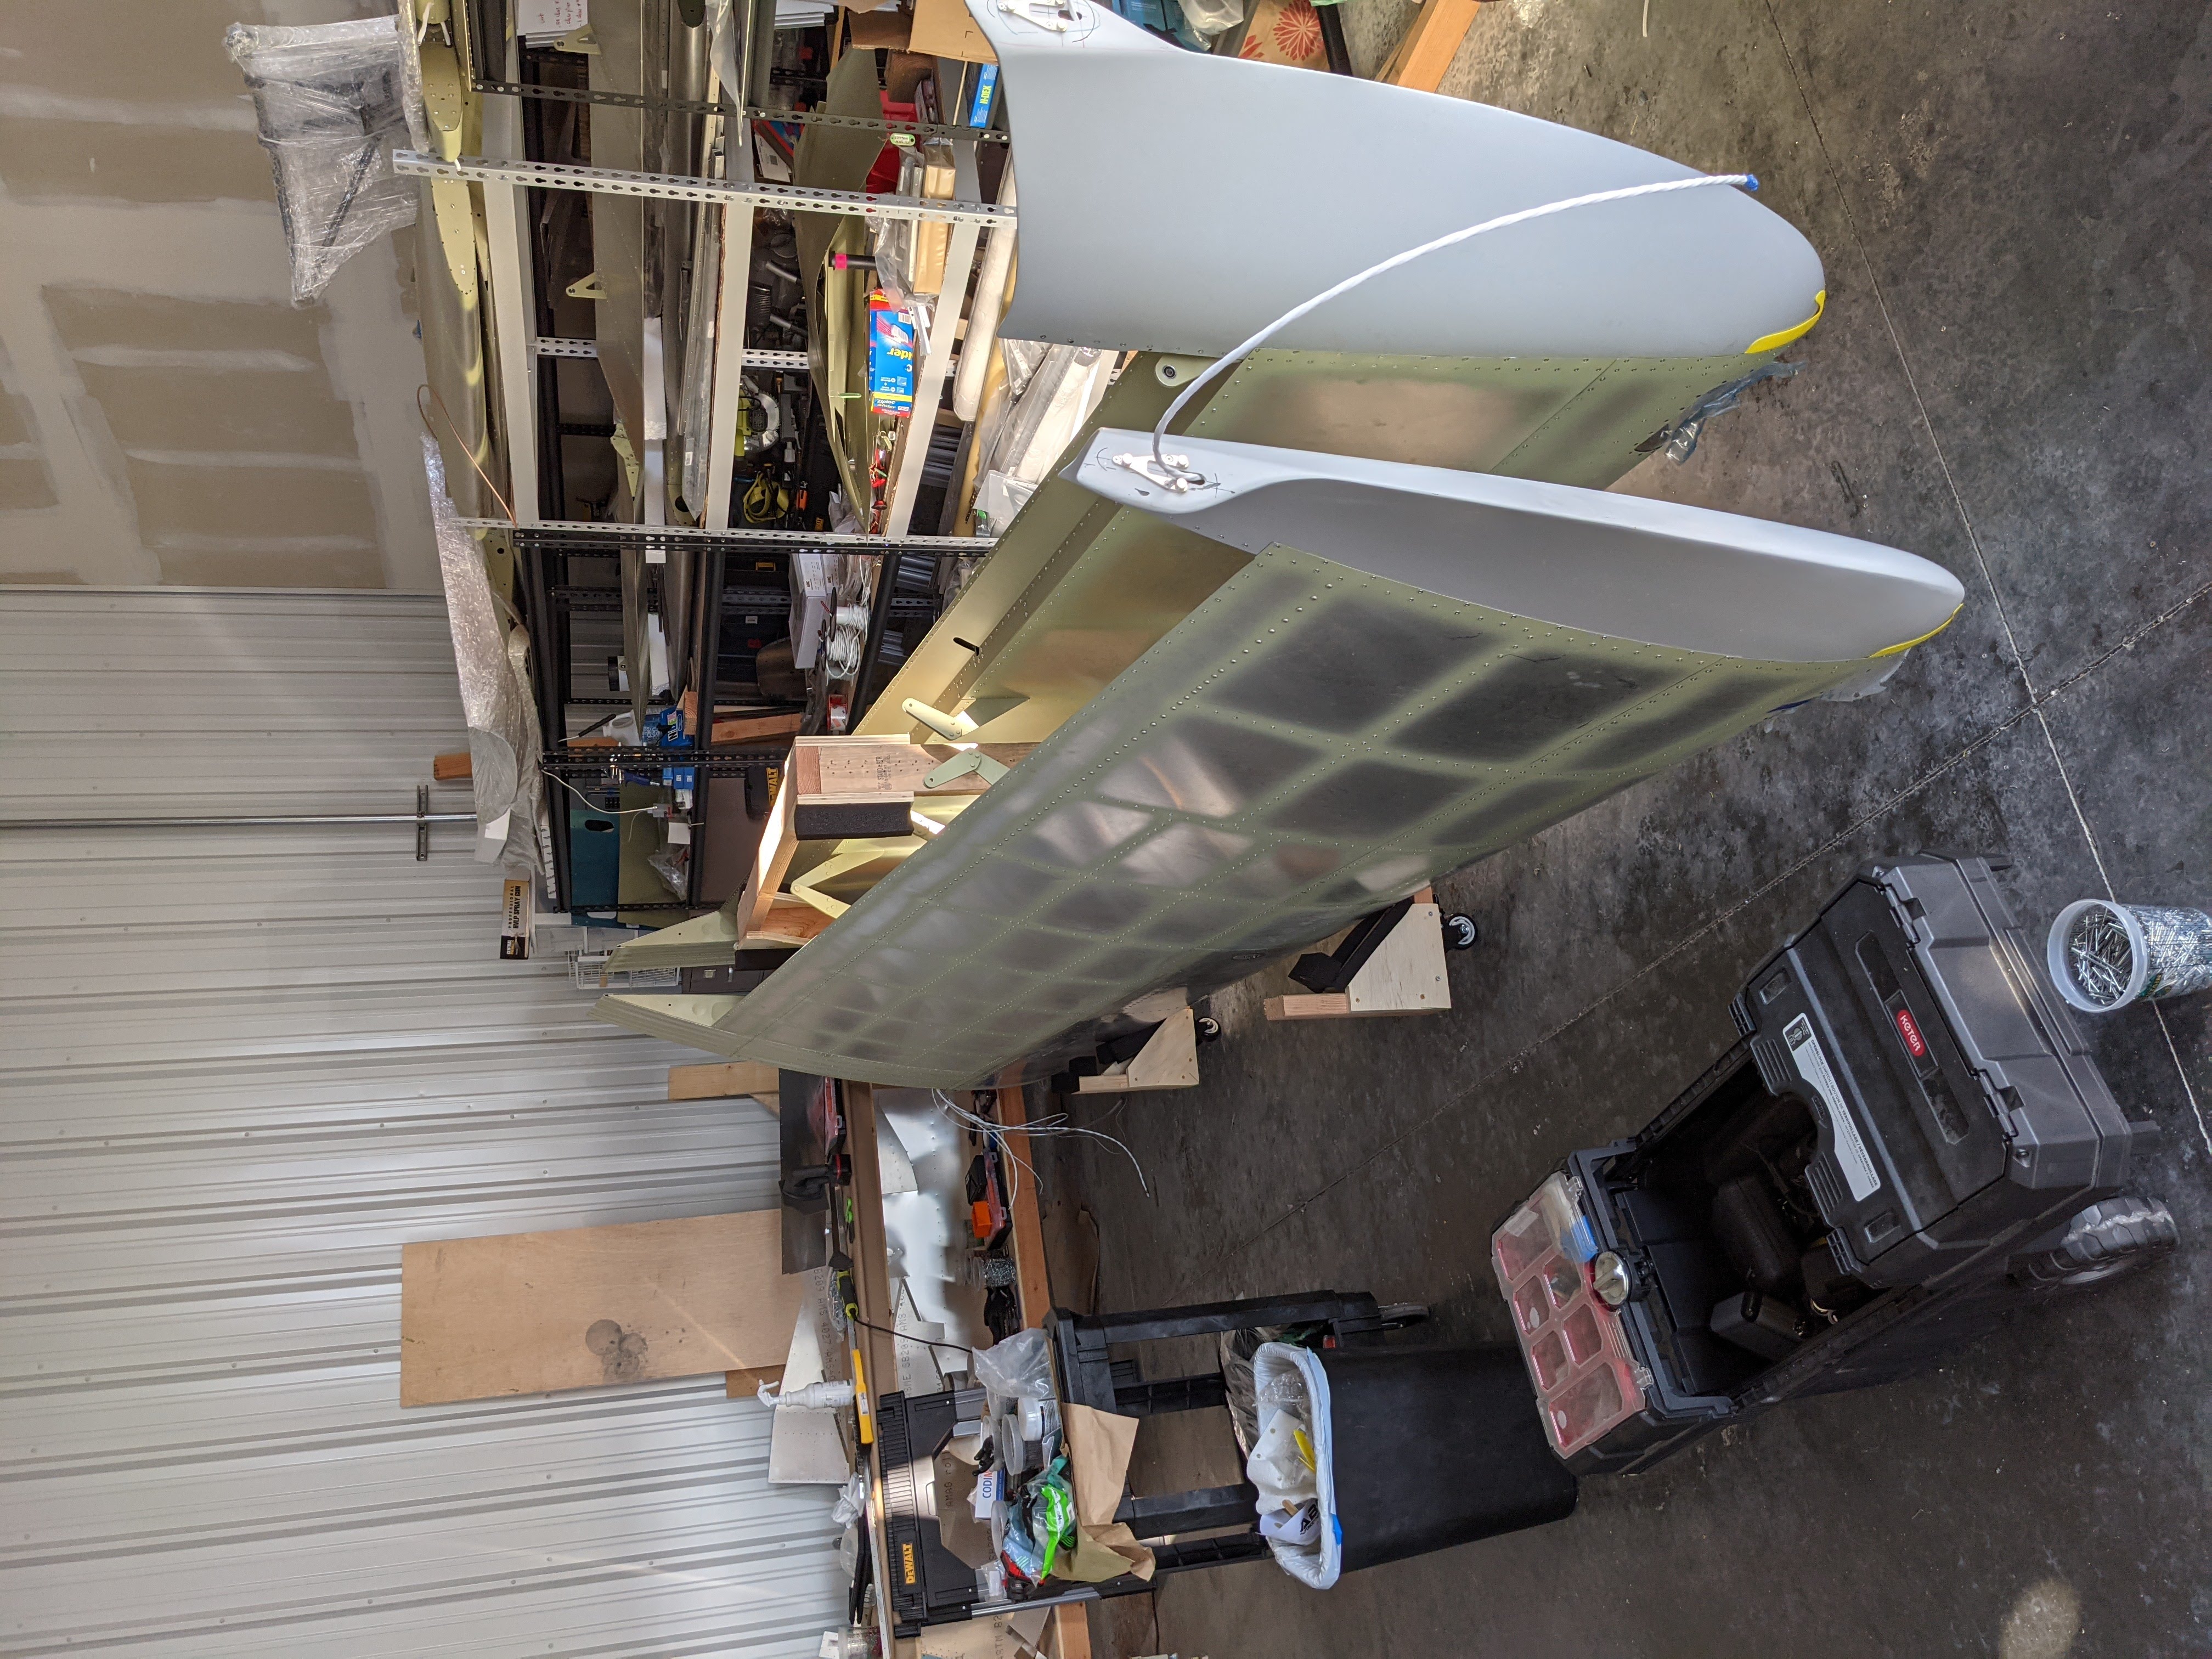
Finally, here’s a picture of our completed wings in the wing stand!
At any rate, slowly but surely, progress is being made! How about you, readers? How do you feel about modifications or lack thereof? How’s your summer going? Leave a note below :)
#wings, #fuselage