Skins, Crimps, and Brownies
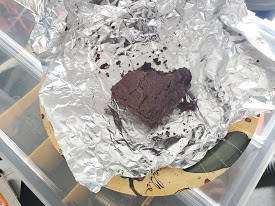
This week we were once again joined by guest stars Katya, Zina, and Claude, who were all ridiculously generous with their time - Claude even made these (delicious) brownies!
We played with the elevator trim servo and realized that we can definitely close the skin without putting the servo in and then slip it through the inspection panel later. This was sort of hinted at in a number of Sling Builders facebook posts but didn’t seem to be explicitly acknowledged/discussed. This is because the pushrod for the elevator trim tab is actually external (which I didn’t immediately process, I’ll be honest) so the only thing that goes inside is the servo itself, and the four rivets that keep the servo in place are easy to see/align through the hatch. Will post a picture in the next post to clarify.
We’ve also been meaning to clarify the “deburring rivets” situation. The 4.8 mm rivets provided by TAF are super burry, as I hope this sophisticated graphic will illustrate:
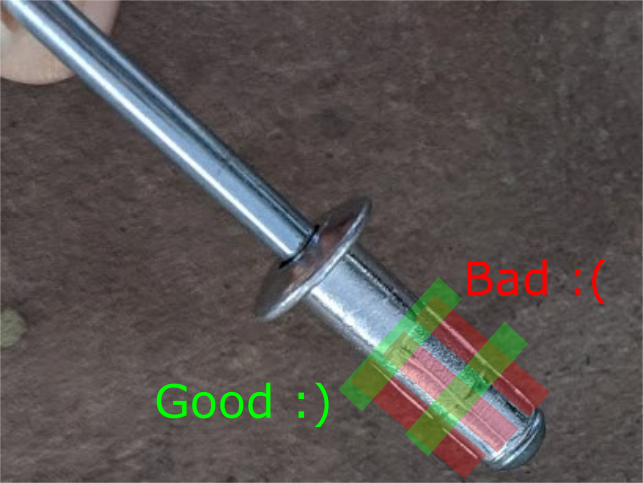
So those burrs (red) are what we’re trying to get rid of on the deburring wheel, not the thingies that help the rivet be a multi-grip rivet (green).
Back to this week’s narrative: Kat and Claude crimped a BNC cable so we can test/mount our recently purchased Rami antenna to the VS and close the skin on that too. It took several hours, but they persevered!
Kat and Peter also tried to level our tables one evening - unfortunately, the top warped on both of them, so they picked a point near the center of each table to align, so that two points make a nice straight line. They then put wooden blocks on those points and mounted the elevator + skin on that. “That’ll take twenty minutes” I hear you say, “how did it take over two hours to reach that conclusion?” I don’t really have a good answer cause I was deburring while they argued :)
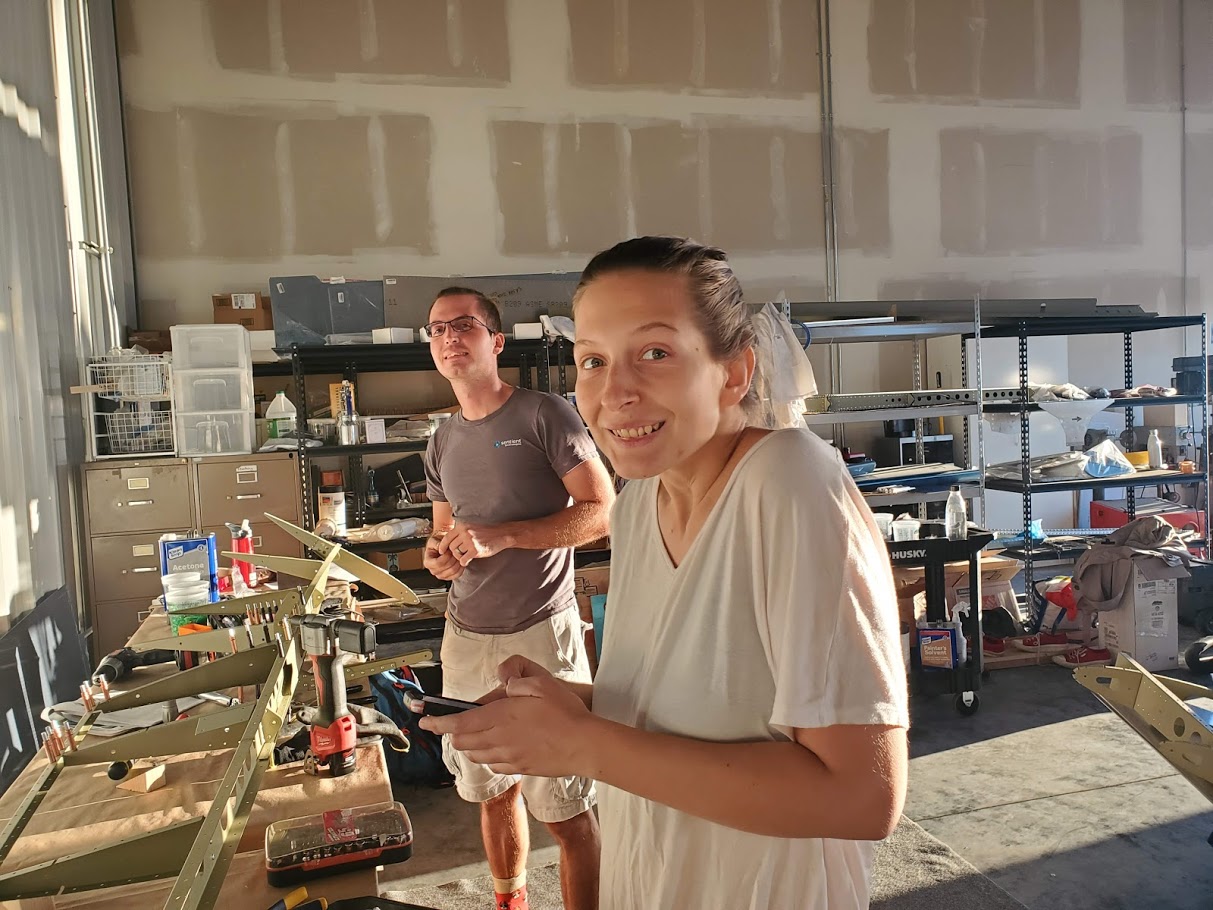
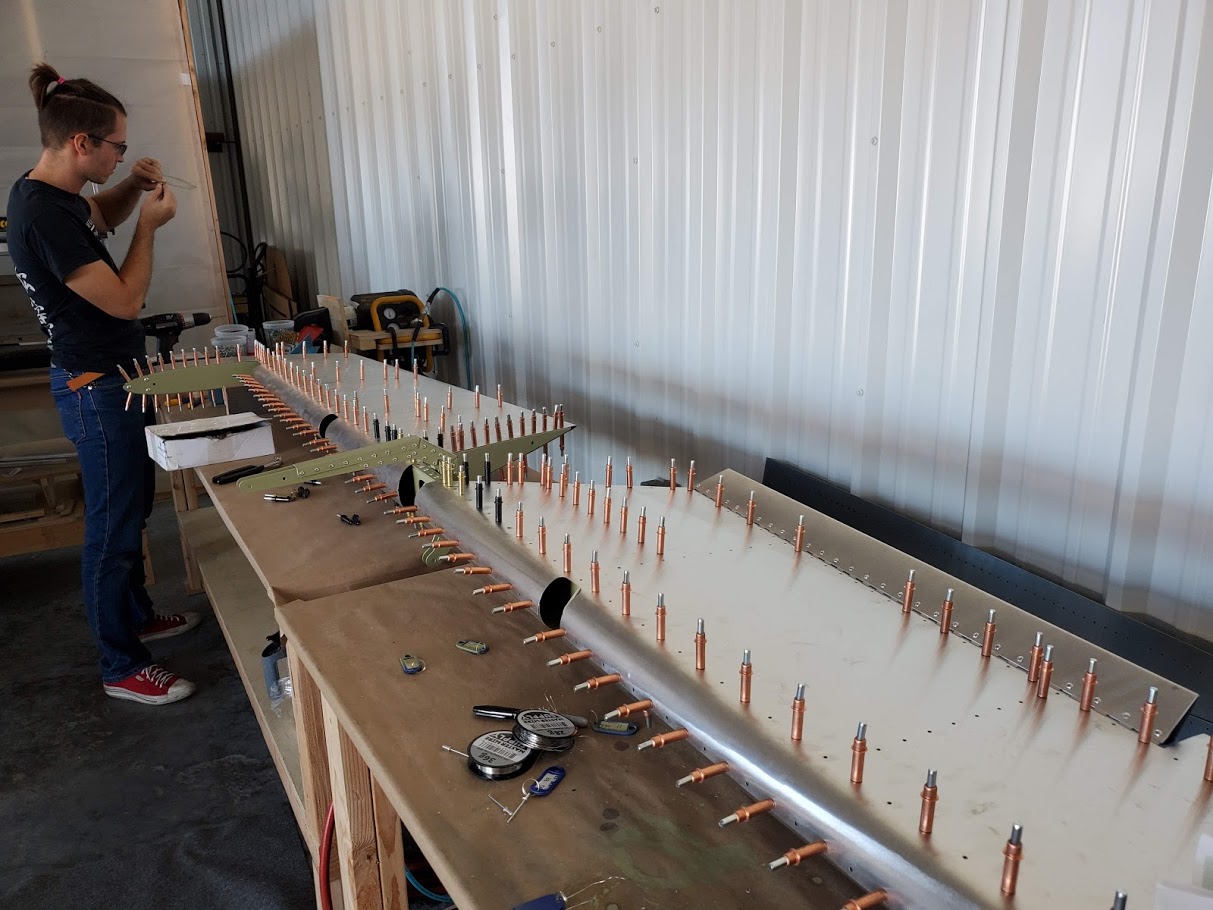
At any rate, we then skinned the elevator and stuffed the tips inside. Claude suggested we drill the holes for the rivets that go through the skin + tip through the skin (instead of marking the holes while the tip is in the elevator and then drilling the tip separately) and cleco as we go, so we went ahead and did that.
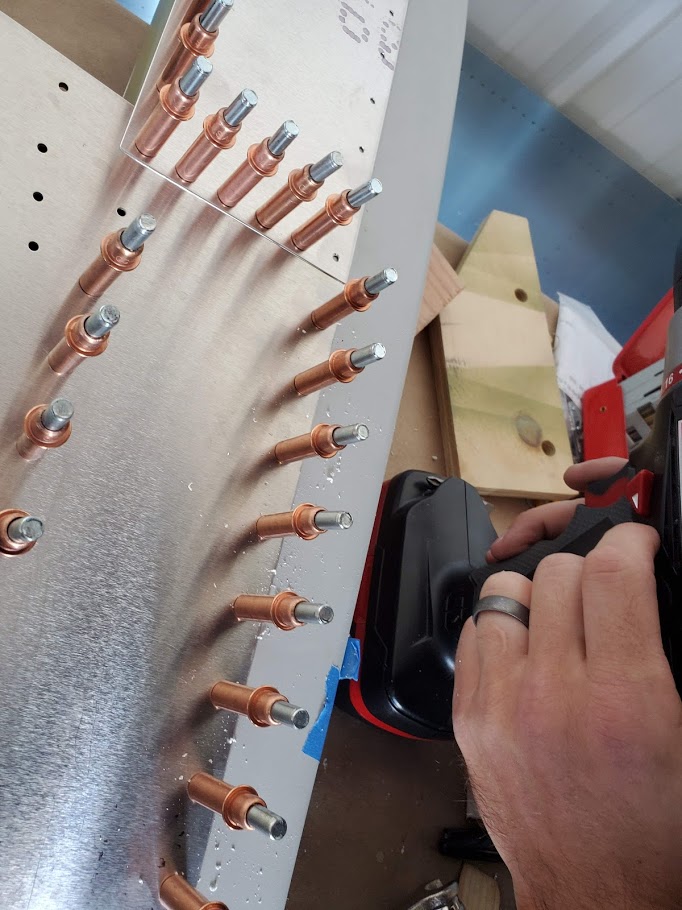
We checked the level of the skin with the laser level - to the best of the laser level precision (~2.5mm at 5m) we’re level from one elevator tip to the other. I can write a separate post with details of the technique if there’s interest :) Here is the skinned and cleco’d elevator in all its glory:
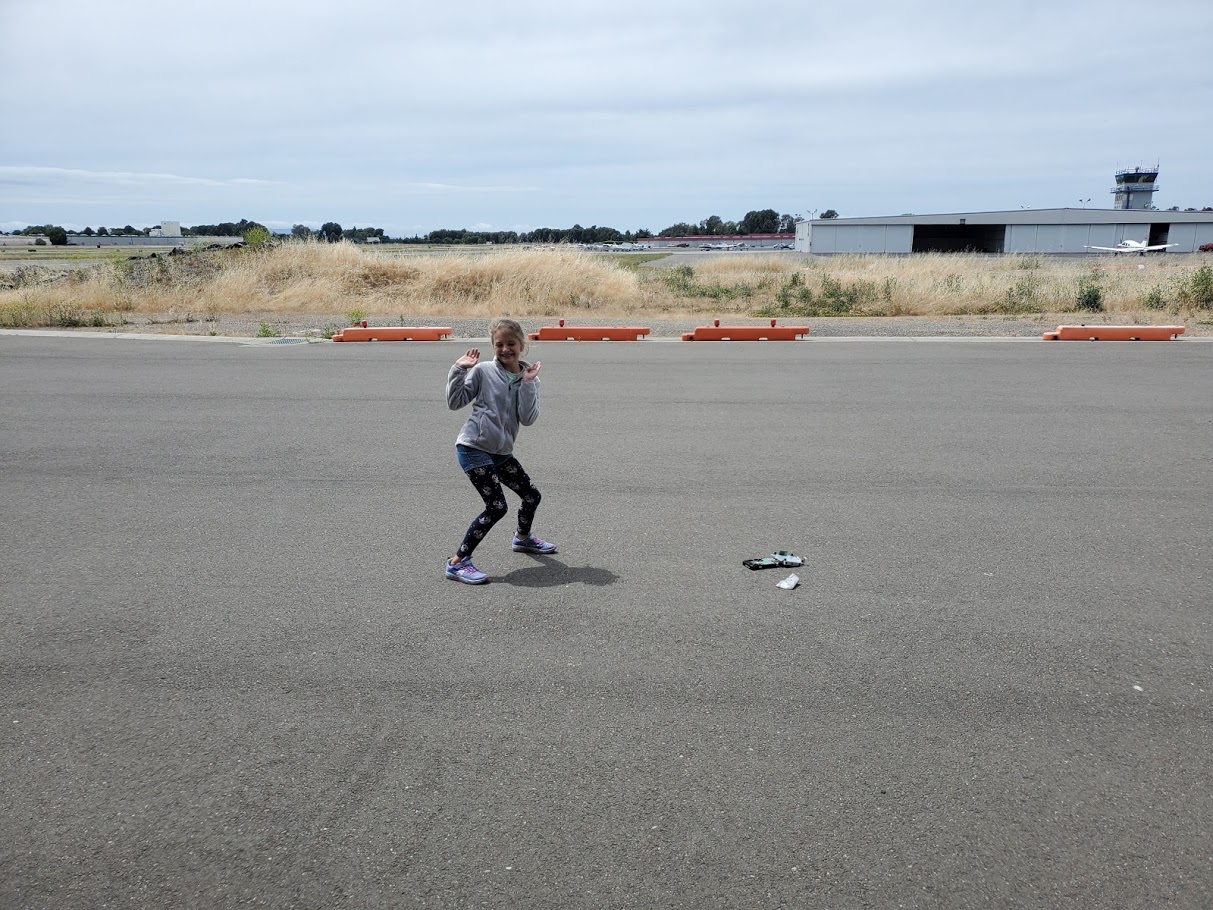
Finally, Zina and I destroyed my dad’s hard drive since it started misbehaving and he wanted to get rid of it. Zina enjoyed tossing it on the ground and cracking it open, much as the Gauls enjoyed the sack of Rome.
How about you, readers? Strong opinions on crimping or lasers? Leave a comment below!
#empennage #wings 